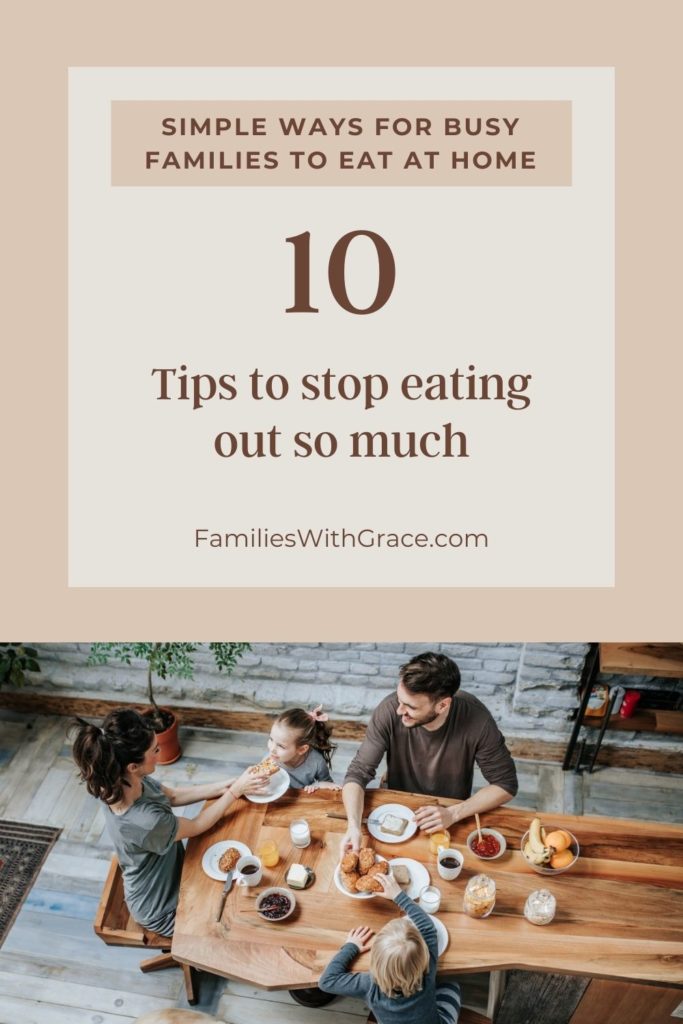
Simple ways to eat at home more often
If you’d have asked me a couple of years ago whether we eat at home more or eat out more, I’d have told you that we eat at home more. While that’s probably true, I realized it wasn’t nearly as true as I thought when COVID struck.
In the couple of years since then, I’ve learned more about how to stop eating out as much. We still do eat out, but it’s usually just a meal or two a week.
Combining my years as a mom, a wife and two years during the pandemic, I’ve learned a few tips for how to stop eating out as much. We enjoy having home-cooked meals more now than ever.
In fact, I’ve had more times that I chose to eat my own food at home rather than eat restaurant meals!
1. Don’t feel pressured to cook big meals every day.
Once my kids were old enough to eat meals with us, I started feeling the pressure to have a menu plan and prepare a specific meal for us all every night. If cooking dinner didn’t work for me for whatever reason, then I was stuck on what to serve and more inclined to order pizza or hit up fast food places.
I quickly realized, though, that my husband and children really didn’t care if I spent an hour in the kitchen preparing dinner or if I spent 5 minutes slapping together peanut butter sandwiches or — gasp! — pouring bowls of cereal. Let go of the pressure to cook big meals every day. It’s not necessary.
The best thing is having family time and getting your family members fed. Easy meals are one of the best ways to avoid dining out.
2. Keep easy options in stock.
Another way to stop eating out as much is to keep easy-to-make options and even convenience foods in your pantry or freezer. One of my easy go-to meals that I have on a regular basis is premade pizza crust.
For our family of four, I make two 12-inch pizzas by putting toppings on and popping them in the oven. My son and husband usually have pepperoni. My daughter and I usually have barbeque sauce with chicken and onion. I used the precooked grilled chicken from the refrigerated section to make prep easier.
Other things I like to keep on hand and rotate through include Spaghetti-Os, bagel pizzas, frozen French toast stick bites, salad kits, frozen fajita chicken mix, frozen pizza, cereal, instant oatmeal and frozen waffles or pancakes.
When you have a busy night or a night you just don’t feel like cooking, having quick meals and easy prep items on hand are a good idea to make it easier to eat home rather than ordering out or going out to eat.
Use some favorite recipes for quick dinner options that work for busy nights.
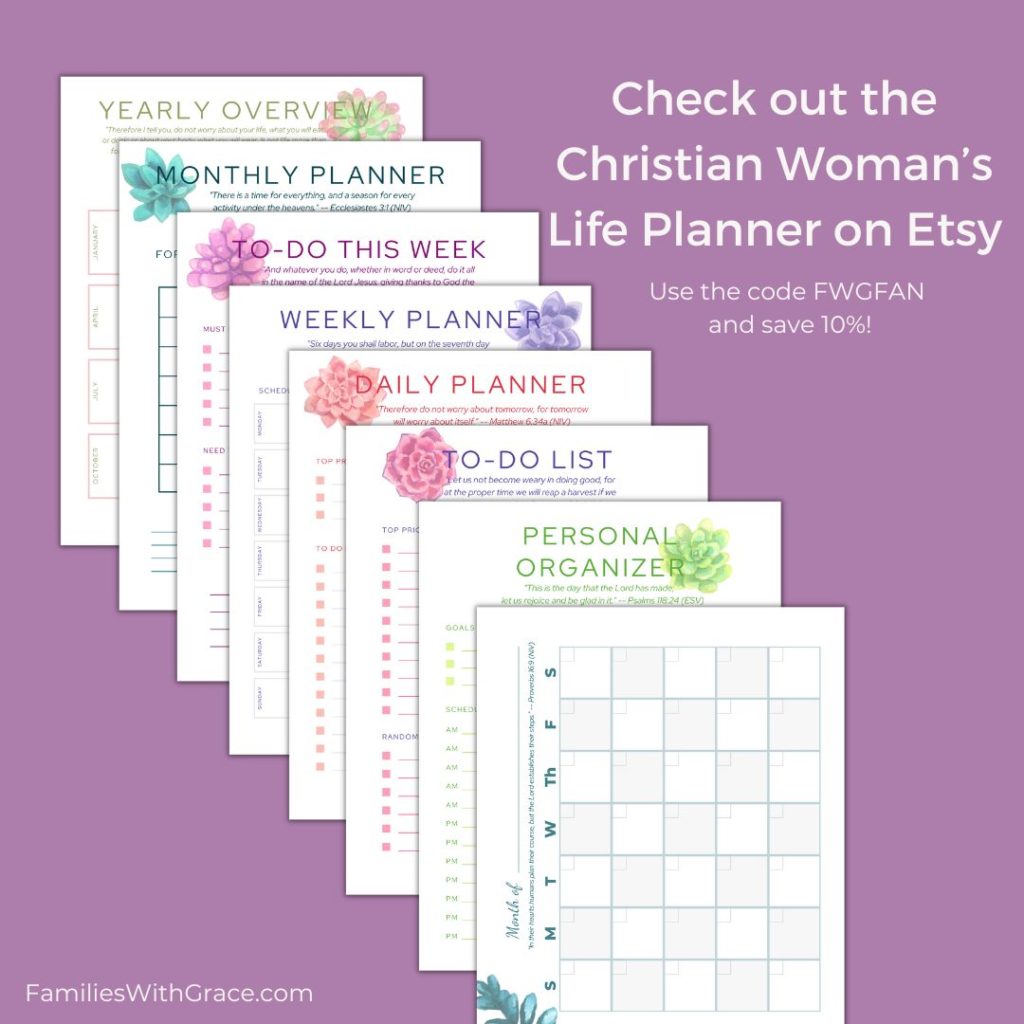
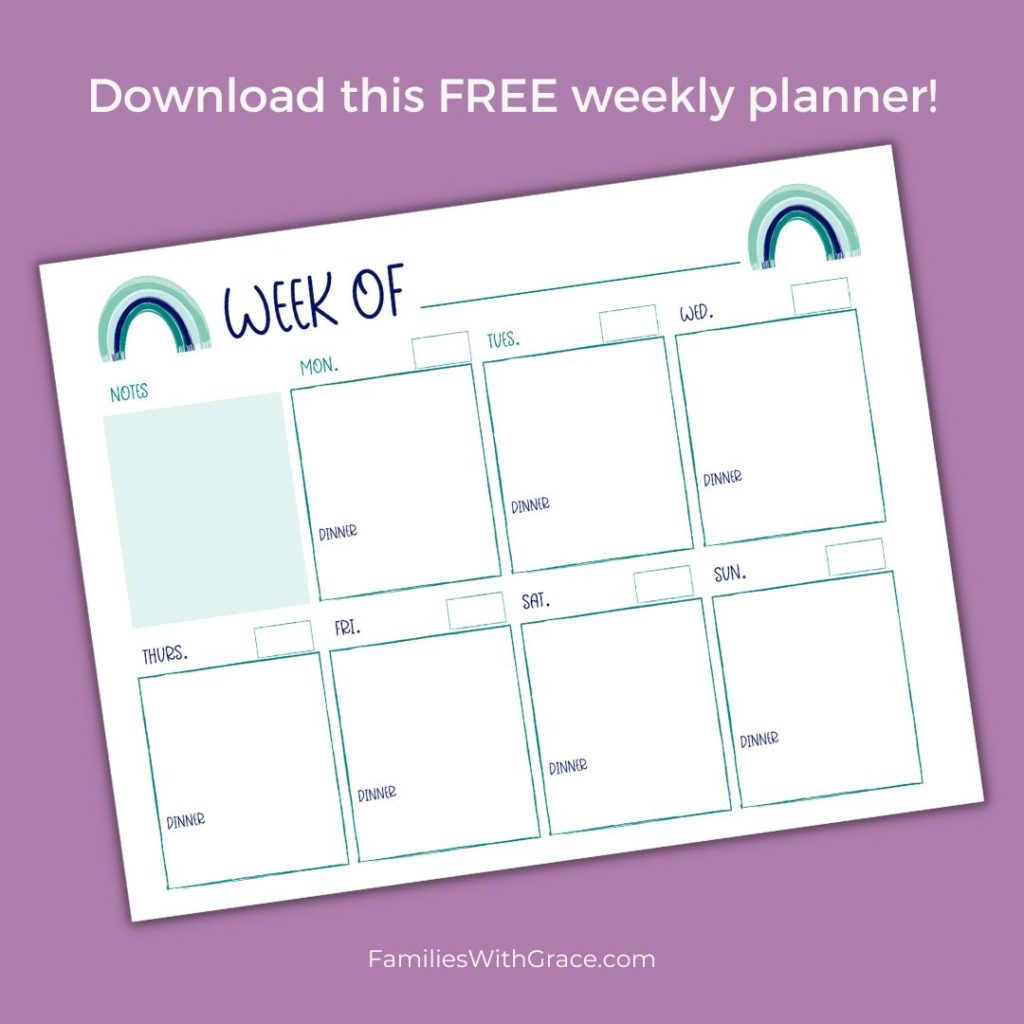
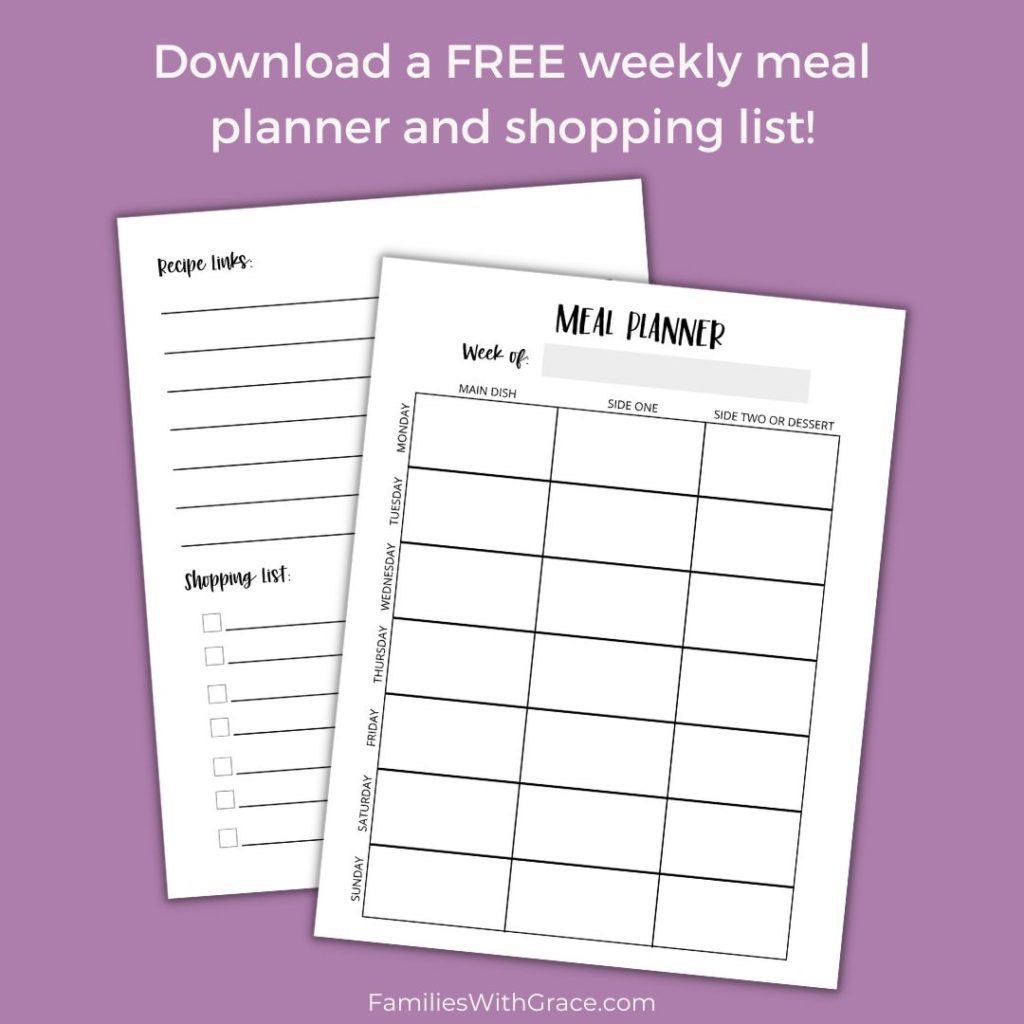
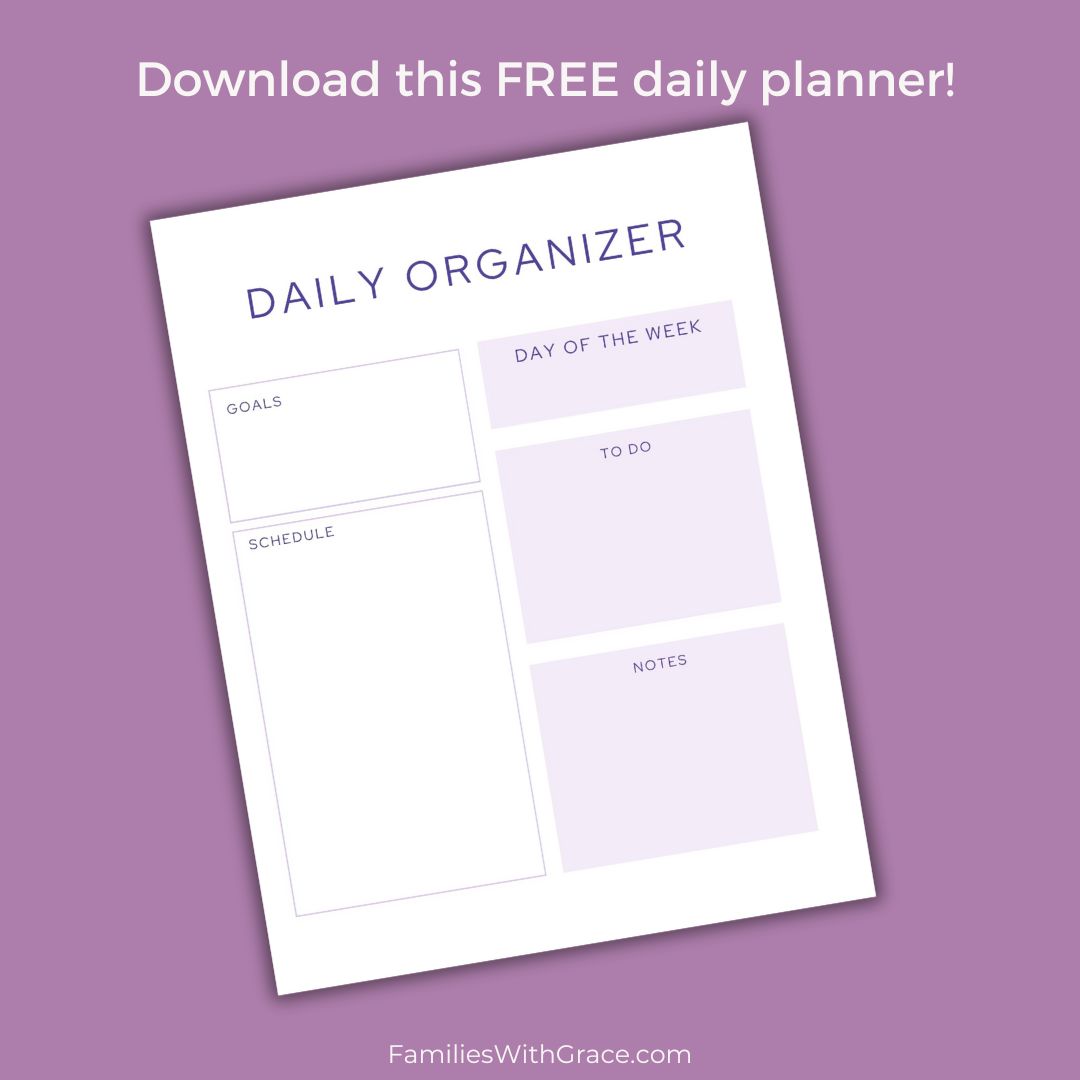
3. Find a good way to meal plan.
I’m guessing you aren’t surprised to see meal planning come up in this post. But, it really does help, especially when you’re managing a busy schedule!
I typically do meal planning on Sunday evenings and pick up groceries on Monday afternoons, but find whatever time works best for you. I’m a big fan of keeping things simple.
Often I use a list to write down what meals I have planned for the week. Recently, I’ve gotten back into the habit of planning what night we’ll eat what meal, but that’s mostly because our schedule has been busier lately.
Find a weekly meal plan system that works for you that you can easily use, and stick with it. Meal planning helps reduce food waste and gives you options for what to make for dinner when you are too tired to figure it out at dinnertime!
4. Try new recipes.
Making homemade food can end up with you getting stuck in a rut and rotating through the same recipes. And that makes you feel more inclined to want to eat out (or at least it does me!).
Instead, try new recipes regularly. In fact, in these past few months, I average two new recipes each week. Using meal kit delivery services initiated that change, and I’ve stuck with it.
One eye-opener for me is that I don’t have to always prepare meals our entire family will like. My guys are more particular eaters than my daughter and I are. So when I try new recipes, I usually make sure most of them will work for all four of us. I also try new recipes that are easy to customize for the guys.
For example, next week we are trying asparagus spaghetti carbonara. I’ll keep the sauce and pasta separate and let my guys have spaghetti with traditional sauce from a jar instead.
And then sometimes I make recipes only my daughter and I will like and plan to do something from the super easy list for the boys like grilled cheese, toasted peanut butter sandwiches or bagel pizzas.
Recently I made this super easy baked chicken recipe for dinner that became one of my favorite meals of all time!
5. Involve your family.
Getting your family involved with what to cook at home is another great way to stop eating out as much. If you’re all excited about what’s in your own kitchen, then you’re less tempted to want to eat out!
My daughter is the one who initially had our family try meal kit delivery services. But even before that, I’d ask my family as I was meal planning what sounded good to them.
And when making new recipes, I’ll ask their opinions oftentimes about what sounds best to try between two choices. Knowing my family is on board for the night’s dinner plan makes it easier for me to want to cook at home as well.
Even better are the times when somebody helps me with meal prep. These past few months, my daughter has done that most and has learned quite a few new cooking skills. I’m quite proud of her!
6. Change your mindset.
Remove eating out as an option in your mind. It sounds overly simple, but it works. Once you know that in order to eat dinner, you’ve got to figure out something at home, then you’ll do so.
Whether you need to change up your budget to reduce how much money you have for eating out or work with your spouse to keep yourselves accountable, figure out what works best for you.
During these past couple of months, my daughter has had an activity most weeknights from 5:15 to 6:30 p.m. I knew if we were going to eat, I’d have to have the food ready to go early, and we didn’t have time to even consider eating out.
Eating at home more is not only conducive to a more healthy lifestyle and spending less money on restaurant food, it’s usually less stress. We get to visit with each other more and be more relaxed.
Determining that eating at home is the only option most of the time really has helped me make it a reality.
7. Make sure you have what you need.
This kind of goes along with meal planning, because part of meal planning is making sure you know what you’re making and also what ingredients you need. To stop eating out as much, make sure your kitchen is stocked for the week (or however long you go between grocery store trips).
If you don’t have the ingredients to make something you were planning to, then you are more likely to give up and order in or go out. (Been there, done that!)
Keep regular items well stocked. I have some shelves in my garage where I can store non-perishables and a chest freezer to store extra frozen food. Both of those help me keep stocked.
There are many items that I always have an extra one on standby. For example, I love Honey Nut Cheerios. I keep an extra one on my garage shelf. When I run out inside and go get that extra box, then I add it to my grocery list and replace it. That way I don’t run out.
This has become even more important for me during recent years when some items were harder to come by. That way if I wasn’t able to find something in stock during one grocery shopping order, I would have at least one more time to try and get it before we ran out.
Also, be sure to keep healthy snacks on hand that will make your life easier in the long run with your children. Fresh and dried fruit, applesauce and peanut butter crackers are some good food options for kids to grab for lunches or snacks.
8. Keep a list of meals for the week handy.
My head is full of so many things that I can easily forget the meal planning I did on Sunday by the time Wednesday evening rolls around. What’s for dinner? Uh. I can’t remember what I have ingredients for!
So to stop eating out during these times, I find it helpful to keep a list handy of the meals I have food for the entire week. I have posted it on my fridge, kept it on my phone digitally and written it in a notebook.
Do whatever works best for you, whether you are planning specific meals for specific days or just maintaining a list of what you have to cook throughout the week.
9. Print out your recipes for the week ahead of time.
If you’re trying new recipes (and why wouldn’t you?!), then make sure you print them out or save them on your phone as you’re meal planning.
I don’t like to use my phone for recipes because it’s too easy to get messy. So, I still print recipes.
When I’m meal planning, I print them out and then store them in a folder in a drawer in my kitchen island. All I have to do is open the drawer and pull them out when it’s time to get dinner made.
It’s a small thing, but it’s helpful and one less step to bog you down in the fray of dinnertime. And one less stop bogging you down means you are less tempted to just order in or go out.
10. Allow for DIY dinnertimes.
I have days when thinking of making and cleaning up dinner are just too much for me. I’m too tired physically and emotionally and all of it.
I’ve learned that my family can do DIY dinners and not complain. Utilize leftovers, easy prep foods or whatever it takes.
My son loves frozen bagels. He can heat one in the microwave to thaw, pop it in the toaster and mostly spread the peanut butter on himself. Being older, my daughter can do even more.
I sometimes keep “special” cereal on hand for a DIY dinner and enjoy a bowl of Froot Loops with a side of toast spread with strawberry jelly. It works!