Stacey A. Shannon is a freelance journalist and blogger who has been published internationally. She's also a Christian, a wife and a mom of two school-aged children. She started Families with Grace in 2019 to encourage Christian moms as they create homes filled with grace, love and faith.
Be sure to get the FREE family devotion book, "Finding Grace at Home: 7 Days of 5 Minute Devotions for Families." It's a great way to help your family draw closer to each other and to God.
Motherhood can be lonely. You weren't meant to go on your motherhood journey alone. Connect with Stacey and other Christian moms like you in the private Facebook group, Moms with Grace!
And check out the books from Stacey A. Shannon as well!
A short devotional for Christian moms to manage doubts
“When my spirit faints within me, you know my way!”
Psalm 142:3
In the earlier days of motherhood, I’d have moments of being overwhelmed or even surprised by the fact that I was the one in charge. As a new mom, so many things are overwhelming.
I questioned every decision and worried I’d do the wrong thing. I imagined my daughter one day talking with a therapist about how all her problems started back when she was 4 months old, and her mom let her grab a pair of scissors from the floor.
Even now, my children are older as a tween and teen. I still question my decisions and worry I’m doing the wrong thing. Navigating parenthood is hard.
Through all of my struggles so far, though, God has been right there. I have lost track of how many times I’ve prayed in the midst of difficult conversations with my children and pled for His wisdom and words to come out of my mouth.
I don’t always know the way. In fact, I sometimes think I may even be turned completely around. But, thankfully, I do know and can trust in the One who not only knows the way by created it just for me.
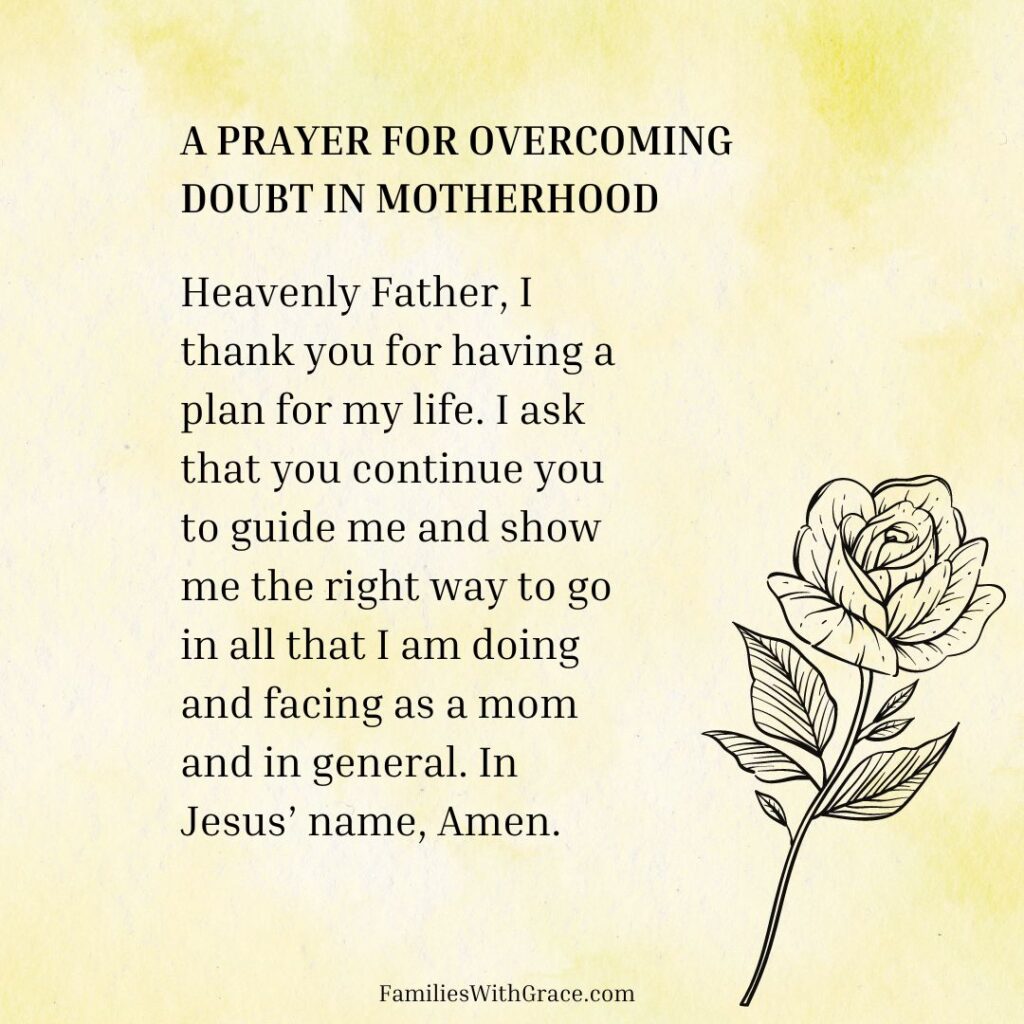
Prayer:
Heavenly Father, I thank you for having a plan for my life. I ask that you continue you to guide me and show me the right way to go in all that I am doing and facing as a mom and in general. In Jesus’ name, Amen.
A short devotion for Christian moms about finding joy in God
“And my God will meet all your needs according to the riches of his glory in Christ Jesus.”
Philippians 4:19 (NIV)
One of the lessons all parents invariably teach their children is the difference between needs and wants. It’s easy to get caught up in our wants, even as adults.
I have thought about how often God tries to teach us those same lessons. He wants us to have good things – nice things, even. But He promises to supply our needs, not all of our wants.
When my children have pleaded with my husband and me to buy something they want, I’ve often pointed out to them how much I buy them: food, shelter, clothes.
That challenges me as a child of God. How often I have pleaded with Him for things I want to make hard times go away, to heal a loved one, to provide a financial blessing and on the list goes.
Yet, I know I haven’t just as often thanked Him for providing for my needs. Ouch. That’s hard. In the moments we stop to thank God for His provision, we find contentment. Getting past our “wants” leads to more joy in God.
Prayer
Dear God, help me to see your hand at work. Show me the ways you’ve met my needs that I haven’t noticed before. Thank you for your faithfulness to take care of me always and even providing some of my wants. In Jesus’ name, Amen.
A short devotional for Christian moms about anxiety
“When anxiety was great within me, your consolation brought me joy.”
Psalm 94:19 (NIV)
When you are consumed with taking care of everyone else, like we moms are, your emotional and mental health can suffer. If you already had struggles before having children that compounds even more.
I’ve struggled with anxiety for years, but I didn’t have a name for it until more recent years. I’ve learned more about how to deal with anxiety as a Christian.
And I have also learned God is with me every step of the way; He has good plans and unconditional love for me. I need His help every day.
Along with physical strength, mental strength is just as important to be the amazing mother God created us to be. Thankfully, the Holy Spirit can minister to our hearts and soothe our anxieties.
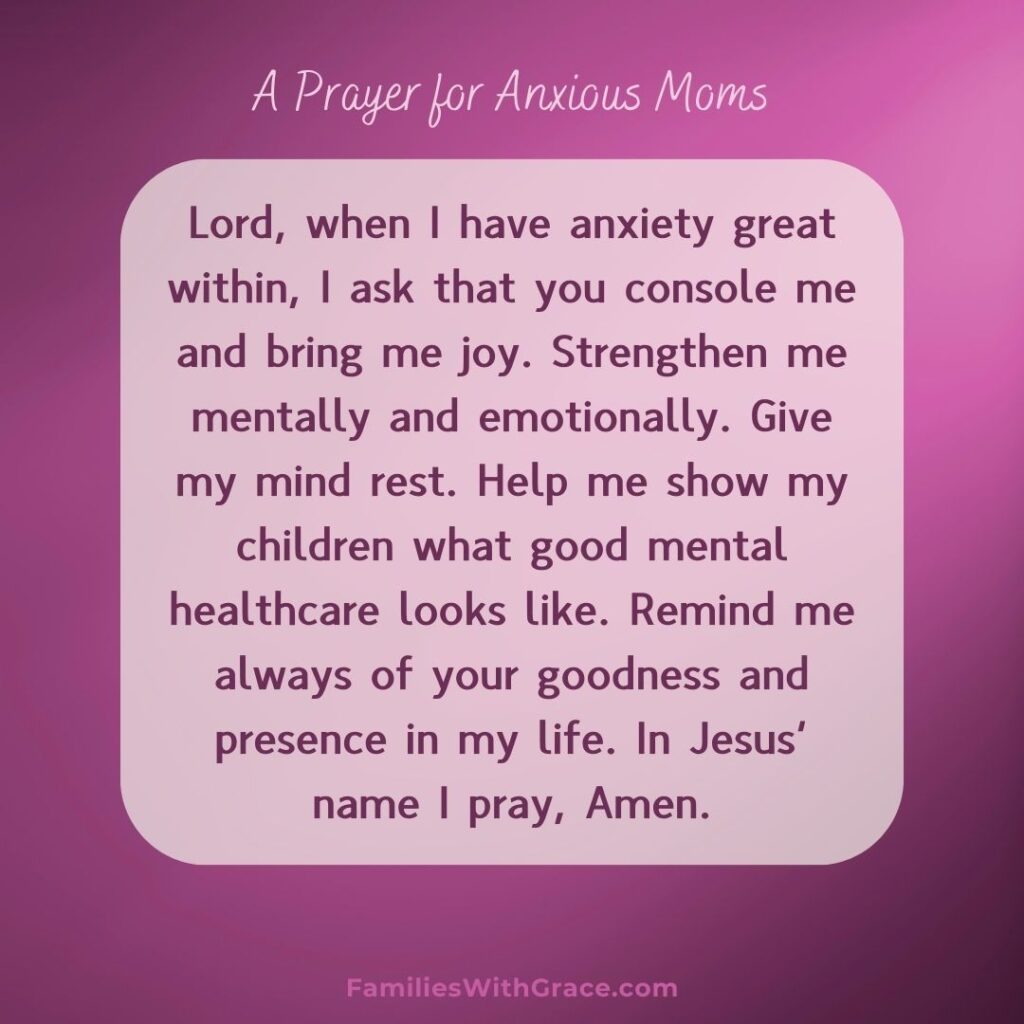
Prayer:
Lord, when I have anxiety great within, I ask that you console me and bring me joy. Strengthen me mentally and emotionally. Give my mind rest. Help me show my childrenwhat good mental healthcare looks like. Remind me always of your goodness and presence in my life. In Jesus’ name I pray, Amen.
Encouragement for Christian moms to find God in the midst of hard times
“Jesus wept.”
John 11:35 (NIV)
This Bible verse is often a favorite for church-going folks to joke about being a favorite memory verse because it’s so short. But, as I’ve read the story in which this verse is found, I’ve been overwhelmed by its impact.
Jesus was on His way to raise Lazarus from the dead. He knew that was what He was going to do. Yet, when He encountered Lazarus’ sister, Mary, He was so moved by her grief that He wept with her – even knowing her grief was about to turn to rejoicing.
Sometimes we can think of God as a judgmental Father, but He is so much more than that. He is compassionate and empathetic. He hurts when we hurt. When your mama heart is breaking, He aches with you – even knowing the future and the way He’s planning to move.
I find comfort in a God who is with us every step of the way no matter what comes or how broken we feel. That is a God I want in my own life and in my children’s lives. He is one we can trust to turn to who understands and sees us completely.
Prayer:
Father, thank you for your love and compassion. Thank you for being present even — and especially — when we are hurting. I ask that you wrap your arms around me and remind me of your presence and goodness. In Jesus’ name, Amen.
A 5-ingredient dessert recipe everyone will rave about
Some recipes seem too good to be true. This recipe for peanut butter chocolate chip cookie bars may very well be one of those recipes!
It is super simple with just five ingredients and has been a hit with everyone I’ve ever made it for.
I recently made three batches for our church youth group and they were gobbled up in a snap.
Why cookie bars instead of cookies
While I’m certainly the cookie maker in my family and love a good cookie, my mom life most appreciates cookie bars for one huge reason: they are easier.
There is no baking in batches and dolloping dough onto cookie sheets. Instead, you whip up the batter, put it in one pan, bake it, let it cool and swiftly cut it apart.
It doesn’t get much easier. When you are feeding a bigger crowd or just have a busy schedule (who doesn’t?!) cookie bars can be a quick and easy go-to dessert.
This peanut butter chocolate cookie bars recipe is ideal for all those reasons.
Making the batter
The big secret behind the ease of this recipe is the base is a yellow boxed cake mix. Brand doesn’t even matter for the cake mix either. I buy whatever is cheapest whether it’s store brand or a name brand on sale.
In a large mixing bowl, add the yellow cake mix, 2 eggs, 1/3 cup vegetable oil and 1/2 cup peanut butter. If you want some additional texture, chunky peanut butter should also work. I just always use creamy for personal preference.
Mix them together until completely combined.
Stir in 1 cup of chocolate chips.
You can make this batter stirring by hand or with your mixer, whichever you prefer. I do it both ways.
Baking the cookie bars
Put the batter into a 9 x 13-inch baking pan coated with non-stick cooking spray. Spread it out evenly in the pan.
If your chocolate chips aren’t sticking well in your batter, just mix them in by hand or plop them on top of the batter and push them down a bit.
I usually have about a dozen chocolate chip stragglers I do this with.
Bake the peanut butter chocolate cookie bars at 350-degrees (F) for 14 to 17 until until lightly golden brown.
Cut and serve
Let the bars cool for about 10 minutes and then cut them into squares and serve!
Store them in an airtight container for as long as they last. Around my house, they don’t last more than 24 hours at most!
Peanut butter chocolate chip cookie bars
This peanut butter chocolate chip cookie bars recipe only uses 5 ingredients and comes together in just a few minutes. It will be your new go-to!
Mix cake mix, eggs, vegetable oil and peanut butter together in a large mixing bowl with a mixer or by hand.
Gradually stir in the chocolate chips.
Pour the batter into a 9 x 13-inch pan covered in non-stick cooking spray. Sprinkle any extra chocolate chips from the dough over the top and press down with a spatula or spoon.
One of my family’s favorite things to do together is watch movies. Recently we had an opportunity for an early viewing of “The Firing Squad” from Epoch Studios which is opening in theaters on August 2.
Unfortunately my daughter was away with a friend, so she missed it. But my husband, 11-year-old son and I picked up pizza and settled in for a movie night.
I received early access to view “The Firing Squad” in exchange for providing a review and social media posts about it. All opinions, however, are completely my own.
All about “The Firing Squad”
“The Firing Squad” is loosely based on a true story about men who were executed by firing squad in Indonesia on April 29, 2015. People convicted of dealing or running drugs in Indonesia are sentenced to death by firing squad, and that’s exactly the circumstances of the main character named Peter Lone played by James Barrington.
Throughout the movie, we see Lone’s transformation to coming to know God. He heads to his execution with songs of praise.
The movie’s cast includes names and faces of award-winning actors such as Kevin Sorbo and Cuba Gooding, Jr.
The best ages for watching
As a Christian movie, “The Firing Squad” does well with not using bad language or showing graphic violence. Based on the topic, I was slightly concerned it might be too intense for my 11-year-old.
We started the movie night with the idea that we’d stop it if it became too intense and then my husband and I would finish it later.
However, it was well done and was fine for my 11-year-old. I would say, though, that kids under 10 would not be a good fit for this movie.
Great for discussion
Our biggest takeaway as a family came after the movie in our discussions. Along with talking about the movie itself, we discussed other things like Christians who are killed even now solely for their faith.
My son was most struck by Kevin Sorbo’s character in the movie who was a pastor in the prison but also a convicted felon himself. He was convicted of murder. That left my son wanting to know more about his transformation.
Overall, it’s a great movie to talk about the transformative power of Jesus. God changes lives so dramatically and can turn a drug dealer or murderer into a pastor whose impact resounds for years.
Where to watch it
“The Firing Squad” opens in theaters throughout the United States on Aug. 2, 2024. You can find all the details about tickets, including group tickets and some free showings, on the movie’s site.
Looking for other ideas for family fun night? Check out these posts as well:
How understanding your teen’s enneagram can help you connect more
This past school year, my daughter completed a unit in which her class took all sorts of personality tests. We talked about her enneagram type a little bit afterward.
I thought it was a pretty neat activity to do with a group of middle schoolers. So when I came across an opportunity to review “The Enneagram for Teens” from Ainsley Britain, I jumped at the chance.
I figured it’d be something my incoming high school freshman daughter and I could talk about, especially because it approaches enneagrams from a Christian perspective.
What I didn’t expect, however, was how much I’d truly enjoy and appreciate the book myself!
Affiliate links are used in this post, if you make a qualifying purchase via my link, I receive a small percentage of the sale at no additional cost to you. It helps support my blog, so thank you for your support! Read my full disclosure here.
I received a copy of “The Enneagram for Teens” at no charge in exchange for providing a review and social media posts about it. All opinions, however, are completely my own and not influenced by the free copy.
Learning about enneagrams
I wasn’t completely unfamiliar with enneagrams, but I didn’t know a huge amount about them either. I still am no expert by any means.
But, as I sat down to preview “The Enneagram for Teens” before showing it to my daughter, I got sucked into the introduction and explanation of enneagrams.
Basically, enneagrams are a tool to help you understand yourself better. They go into your motivations, fears, strengths and weaknesses.
In this particular book, they also relate to your faith and how you connect with God.
What I really appreciated is how conversationally and clearly Britain communicated this message. The book may be written for teens, but this 40-something mama sure learned a lot and appreciated it!
Figuring out your enneagram
There are nine different categories or types of enneagram that are each numbered:
The Moral Compass
The Helper
The Heroic Leader
The Unique Creative
The Deep Thinker
The Loyalist
The Adventurer
The Challenger
The Gentle Peacemaker
So the biggest question is which enneagram type you are. My personality is such that I like concise answers when I can get them. I wanted a quiz to tell me my enneagram type.
I headed to Britain’s website to check out the enneagram resources she offers to determine your type. Two charts of simple decisions allow you to narrow down your type.
I had trouble deciding on my answers and whether they were accurate. (I’d guess this is probably a pretty common issue for my enneagram type, even though the book doesn’t actually say so.)
Each chart gave me a different enneagram number: 5 and 9. Britain recommended reading through the chapters about each type in her book and deciding which resounded with you more.
However, I really wanted to be sure. Was I a 5 or a 9? I found a free online enneagram quiz to tell me my type.
It told me I was a 5. With two 5s and only one 9, I figured I’d start with the type 5 chapter. The description and first couple of pages seemed familiar.
I stopped a couple of pages in to see what type 9 had to say. I was blown away and read the entire chapter for type 9s.
It described me eerily well. I got choked up a few times in recognizing myself on the pages.
The type breakdown
The real treasure of this book is in the enneagram chapters. The things I’ve read other places about enneagrams have been a bit more text-bookish.
The chapters begin with examples of two different people of that enneagram type and how they might behave in certain situations. Then Britain outlines exactly what makes up that enneagram type, including what they’re known for, their deepest fear, messages real or perceived learned in childhood and their core desire.
Next she dives into what a healthy, average and unhealthy people of that type look like.
Understanding these different behaviors we have a tendency toward helps us work on self-improvement. We all experience each degree at different times in our life from unhealthy to average to healthy.
Britain goes into some more helpful details and then has a section for each enneagram type about how to get along with them.
This is the meat for us as parents. If you can identify your child’s enneagram type, this book gives you a general outline for how to best communicate with them and meet their needs. Light bulb moment!
Each type also includes ideas of careers that work well and ones that don’t, what it’s like being in love as that type and how they interact with family and friends. Again, these are important to understand about ourselves and our children.
What I love about this book is each type also has a section regarding faith and the things each type might struggle with in their faith walk along with suggestions on how to overcome those struggles.
The chapters each end with advice for that enneagram type, including a letter and a challenge.
The letter
I don’t want to gloss over the letter for each type. It’s only a few paragraphs long, but it gets to the heart of the matter for each type of enneagram.
Based on the letter to type 9s I read, I can only assume the rest are just as touching and poignant for their types. I felt seen, heard and understood.
I say that as an adult. I love the chance for my kiddos to get that feeling as well!
How to use “The Enneagram for Teens” as a parent
Honestly, I loved this book for myself. However, reading it as a parent makes me appreciate it all the more.
I know my daughter’s enneagram type, because she told me. I read through the whole chapter about type 2s and learned a lot.
Since each enneagram type chapter starts with a list of 10 characteristics for that type, I think I would have sorted out her type without her telling me.
While I will let my daughter have this book to read through on her own and relate to her own type as well as maybe her friends or family, I am thankful for it as a mama.
I was able to find new ways to relate to my kiddo. One of my goals as a mom is to meet all of my children’s needs — emotionally and physically.
My sensitive self and I are pretty good at sensing their emotional needs; I’ve learned when they need grace more than discipline, for instance.
Yet, I want to make sure I’m truly speaking their love language and helping them grow into strong and healthy versions of the unique people God has made them.
Surprisingly helpful
If I’m being completely open, I’ll also tell you I figured this book would be OK and maybe helpful a bit. I wasn’t overly confident about its helpfulness and perhaps a bit skeptic.
But just perusing the pages and getting sucked in as easily as I did, I was pleasantly surprised. It is definitely a more helpful parenting tool than I expected it to be.
I recently had a conversation with a loved one about anxiety and faith. We talked about whether someone can have anxiety as a Christian.
What does that look like? What does that say about our faith?
We weren’t the first people to discuss this, and I know we surely won’t be the last. But, it did get me thinking about a message many Christians need to hear:
You aren’t alone in your anxiety. Feelings of anxiety don’t mean you love Jesus Christ any less.
If you’ve been in church for any amount of time, I’m sure you’ve heard sermons and lessons on how worrying is a sin. Being anxious is a sin. Persistent anxiety means we have a lack of faith in our Heavenly Father.
I know what God’s Word says about anxiety, but I also know that it remains a struggle for so many of us.
So, can you be a Christian and have anxious thoughts at the same time? The short answer is absolutely!
But I think we need to go a bit deeper. I don’t have all the answers or any sort of theological degree. I can only share my experiences, struggles and feelings with anxiety as a Christian.
The physical component of anxiety
Having some anxiety is normal and helpful. It’s helped keep humans alive for so many years because we respond to danger and take less risk.
However, some of us get stuck in that mode even when no threat is apparent. That’s when we shift to an anxiety disorder.
Like other mental health struggles, anxiety often needs more intervention than just trite advice. And anxiety disorders are rampant.
Statistically speaking, about 30% of adults are dealing with an anxiety disorder at any given time. That’s up nearly 10% from 20 years ago.
Statistics on how the Christian population compares to the general population in regards to anxiety disorders isn’t available.
But, let’s say the Christian population does have less anxiety, we’re still talking about a minimum of 20% of adults.
Meaning if you are at a church with 300 attendees on a Sunday morning, then 60 people around you are dealing with an anxiety disorder.
So, quite literally, all congregations have members dealing with anxiety disorders.
However, we also must remember the physical component to anxiety. Certain medical conditions can cause anxiety, including diabetes, chronic pain, heart disease and thyroid problems.
Outside of other health conditions, anxiety can come from a chemical imbalance in our brains, traumatic events, ongoing stress or being genetically predisposed. None of those things can be controlled.
I also want to acknowledge the God’s power of healing here. I have seen Him do miraculous things and heal people. My firm belief is we can pray for and receive healing from anxiety.
However, I also know God’s will isn’t always healing on earth. God isn’t any less faithful for not healing someone of anxiety. And it doesn’t reflect his or her faith in any way.
A few years ago, my husband and I were discussing a difficult situation that worried us. My husband is incredibly great at compartmentalizing. He also does well with leaving his worries with God.
We were talking about how we handled our worry differently. He mentioned that he trusted God would take care of the situation. I realized I didn’t completely believe that.
Let me explain. I prayed about the same situation and knew that God would work in and through it. However, I didn’t believe it would necessarily work out positively.
My husband’s faith was in God’s work to resolve the problem. My faith was that no matter what happened with the outcome, Christ Jesus would be with me and give me the peace of God.
Neither of us were wrong, but my approach certainly leaves room for anxiety.
I like to think I was just being realistic and not thinking negative thoughts. But, I think more than anything, my perspective came from my anxiety struggles.
While my husband could list off all the things that could go wrong, he was able to not fret about them because they hadn’t happened (and might never happen).
On the other hand, my mind can get an a runaway anxiety train thinking of all the possible outcomes while still trusting God won’t leave me.
Logically, I know God is in control, but anxiety isn’t logical. One of my worst times of much anxiety was right around when my oldest daughter was born.
We went on vacation and took her with us onto a large dock with a floating restaurant. I was nearly paralyzed with anxiety because I could just see her stroller going off the dock and into the lake.
In my head, that’d just be it. She’d drown.
In reality, we had her nowhere near the edge. And had the stroller somehow gone in, my husband or I would have been in the water right afterward to get her to safety.
But reality doesn’t often factor into anxiety issues.
Moving forward in faith with anxiety
Since anxiety disorders are like any other physical or mental illness, if we aren’t healed of them, then we need to figure out how to manage them and move forward in spite of them. We can move forward in both practical and spiritual ways.
1. Pray.
Everything should start with prayer, even managing anxiety as a Christian. You can definitely pray for healing (and I encourage you to), but you can also pray for God’s help handling your anxiety.
I do this quite often. I ask God to help me stop thinking about something I’m dwelling on. Or I pray that He helps me to know if a worry is something I need to act on or just have peace about.
For example, when it’s the middle of the night and I hear a slight noise that gets my mind reeling with all the bad things it could be.
We have Biblical instruction for doing this very thing, and what I love most is that God promises us peace. While I’ve had my fair share of anxious moments that increase my heart rate, I have also felt the peace and presence of God come over and still me in the midst of it.
Related Bible verse:
“Do not be anxious about anything, but in every situation, by prayer and petition, with thanksgiving, present your requests to God. And the peace of God, which transcends all understanding, will guard your hearts and your minds in Christ Jesus.”
Philippians 4:6-7 (NIV)
2. Find a Bible verse to comfort you.
The Bible has so many verses about the peace and comfort of God. It reminds us of His presence in our lives.
Find a verse that speaks to and calms your heart. (If you don’t have one, ask God to help you find one.) Memorize it and repeat it as often as needed in everyday life.
For me, that verse is Isaiah 41:10 (see below). I learned the first part of it in third grade and it has stuck with me. I’ve repeated it to myself so many times through the years in different situations and at different times.
I’ve used the second part of the verse as a breath prayer. God’s Word is powerful. It truly can cast out fear!
Related Bible verse:
“So do not fear, for I am with you; do not be dismayed, for I am your God. I will strengthen you and help you; I will uphold you with my righteous right hand.”
Isaiah 41:10 (NIV)
3. Listen to encouraging music.
Music can minister to us in so many ways. God has spoken to me so many times through songs, even songs I’ve heard and sung for years. Christian music is a part of my life.
While it can encourage and uplift me, it also stays in my head. Sometimes a song stuck in my head is just what I need to hear at just the right moment. My anxiety and faith battle in song lyrics!
Recently, I was having a difficult time and kept thinking, “I’ve never felt more alone than I do right now.”
Every single time I thought that, “Jireh” from Elevation Worship and Maverick City popped into my head with, “I’ve never been more loved than I am right now.”
It helped me turn my focus around to God’s love and the truth, which I definitely needed to do.
Related Bible verse:
“Let the message of Christ dwell among you richly as you teach and admonish one another with all wisdom through psalms, hymns, and songs from the Spirit, singing to God with gratitude in your hearts.”
Colossians 3:16 (NIV)
4. Monitor what you watch.
I’ve learned to be careful what I watch. Watching TV news only increases my anxiety. It’s so negative and so dismal. It can add a variety of thoughts to my head that I don’t need.
But so can fictional television shows and movies. I’m a sensitive person and always have been.
I remember watching a scary movie in fourth grade at a slumber party and can still recall scenes from that movie to this day.
I am not into the murder shows, police shows, medical dramas and so many other things because they only increase my anxiety.
Another one of the biggest issues that many of us face are navigating social media. Seeing only the best parts of others’ lives increase our anxiety symptoms and stress.
The best thing I’ve found to have less anxiety from social media is taking a break from it when I’m struggling most. Or if I start scrolling and find myself getting upset, then I close the app and move on to something else.
Unsurprisingly, the truth of God in the Bible talks about this very thing. The Apostle Paul admonishes us to be careful what we watch for a reason!
Related Bible verse:
“Finally, brothers and sisters, whatever is true, whatever is noble, whatever is right, whatever is pure, whatever is lovely, whatever is admirable—if anything is excellent or praiseworthy—think about such things.”
Philippians 4:8 (NIV)
5. Think through worst-case scenarios.
This one totally sounds counterintuitive. I sometimes get easily sidetracked and anxious thinking of all the worst-case scenarios.
But, years ago my husband challenged me to think of the worst-case scenario of my worries. Then, he said, come up with the solution.
Often that helps ease my anxiety because I have a plan. And I love having a plan!
If I come up with the worst-case scenario (and my brain is good at that), I think of what would happen if that scenario came to pass.
This works also because it makes me start thinking more practically and realistically – the opposite of how anxiety makes me think.
Related Bible verse:
“Suppose one of you wants to build a tower. Won’t you first sit down and estimate the cost to see if you have enough money to complete it?”
Luke 14:28 (NIV)
6. Talk about it.
Persistent anxiety is good at lying to us. It can make problems seem so much bigger than they are and increase the feeling of worry for no good reason.
When I have trouble dealing with something or moving on from it, it helps to talk about it with someone I trust.
For me, that’s my husband. Often just saying the words out loud help my anxiety and faith meet as I realize what I’m worried about isn’t such a big deal.
We weren’t made to bear our burdens alone. Along with being able to go to God, we also need to have people who we can turn to and trust when our burdens weigh us down.
Saying a worry out loud to good Christian friends or loved ones is a powerful tool that removes at least some of anxiety’s power.
Related Bible verse:
“If either of them falls down, one can help the other up.”
Ecclesiastes 4:10a (NIV)
7. Distract yourself.
I’m not advocating for denial here, but distracting yourself from your thoughts is a good way to help in the midst of the struggles with anxiety as a Christian. Find healthy ways to distract yourself or ground yourself in the moment.
I have a coloring app on my phone that I find soothing and often use to unwind and relax.
I’ve also tried some mindfulness and grounding techniques when my anxiety starts to get away from me. For me, this is just stopping my thoughts and shifting my focus to what I can see, feel and hear.
Sometimes what we need most is just a break from our anxious thoughts.
Related Bible verse:
“A person can do nothing better than to eat and drink and find satisfaction in their own toil. This too, I see, is from the hand of God.”
Ecclesiastes 2:24 (NIV)
8. Believe you CAN improve.
A major lie anxiety likes to tell us is that we will always feel this way — or at least feel this way for a long time. We don’t have hope for the future and have no reason to try and do better.
I’ve been down that path both with anxiety and my other health issues; I get it. I still have days where I think this is the best it gets.
But I am continuing to learn that a bad day, week or even month doesn’t mean it will always be bad.
The first step toward making progress is allowing yourself to believe –truly believe– that you can improve. And then you must remind yourself that you are worth the work.
I’ve learned I need to embrace these two concepts when I get stuck and need to move forward. I’m thankful for my husband who also gently pushes me to not just accept “this is how things are.”
Even if your anxiety isn’t healed or isn’t just a phase, you can always learn new ways to help manage it. Try new and different ways to manage your symptoms.
Don’t stop trying. Let me reassure you that God made you. You are worthwhile.
The good news is He doesn’t make junk, my friend.
You are worth the effort needed to improve. Tiny baby steps forward are still steps forward. God has plans to give you a future and a hope!
Related Bible verse:
“For I know the plans I have for you,’ declares the Lord, ‘plans to prosper you and not to harm you, plans to give you hope and a future.'”
Jeremiah 29:11 (NIV)
9. Get professional help.
A negative way anxiety and faith can overlap is by trying to convince you that since you have faith you don’t need help. Go back and read the section about the physical component of anxiety.
You can try helping yourself. Sometimes that works! But, sometimes it doesn’t because you need more help than you can give yourself.
Think of it like treating yourself when you’re sick. When you first start feeling a scratchy throat, you might drink more liquids and go to bed early.
However, if you wake up the next day with a swollen throat and a fever, you know you need to see your doctor and be checked for strep throat.
Treat your anxiety the same way. Try things to help yourself, but if it stays the same or gets worse, seek help.
You can start seeking professional help with your family doctor who can suggest mental health professionals in your areas. Consider cognitive behavioral therapy.
Be able to talking about anti-anxiety medication.
There is no shame in seeking help from a medical professional or counselor. God has given us knowledge and resources. We should not be ashamed to use those resources!
Related Bible verse:
“Plans are established by seeking advice; so if you wage war, obtain guidance.”
Proverbs 20:18 (NIV)
(Additional note: I left in this entire verse, because we are waging a war on anxiety. It applies!)
10. Focus on who God Is.
When we’re dealing with anxiety, we can feel like everything is shifting. Everything is murky, and nothing makes sense.
That’s all the more reason to focus on who God is. He is unchanging, faithful and true. That’s incredibly comforting with or without anxiety.
I remember distinctly a Sunday morning during a really bad time in my life. I’m not sure what the sermon was about that morning.
I was too distracted first by my worries but then by the cross at the front of the sanctuary. God’s Holy Spirit spoke into my heart and reminded me the God loves me and sent His Son to die for me.
When you aren’t able to cling to anything else, you can cling to God’s love. Shift your focus onto who He is and allow God’s presence and comfort to flow into you.
Related Bible verses:
“As for God, his way is perfect: The Lord’s word is flawless; he shields all who take refuge in him.”
Psalm 18:30 (NIV)
“This is how God showed his love among us: He sent his one and only Son into the world that we might live through him.”
Encouragement for Christian moms to speak up for their kids
“Speak up for those who cannot speak for themselves, for the rights of all who are destitute.”
Proverbs 31:8 (NIV)
When my daughter (my oldest) was a newborn, I felt in my gut that something was wrong with her. She would cry and curl into herself like her stomach hurt.
As an exhausted and desperate new mom, I called the pediatrician to get in. Her usual doctor was out, so we saw a different doctor. I explained what was going on and how it seemed like her stomach hurt.
The pediatrician looked at my husband and me and told us that babies can’t talk so we don’t really know when or if they experience pain. We were flabbergasted. Of course, we know based on how they react!
It was preposterous to us and also beyond frustrating. Fortunately, my husband figured out that our daughter was having trouble sucking and we were able to learn how best to feed her. Her usual pediatrician returned and soon she was well fed and happy.
We spoke up for her when she couldn’t speak for herself. That’s our job as parents. Even once our children are old enough to use words and communicate all sorts of messages, we are still their biggest and best advocate.
Sure, they need to learn to speak up for themselves and have a chance to do so, but they are also learning and growing. It’s OK to be the squeaky wheel when you need to be in order to get your children help.
That day in the doctor’s office with our daughter was only the first of many, many times we’ve advocated for our children. One of the greatest gifts we can give our children is to let them know we are with them, on their side and fighting for them.
Prayer:
God, thank you for always being on my side and fighting for me, even when I don’t see it. Give me wisdom and strength for how to best advocate for my children who you’ve blessed me with. In Jesus’ name, Amen.
Encouragement for Christian moms to live in the joy and strength of faith
Praise be to the Lord, to God our Savior, who daily bears our burdens.”
Psalm 68:19 (NIV)
Some seasons of life are just hard. I’ve heard one definition of insanity is doing the same thing over and over and expecting different results.
I’ve had seasons where that felt too close to home for me. Life can be tedious. Motherhood can be tedious.
I start the mornings with the best of intentions. Yet, some days – especially in hard seasons – those intentions get away from me. I start dwelling on all the hard stuff.
Just when I’m ready to throw in the towel and give up, God pokes my heart with reminders of His presence. He fills me with His strength when I so desperately need it.
Because while I may lay my burdens at His feet when I pray in the mornings, I often start picking them back up as I go throughout the day. I guess I think that God needs my help carrying them – as if He isn’t strong enough.
When I think of it in those terms, I laugh at myself. I’m not a strong person. I’d never win a weight-lifting challenge. Who am I to think the God of the universe needs my help to carry anything?!
Today, I will rest in the reminder that He is strong enough to bear our burdens daily, and we can let them go. We don’t have to carry them around with us.
Prayer:
Dear God, help me to truly lay my burdens at your feet and leave them there. I praise you for your strength, faithfulness and love for me. In Jesus’ name I pray, Amen.