Recipes have been part of the Home category from the beginning. But freelance journalist and blogger, Stacey A. Shannon, had so many recipes to share, she had to create a subcategory. You’ll find all sorts of family-friendly recipes in this category. Most recipes are easy and simple. All of them will please even picky eaters!
A 5-ingredient dessert recipe everyone will rave about
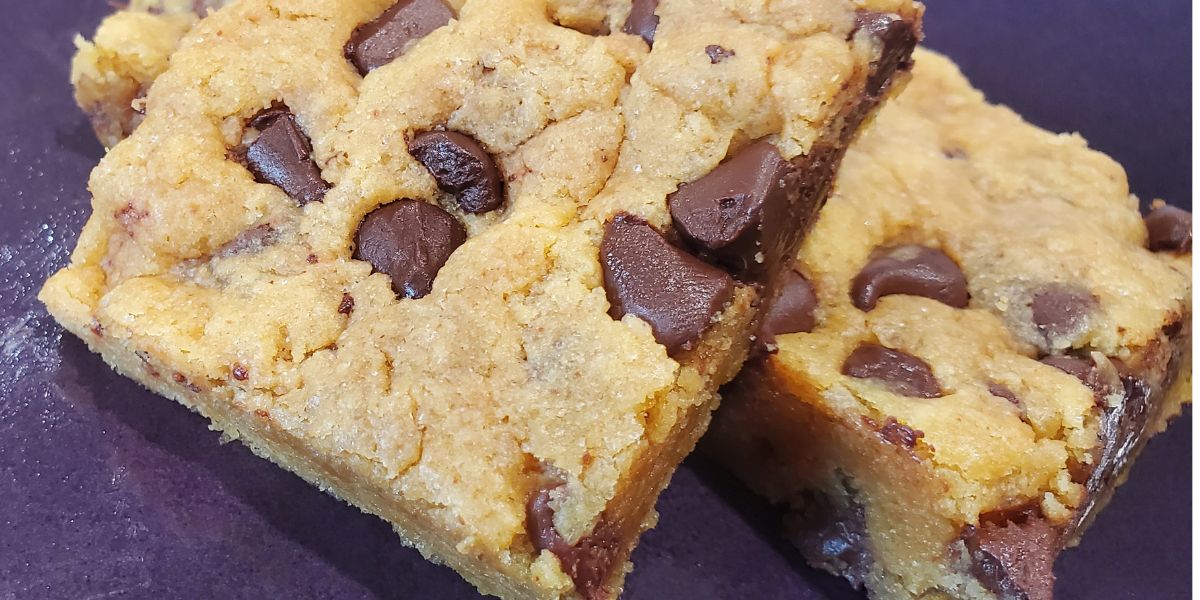
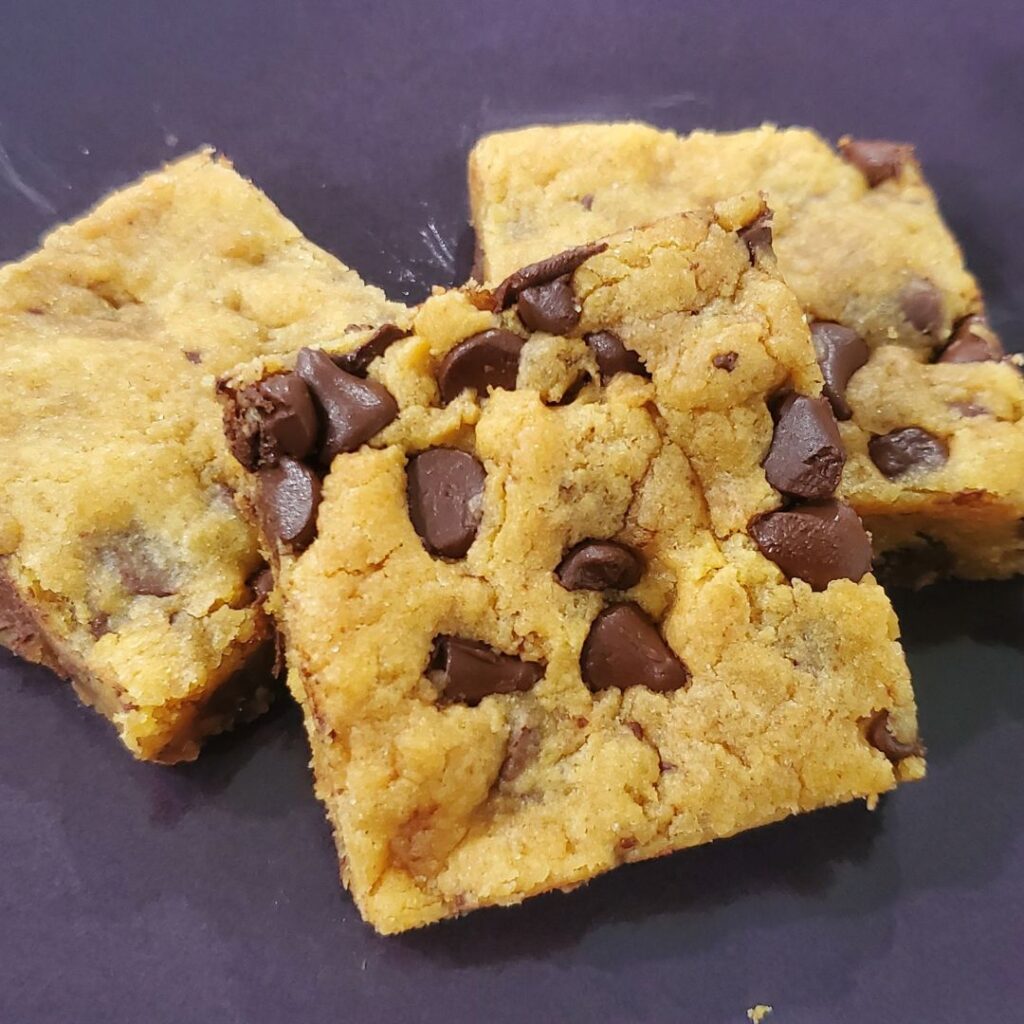
Some recipes seem too good to be true. This recipe for peanut butter chocolate chip cookie bars may very well be one of those recipes!
It is super simple with just five ingredients and has been a hit with everyone I’ve ever made it for.
I recently made three batches for our church youth group and they were gobbled up in a snap.
Why cookie bars instead of cookies
While I’m certainly the cookie maker in my family and love a good cookie, my mom life most appreciates cookie bars for one huge reason: they are easier.
There is no baking in batches and dolloping dough onto cookie sheets. Instead, you whip up the batter, put it in one pan, bake it, let it cool and swiftly cut it apart.
It doesn’t get much easier. When you are feeding a bigger crowd or just have a busy schedule (who doesn’t?!) cookie bars can be a quick and easy go-to dessert.
This peanut butter chocolate cookie bars recipe is ideal for all those reasons.
Making the batter
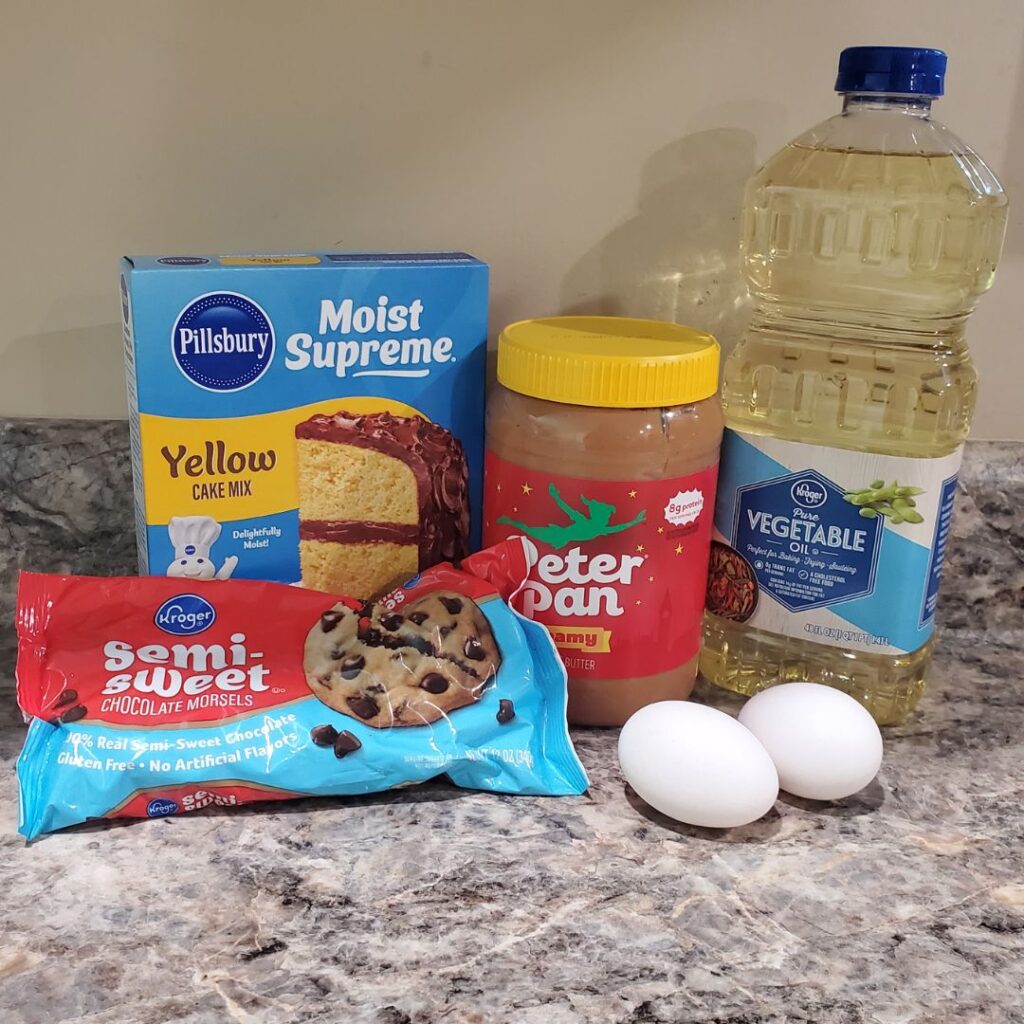
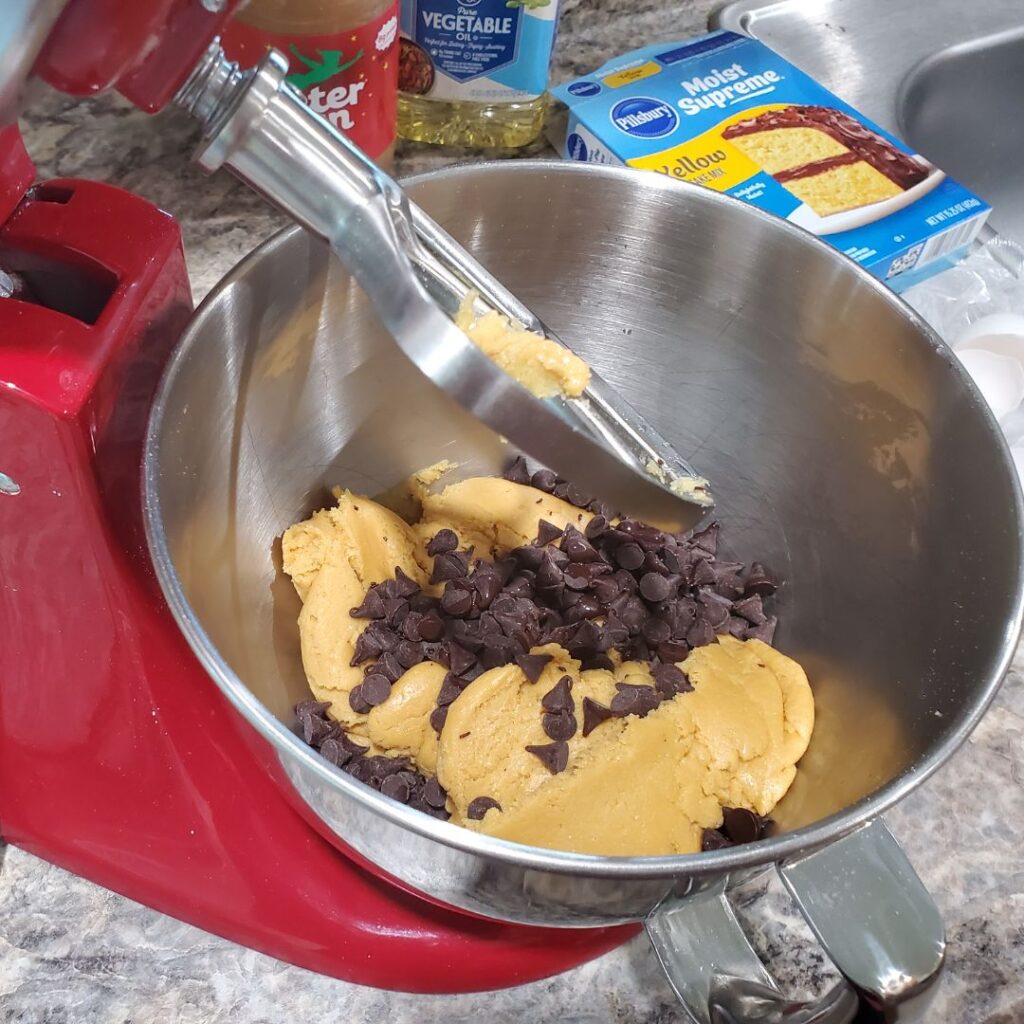
The big secret behind the ease of this recipe is the base is a yellow boxed cake mix. Brand doesn’t even matter for the cake mix either. I buy whatever is cheapest whether it’s store brand or a name brand on sale.
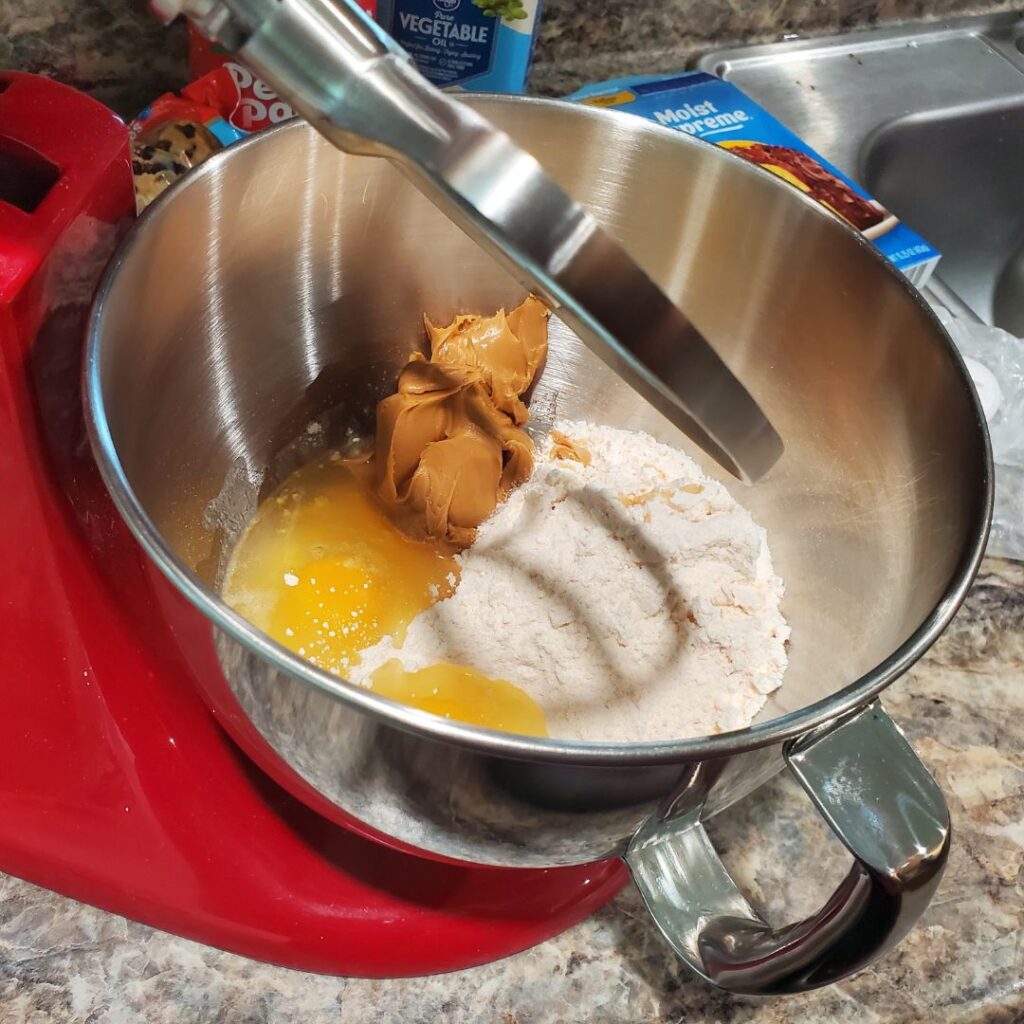
In a large mixing bowl, add the yellow cake mix, 2 eggs, 1/3 cup vegetable oil and 1/2 cup peanut butter. If you want some additional texture, chunky peanut butter should also work. I just always use creamy for personal preference.
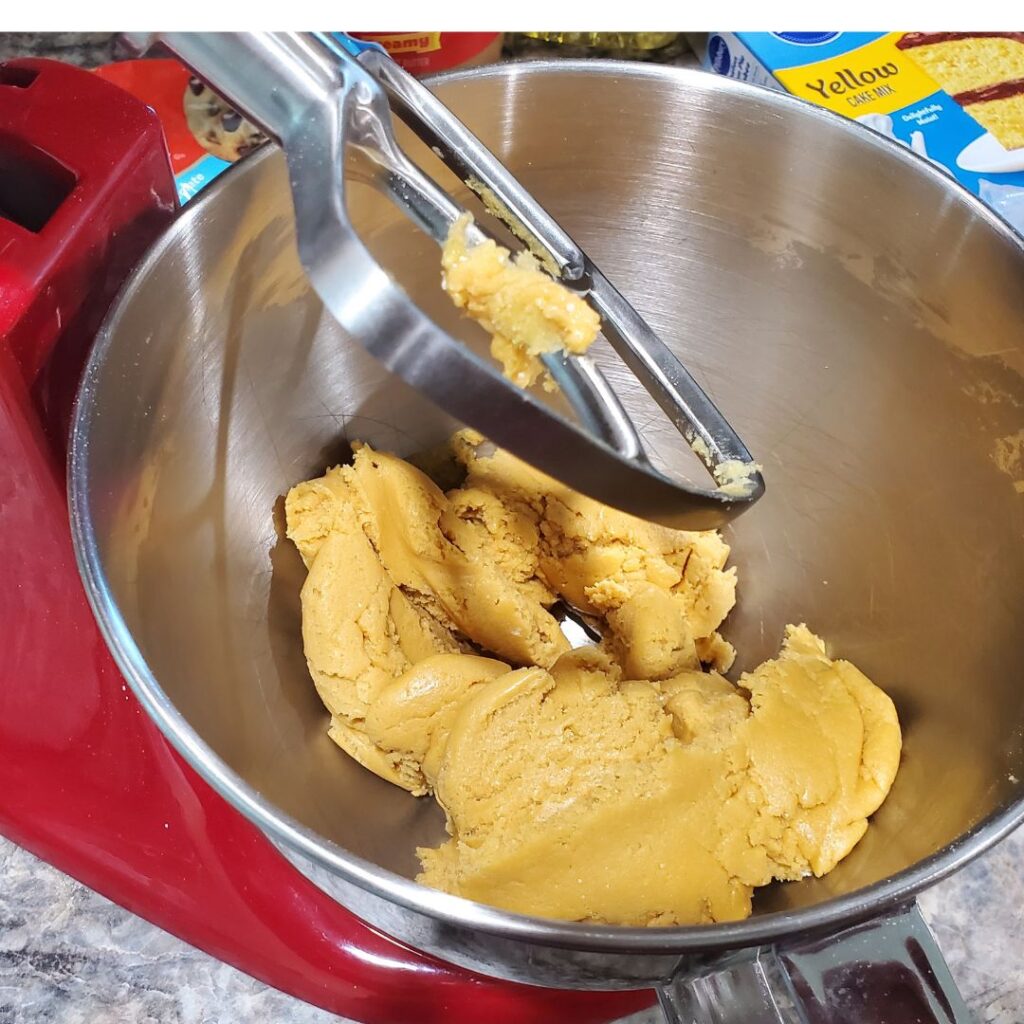
Mix them together until completely combined.
Stir in 1 cup of chocolate chips.
You can make this batter stirring by hand or with your mixer, whichever you prefer. I do it both ways.
Baking the cookie bars
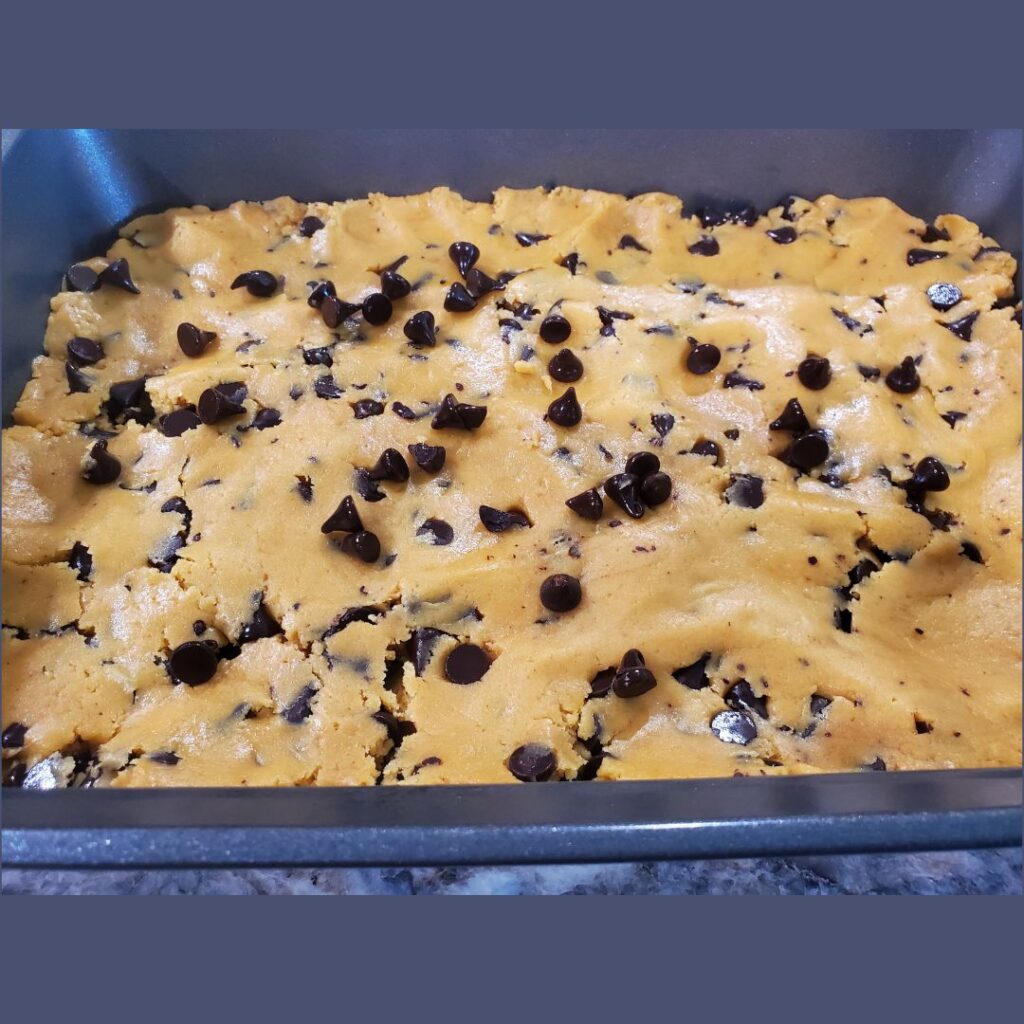
Put the batter into a 9 x 13-inch baking pan coated with non-stick cooking spray. Spread it out evenly in the pan.
If your chocolate chips aren’t sticking well in your batter, just mix them in by hand or plop them on top of the batter and push them down a bit.
I usually have about a dozen chocolate chip stragglers I do this with.
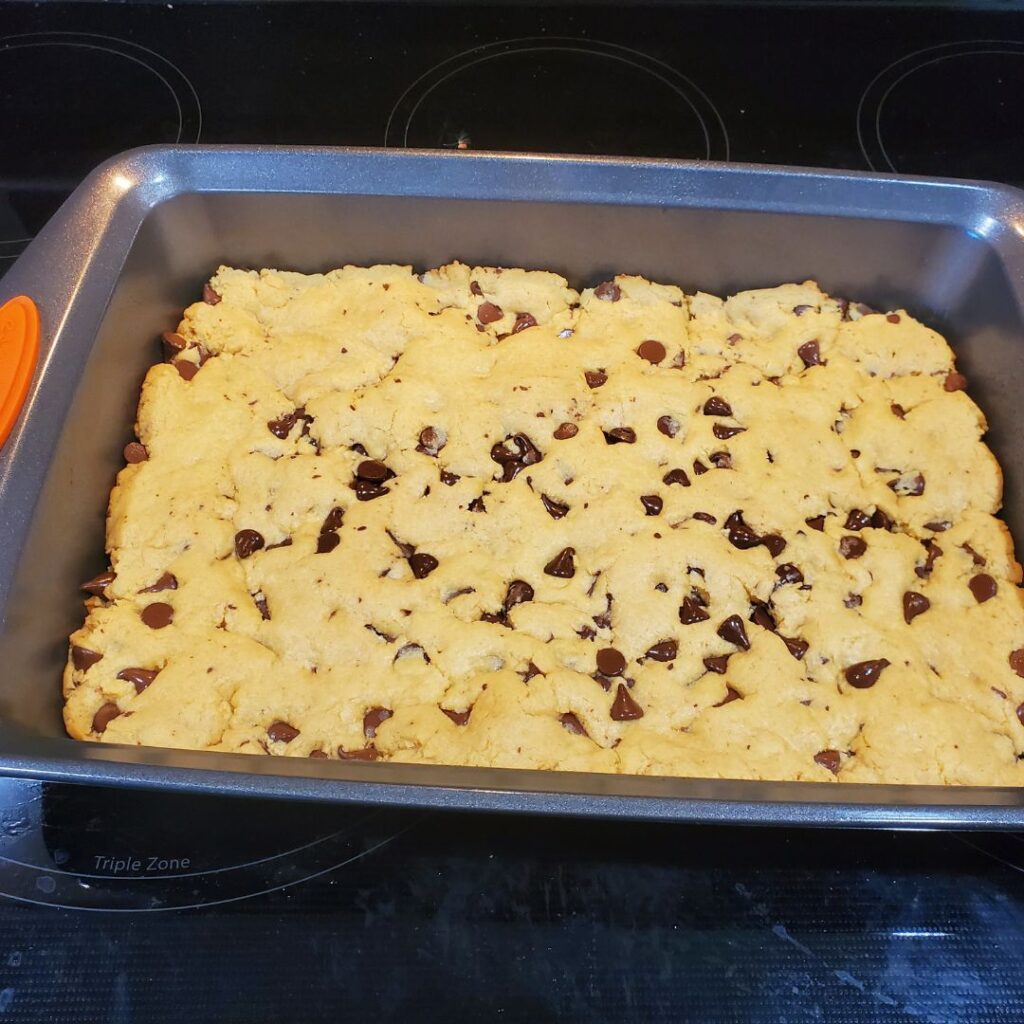
Bake the peanut butter chocolate cookie bars at 350-degrees (F) for 14 to 17 until until lightly golden brown.
Cut and serve
Let the bars cool for about 10 minutes and then cut them into squares and serve!
Store them in an airtight container for as long as they last. Around my house, they don’t last more than 24 hours at most!
Peanut butter chocolate chip cookie bars
This peanut butter chocolate chip cookie bars recipe only uses 5 ingredients and comes together in just a few minutes. It will be your new go-to!
Mix cake mix, eggs, vegetable oil and peanut butter together in a large mixing bowl with a mixer or by hand.
Gradually stir in the chocolate chips.
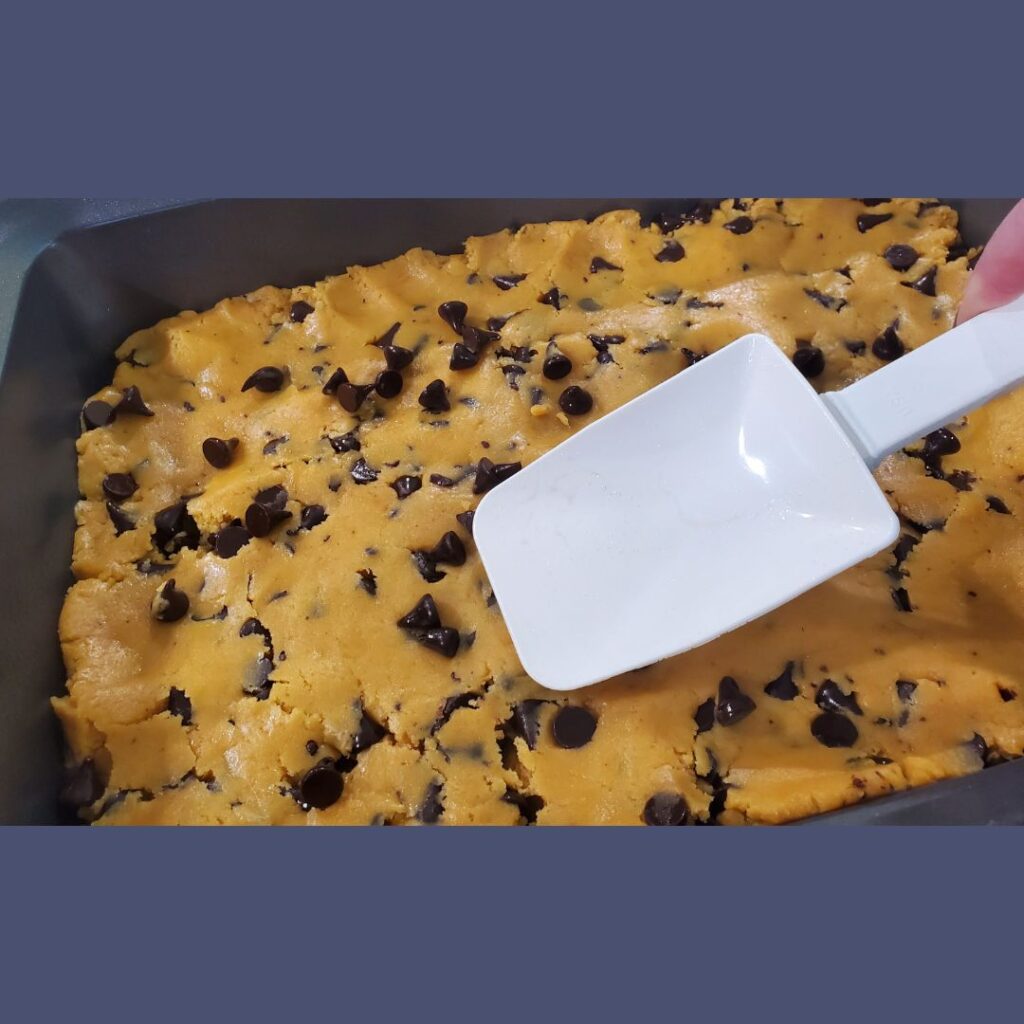
Pour the batter into a 9 x 13-inch pan covered in non-stick cooking spray. Sprinkle any extra chocolate chips from the dough over the top and press down with a spatula or spoon.
A few months ago, I was making dinner for our church youth group and trying to come up with an easy side that didn’t need to be served hot. I decided to put together an easy pasta salad recipe, and it was a hit.
In fact, my daughter reported that numerous youth group attendees asked her for the recipe. She and I giggled because this pasta salad recipe is so incredibly easy.
Sometimes we make it just to eat on throughout the week, but it also works well as a side for carry-ins, feeding a crowd or on holidays.
A huge bonus is that it’s easy to make ahead of time, and the flavors blend together better when you do so as well.
The pasta for the pasta salad
I use garden rotini pasta for making the pasta salad because it’s colorful and looks pretty. It’s the traditional pasta salad pasta.
However, you can use whatever type of pasta you want or have in your pantry. Boil it on the stove according to the box directions.
Strain it in a colander and run cold water over it to cool it down.
The veggies for the easy pasta salad
Set aside the pasta to continue cooling (I usually just leave mine in the sink), and prepare your veggies.
This is where you can get creative and/or use what you have on hand. Here is what I usually use per box of pasta:
2-3 diced Roma tomatoes (any tomato works)
1/2 cup diced onion (yellow or red)
1 medium diced red bell pepper (orange or yellow also work)
1 medium chopped zucchini
For the zucchini, I cut it in quarters and then chop from there.
The final touches
I toss the veggies into a large bowl and then add in 3/4 cup of shredded Parmesan cheese. You can also use grated Parmesan cheese.
Add the pasta and then pour 1 cup of Italian dressing over the top. Mix it together well.
Let the pasta salad chill in the refrigerator for at least an hour. If needed (or desired), add 1/2 cup of additional Italian dressing and stir in before serving.
You can easily double this recipe to serve a larger crowd. As is, the pasta salad as a side serves about 15 people.
Easy pasta salad
A simple, easy pasta salad recipe that will easily feed a crowd
One of my favorite, super easy slow cooker recipes to feed a crowd is hot dogs. It’s a simple way to put together a quick meal that will feed lots of folks.
I’ve used this for our church youth group and our church small group so far. It would also be a great option for birthday parties and picnic holidays.
And it’s so incredibly simple that I almost feel silly for making a whole post about it! Two steps is all it takes!
Dump the hot dogs you prefer into your slow cooker.
Set the temperature to low for four hours or high for two hours.
That’s it! Throughout the cooking time, move them around a little a time or two.
And then just serve them up with buns, your favorite toppings and easy sides like chips, simple pasta salad and cookies.
A couple of sidenotes to avoid confusion:
Don’t add water to the slow cooker. It’s not needed.
You can stack the hot dogs vertically or just plop them in horizontally. I’ve done both. If you have more to cook, then vertically probably fits more, but it’s also easier for one end of the hot dogs to get darker that way.
Making hot dogs in your slow cooker is way easier than you’d ever guess!
When you’re short on time
Any food made in the slow cooker requires a bit of planning ahead, because it takes a while. But what about when you’re short on time and need to get a slew of hot dogs made stat?
Make them in your oven! It’s even easier than on the grill. Find all the details here:
Don’t miss these other great, easy recipes as well!
5 Easy dessert recipes that won’t heat up your kitchen!
I love baking. Baking was my first foray into cooking back in high school. But when the weather’s hot, I don’t want to turn on the oven — even in a house with central air conditioning!
I’m excited to share some of my favorite easy summer dessert recipes that don’t require the oven or stovetop. These are easy-peasy recipes even your kiddos can make if they want. (I know this, because mine have!)
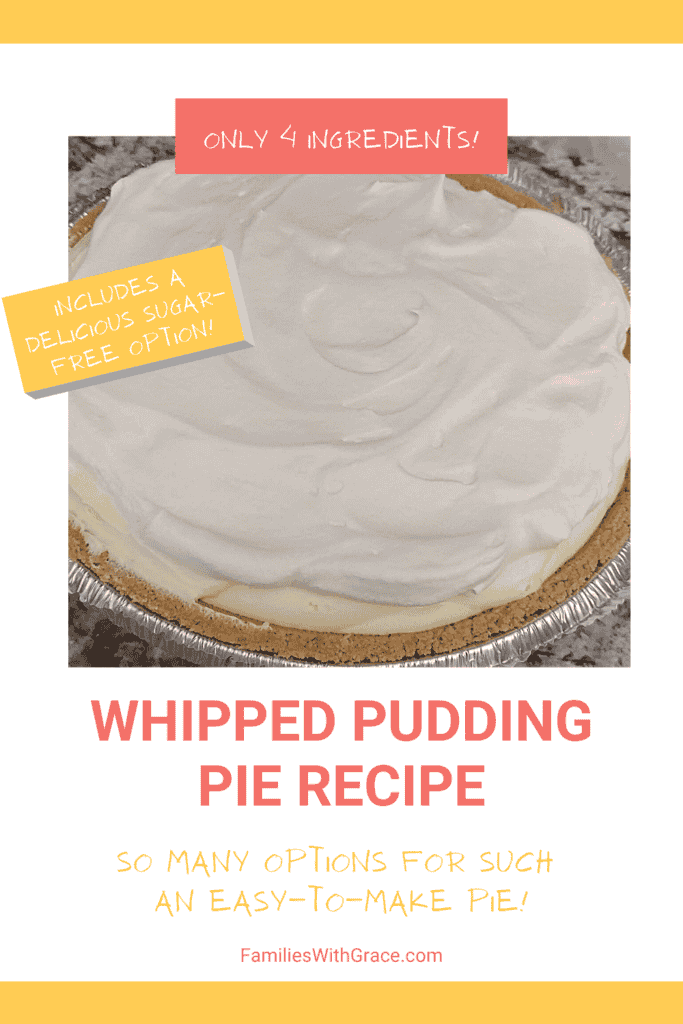
Whipped pudding pie
This 4-ingredient whipped pudding pie recipe is one of the most loved recipes I’ve ever shared. It’s easy and versatile. You can use almost any flavor and even make it sugar free.
You don’t have to even use your microwave for this one, especially if you use a store-bought graham cracker crust like I do. If you want to make your own graham cracker crust, then you’ll need to melt some butter to help hold together your graham cracker crumbs.
Otherwise, all you need is an instant pudding mix, milk and an 8-ounce tub of whipped topping. You do need to plan ahead a bit because this easy whipped pudding pie recipe needs about an hour to chill in the fridge.
Find all the details here:
Edible chocolate chip cookie dough
Another family favorite is this edible chocolate chip cookie dough recipe. You’ll need the microwave for this one to heat-treat the flour and maybe soften the butter, but that’s it!
This simple recipe comes together quickly and really does taste like chocolate chip cookie dough. Since it doesn’t have any eggs in it, you can nosh without worry!
We literally just eat the edible chocolate chip cookie dough by the spoonful in my family. You could also add it into ice cream or milkshakes you make at home.
This decadent dessert uses ingredients you probably already have on hand: flour, brown sugar, butter, vanilla extract, milk, salt and semi-sweet chocolate chips.
Find all the details here:
Oreo ice cream cake
Ice cream is the perfect summer treat and this Oreo ice cream cake is a long-standing family favorite. I’ve been eating it since I was a child!
Through the years, my mom has gotten this recipe down to an art and nowadays only needs four ingredients to make it happen. Ice cream, Oreos, hot fudge sauce and whipped cream come together in a flavor explosion.
I am totally partial to this easy summer dessert recipe because I love, love, love it! The only heat required is the microwave to heat up the fudge sauce warm enough to be pourable.
This one takes some time because you have to let the ice cream soften and firm a few times, but it’s so easy — and yummy — that you won’t mind.
Find all the details on how to make this 9×13-inch Oreo ice cream cake here:
Puppy chow
Whether you call it puppy chow or muddy buddies, the combination of peanut butter and chocolate on crisp rice cereal is so delicious!
I went through a phase of obsession with puppy chow and got the recipe down to an art. Using rice cereal instead of corn, adding a bit of vanilla extract and using Skippy peanut butter are my top tips.
Puppy chow is a great easy summer recipe because you only need to use the microwave to melt the chocolate chips, butter and peanut butter together. It’s a great recipe to make with your children!
Find all the details here:
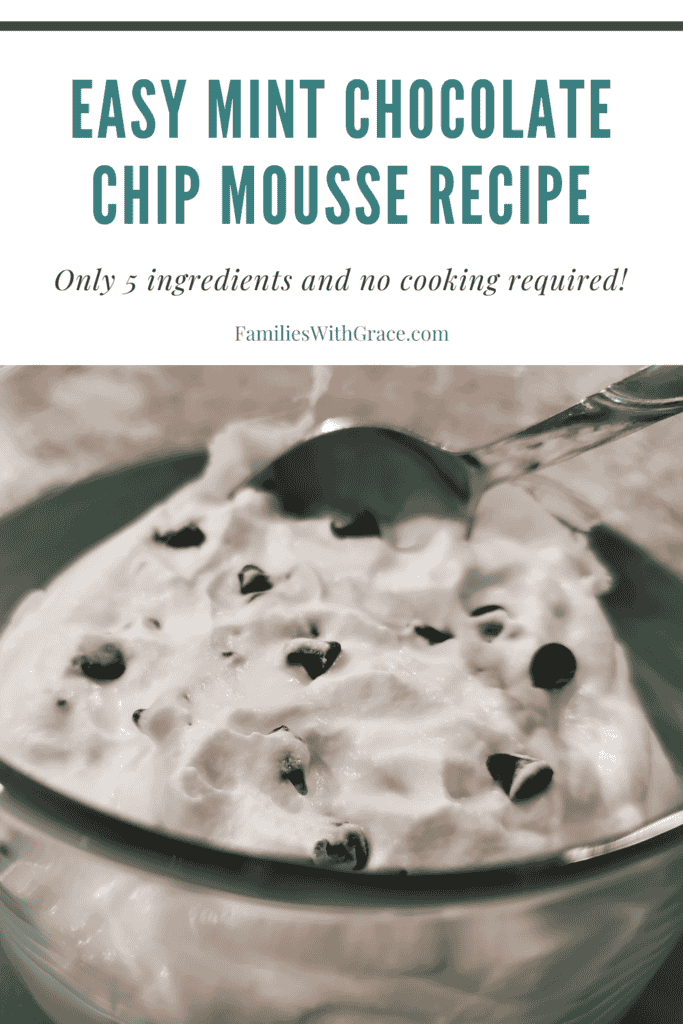
Mint chocolate chip mousse
Mousse sounds like such a fancy dessert to make, but this mint chocolate chip mousse recipe is incredibly easy and only needs five ingredients!
The cool mint flavor is refreshing for summertime. And you don’t need any heat at all for making this recipe. You do need a bit of time for it to chill, though, so be prepared for that.
While I make this with mini chocolate chips, you could also used crushed chocolate cookies, another type of chocolate or no chocolate at all.
Salsa is an easy way to add flavor to these beef enchiladas!
One cuisine my entire family agrees on is Mexican food. Even my most particular eaters in the house have lots of Mexican favorites. While the guys would be happy with tacos or nachos all the time, my daughter and I like to shake things up a bit more. I tried making beef enchiladas first with a meal kit, and now I’ve made the recipe my own.
These beef enchiladas are super easy to put together and have a delectable Mexican flavor your whole family will like. You can make them as spicy as you like. My kiddos and I aren’t big on spicy food at all, so I got mild with ours, but there are easy ways to increase the spice like by using medium or hot salsa.
You can also make other variations on this enchilada recipe as well. I use ground beef, because that’s what the majority of my family prefers. But you can also use chicken or ground pork. I actually made a couple of the batch I photographed with cheese and onion, because I’d been craving a cheese enchilada.
On the stovetop
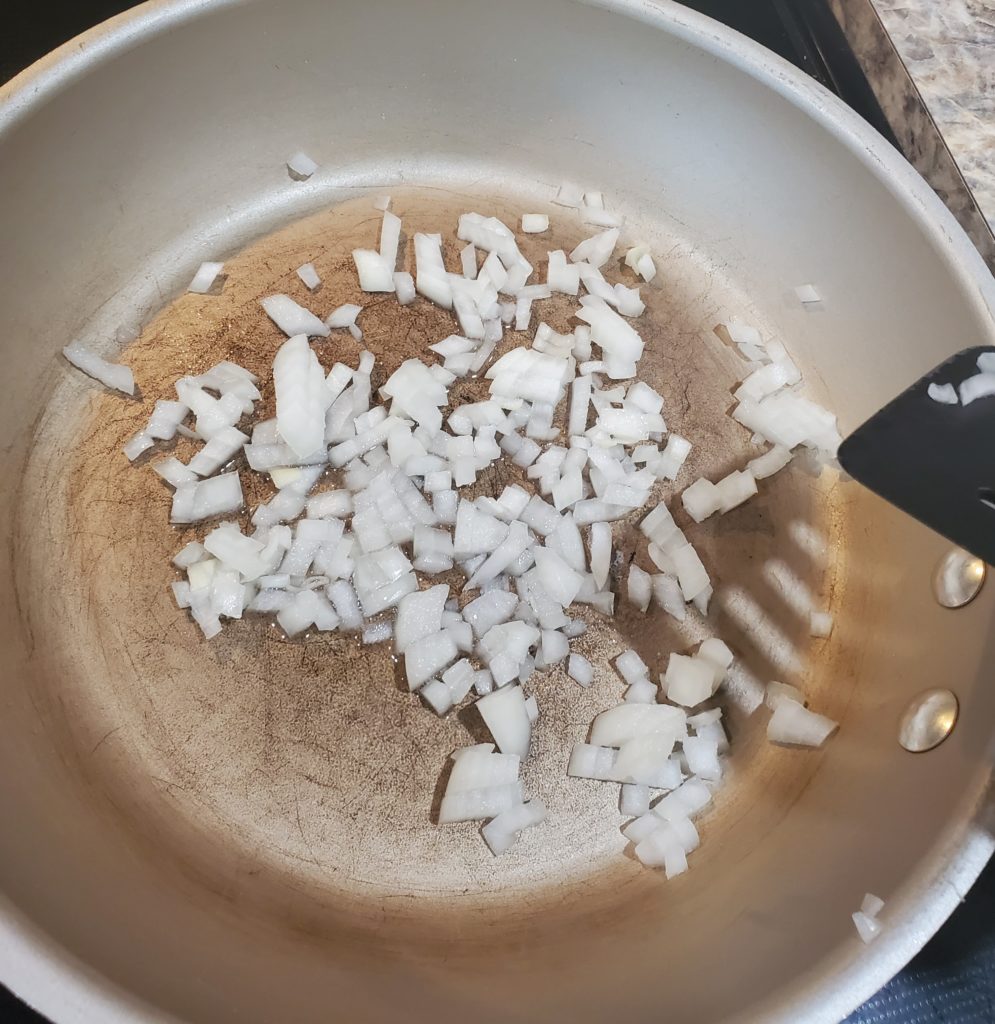
This recipe starts on the stovetop. Put about 1 tablespoon of vegetable or olive oil into a large skillet. Add 2/3 cup of diced onion and sauté the onion over medium-high heat for 3 minutes.
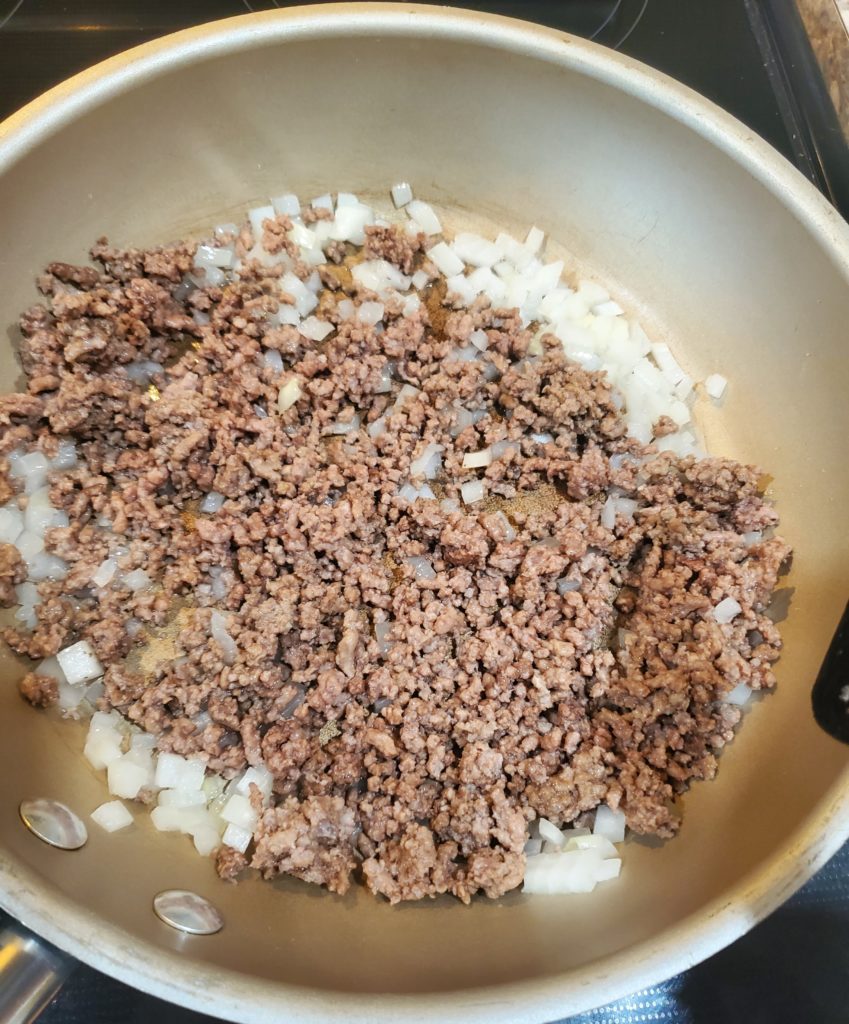
Next add in 1/2 to 1 pound of your meat. You can use chicken or ground turkey. I use ground beef. I usually use about 1/2 pound, because my family isn’t big on eating meat. But you can do up to a pound to make enough enchiladas for four people. Crumble the meat into small pieces and cook it completely through.
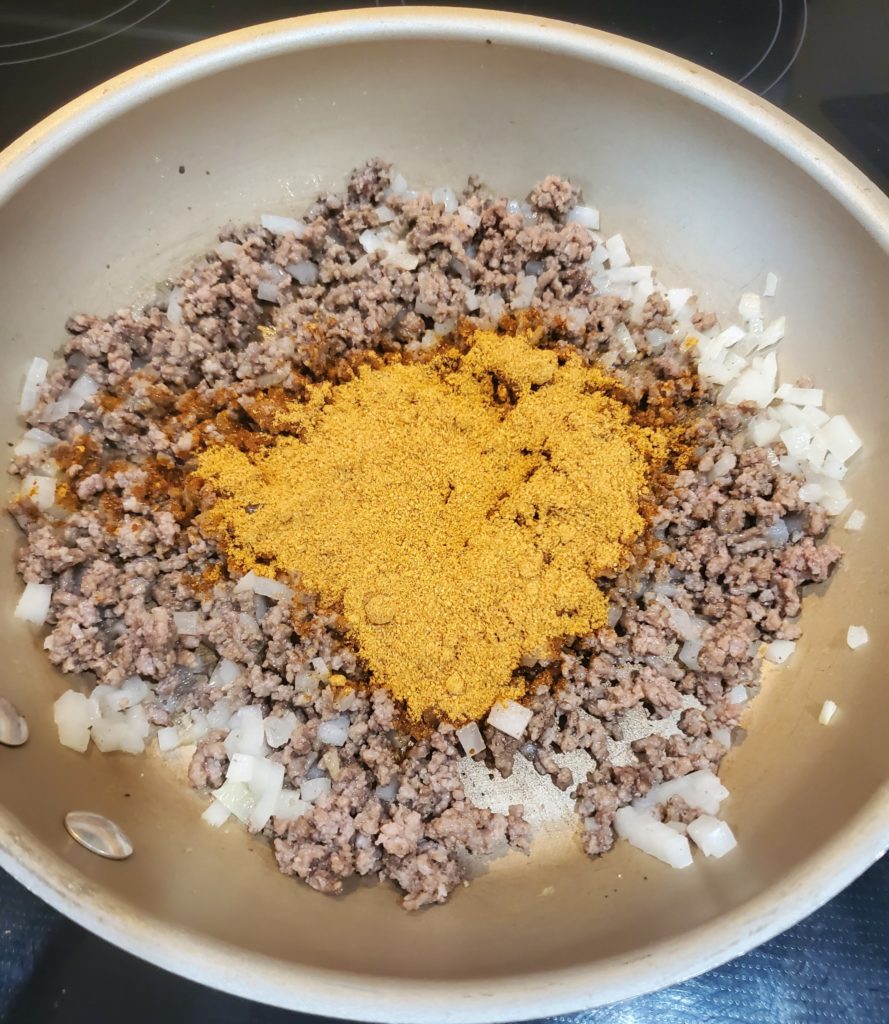
Once the meat is cooked, then you need to season it. I use 1/4 cup (or one packet) of taco seasoning. Mix the seasoning in with the meat without adding water.
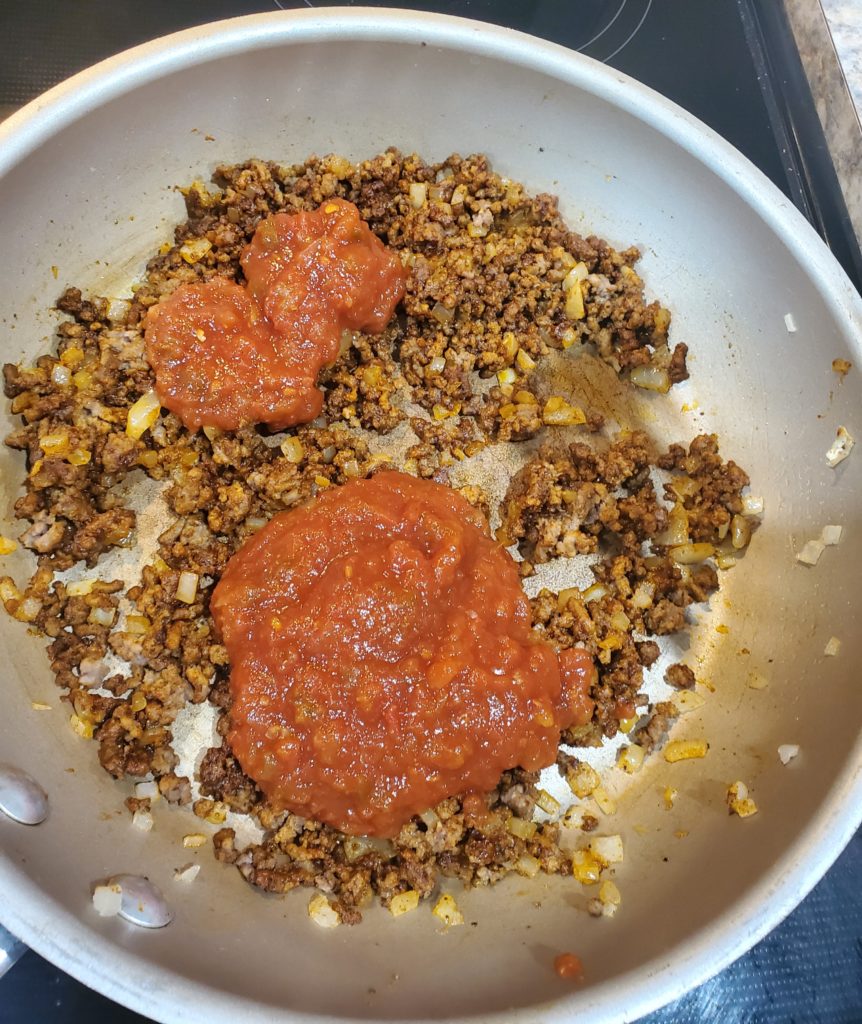
Stir in the taco seasoning and then add 1 cup of salsa to the meat mixture. I use mild salsa, but you can go for whatever heat level your family prefers. (If your family doesn’t like chunks of veggies in their salsa, use a food processor or blender to puree the salsa before adding it in.) Feel free to also add salt and pepper to taste.
Let the meat mixture simmer on the stovetop for 2 to 3 minutes. Then remove the meat mixture from the heat.
Build your beef enchiladas
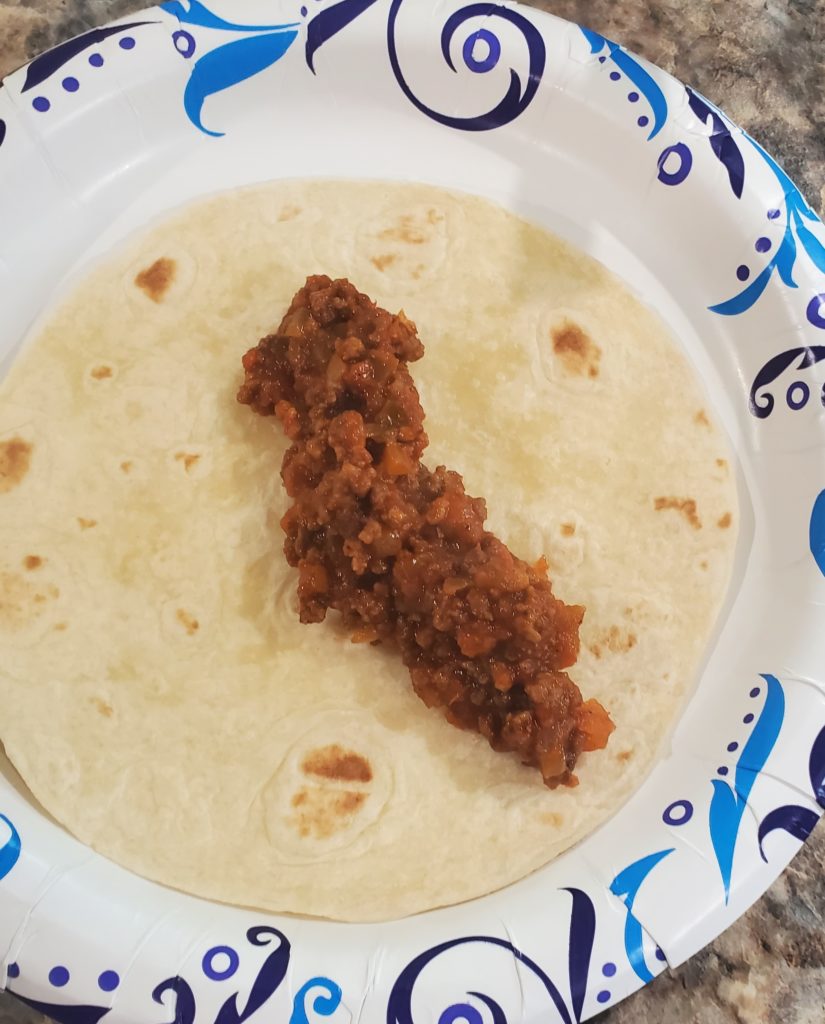
Now you’re ready to build your beef enchiladas. I usually get out a paper plate to build mine on. Dollop 1 to 2 tablespoons of the meat filling into taco-sized flour tortillas.
(Honestly, if I were making these for just me, I’d add a sprinkle of cheese to the inside of each enchilada as well, but my crazy family doesn’t like melted cheese as much as I do. So I refrain. Sigh.)
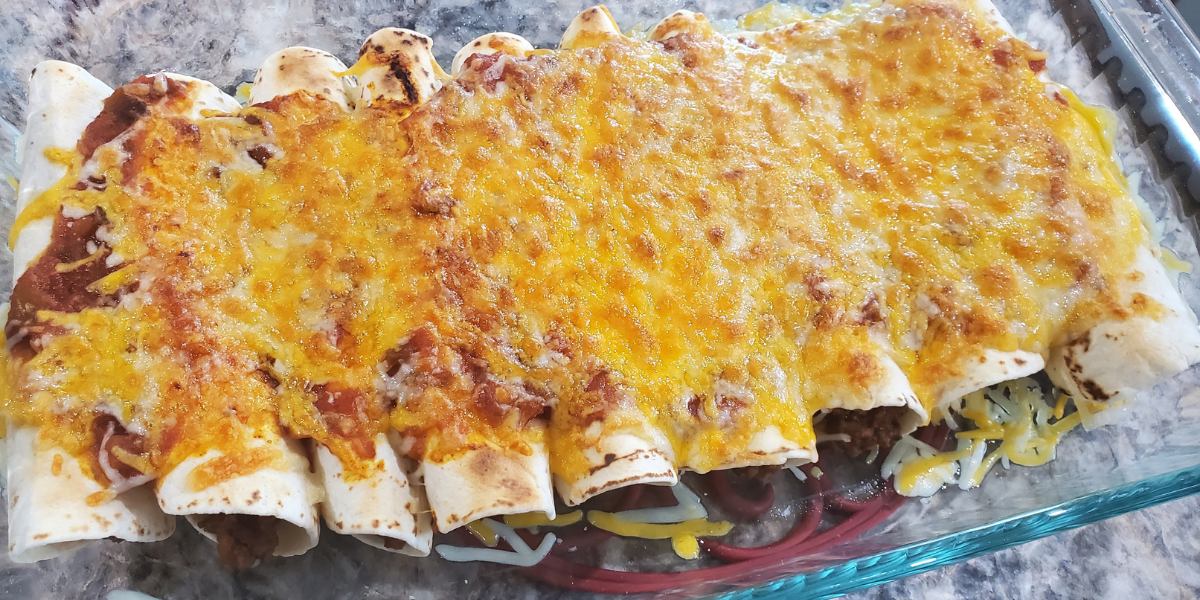
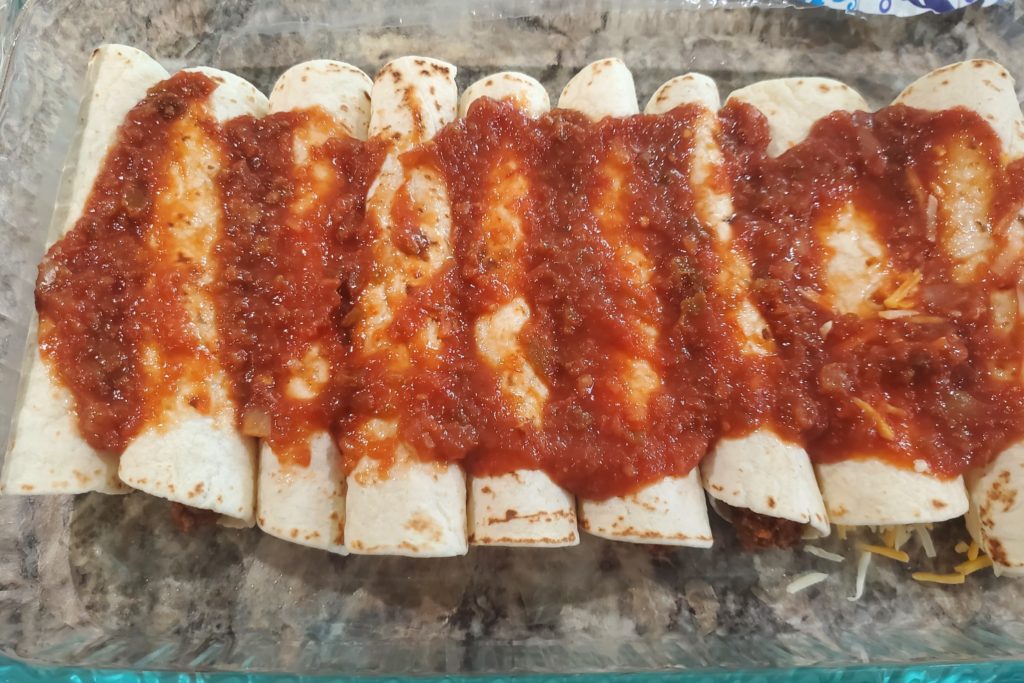
Roll the tortilla and place it seam-side down into the 9×13-inch baking dish that’s been sprayed with non-stick cooking spray. Put them right next to each other to keep them from opening up.
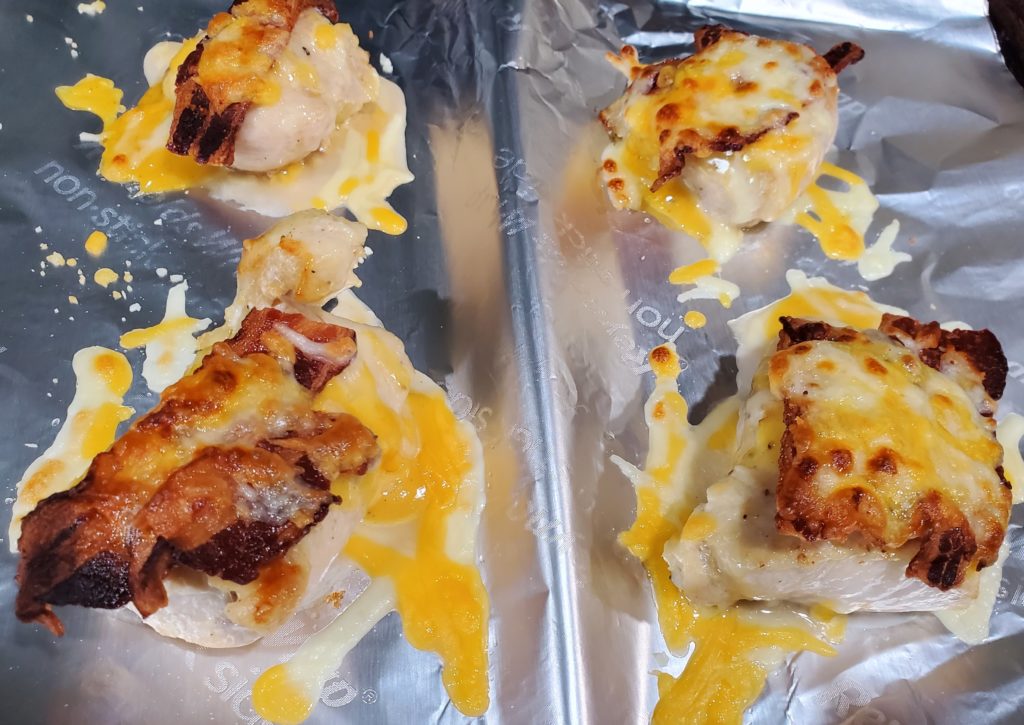
(You’ll notice in the photo below that the enchiladas on the far right have cheese already. This is because I made a couple of cheese and onion enchiladas as well and wanted to “mark” them.)
Pour about 1 cup of salsa over the top of the enchiladas.
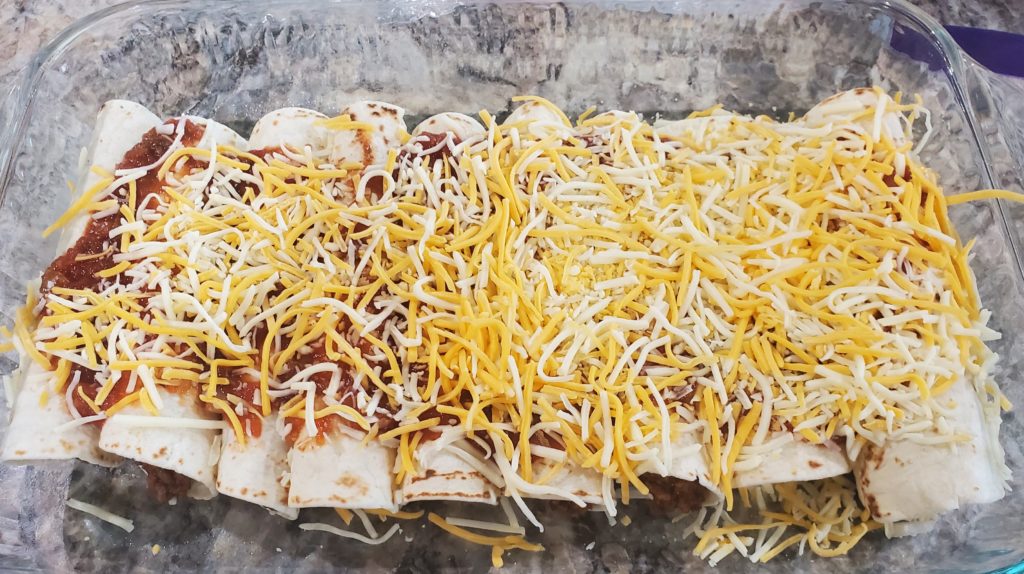
Sprinkle the top of the enchiladas with shredded cheese. You’ll notice that mine increases in cheese amounts as you go to the right, because I can’t give up all melty cheese just because my family doesn’t like it as much as I do!
Place the baking dish in the oven and turn the broil on low. Broil the beef enchiladas for 3 to 4 minutes until the cheese is melted, lightly browned and bubbly.
Serve immediately. We love to put sour cream on ours. Mexican rice from a box goes well with these beef enchiladas as do tortilla chips.
Beef enchiladas with salsa
The use of jarred salsa makes this beef enchilada recipe an easy one to pull of for any weeknight. Even picky eaters like it!
Put 1 tablespoon of cooking oil in a large skillet over medium-high heat. Add in the onion, and sauté for 3 minutes.
Crumble and add the ground beef, cooking it with the onion until it is cooked through and no longer pink.
Add 1/4 cup (one packet) of taco seasoning. Mix it well.
Add 1 cup of salsa. Mix it well, and let it simmer for 2 to 3 minutes.
Remove the meat mixture from the heat. Add 1 to 2 tablespoons to a flour tortilla.
Roll up the tortilla, and place it seam-side down in a 9×13-inch backing dish that's been sprayed with non-stick cooking spray. Repeat until all the meat is gone.
Pour 1 cup of salsa over the top of the rolled tortilla shells.
Sprinkle 1 cup of cheese over the top of the salsa.
Place the pan in the oven and broil on low for 3 to 4 minutes until the cheese is bubbly and slightly browned. Serve with sour cream, if desired.
Keyword enchilada, family cooking, family dinner, family friendly, kid friendly, salsa
Don’t miss these easy weeknight family dinner options as well!
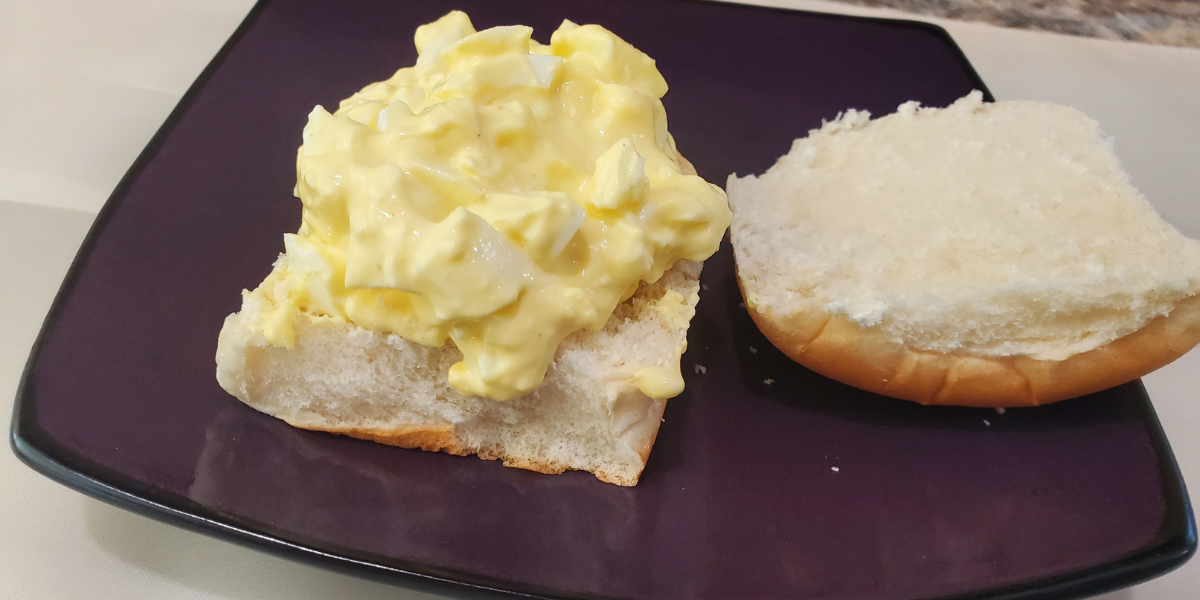
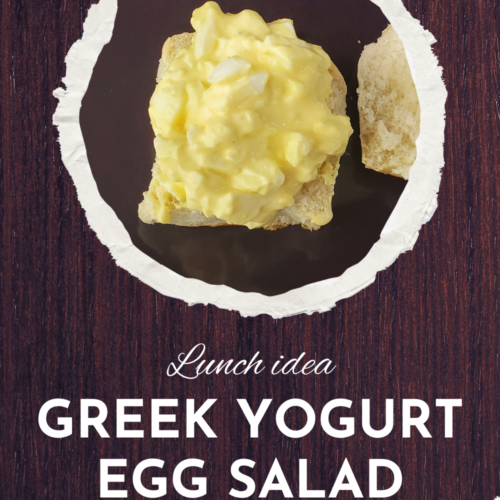
When it comes to “salads” for sandwiches, egg salad is one of my favorites. I love a good chicken salad, too. I’m more than glad to pass on tuna salad. But, a good egg salad sandwich can’t be beat.
However, like so many good foods, egg salad isn’t necessarily the healthiest food. Then I learned about using plain Greek yogurt as the base for the egg salad and knew I had to give it a try. Now I’m hooked on not only how healthy this Greek yogurt egg salad recipe is but also on how easy it is to make!
For those tracking points for WW, this egg salad recipe is only 1 point per serving (as of May 2023). Not too shabby!
How to boil eggs
One of the first things I had to learn in making good deviled eggs was to boil them correctly. I didn’t want them to be over-boiled and get that dark tint to the yolk. Having them be soft boiled also wouldn’t work. Like Goldilocks, I want boiled eggs that are just right. So, here’s what I’ve found that works best.
First, start with older eggs. I’m not saying expired eggs, but the fresher your eggs are, the more difficult they are to peel so they’re smooth. Next, fill a pot about 2/3 full with warm water and add a dash or two of salt. (The salt will help the shells come off a bit easier.)
Put the pot on your cold stovetop. Carefully place four eggs into the pot. Put a lid on the pot, and turn the stove on high heat. Leave them be. When the water begins boiling, turn off the heat. Leave the eggs on the warm stovetop for 10 to 12 minutes. Transfer the eggs to a bowl and fill it with cool water. Add in ice cubes and let the eggs sit until they are completely cool.
Prep the eggs
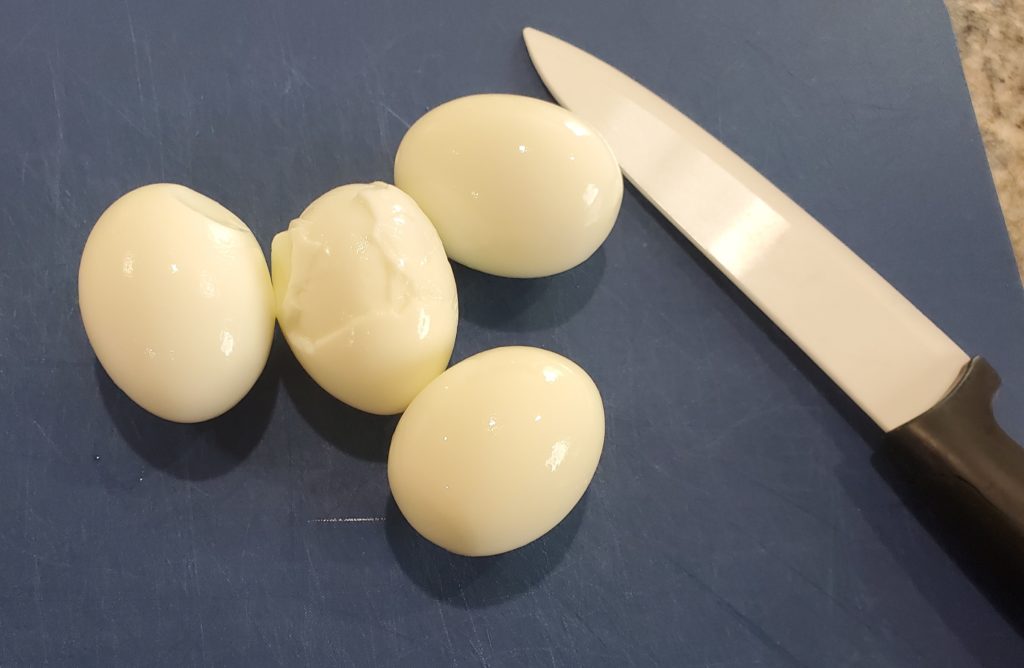
Once your eggs are cooled, you’re ready to start prepping them. I usually tap them on the countertop to crack the shells and then peel them over a paper towel. When I’m finished, I rinse the egg to be sure I have gotten off all bits of shell, and then I place them onto a clean paper towel to dry.
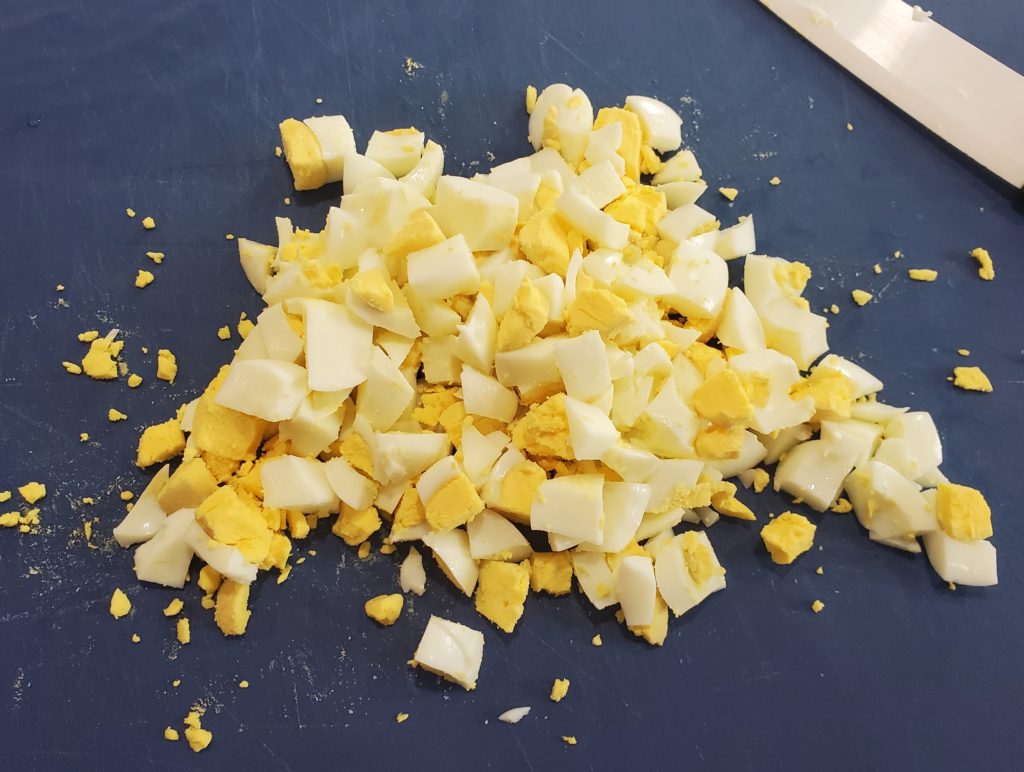
Next you can either chop the eggs into small pieces or put them in your bowl to mash. I’ve done it both ways. I like it better chopping them first just because then the egg pieces are a bit smaller in the egg salad, but either way works.
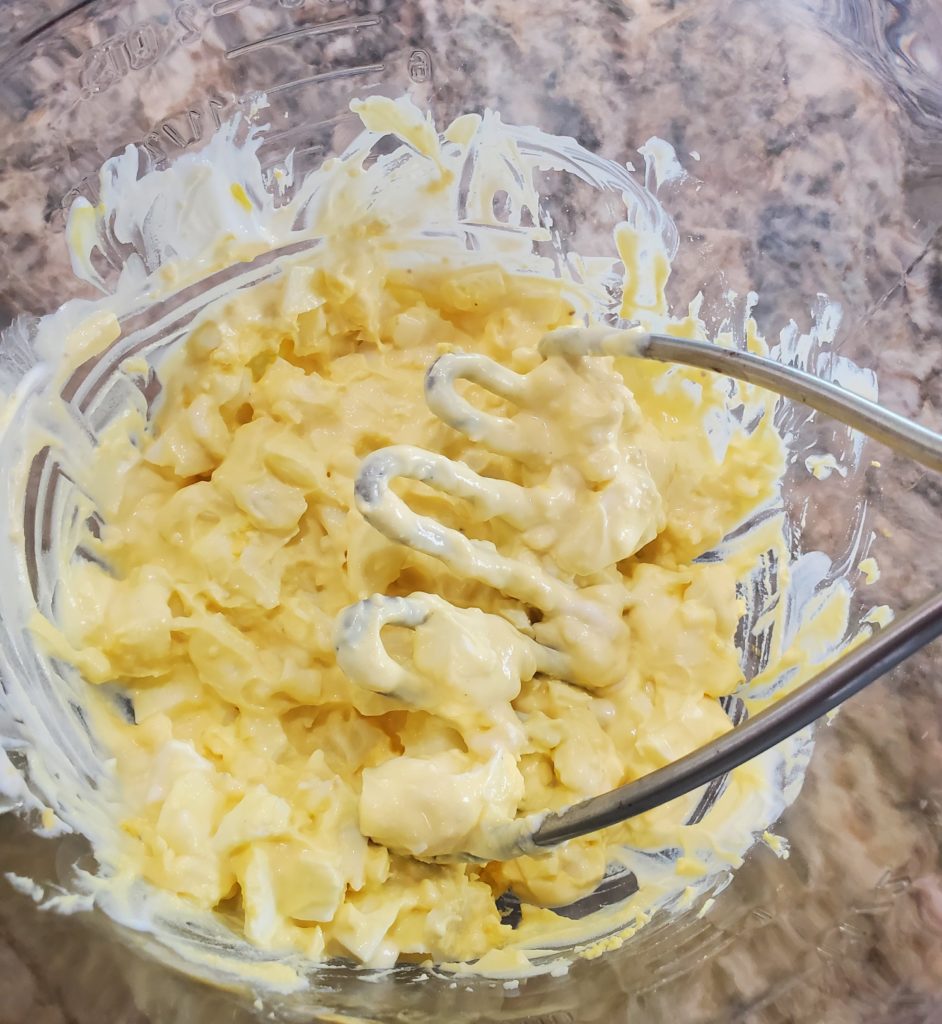
Make the egg salad
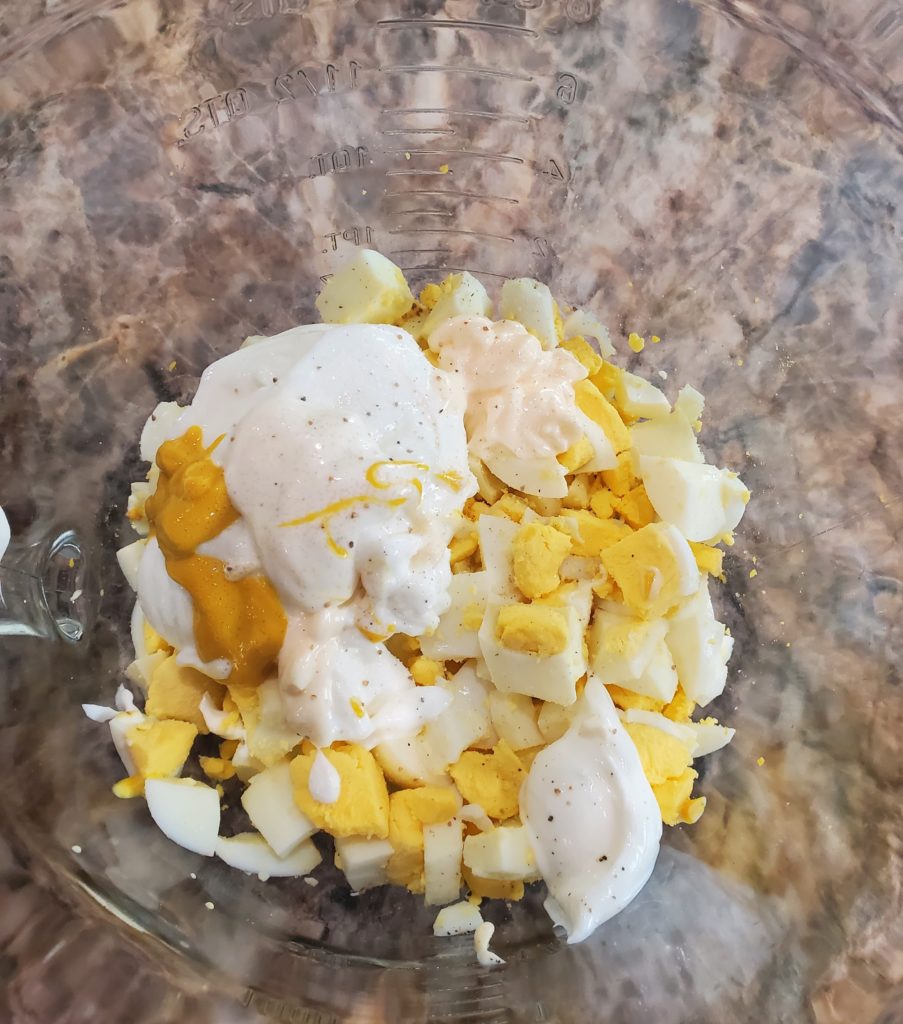
Place the boiled eggs — chopped or whole — into a mixing bowl. Add 1/3 cup plain Greek yogurt, 1/2 tablespoon mayonnaise, 1 teaspoon yellow mustard, 1 teaspoon Ranch dressing and 1/2 teaspoon honey mustard. (If you don’t have honey mustard, add some extra yellow mustard.) Sprinkle in salt and pepper to taste.
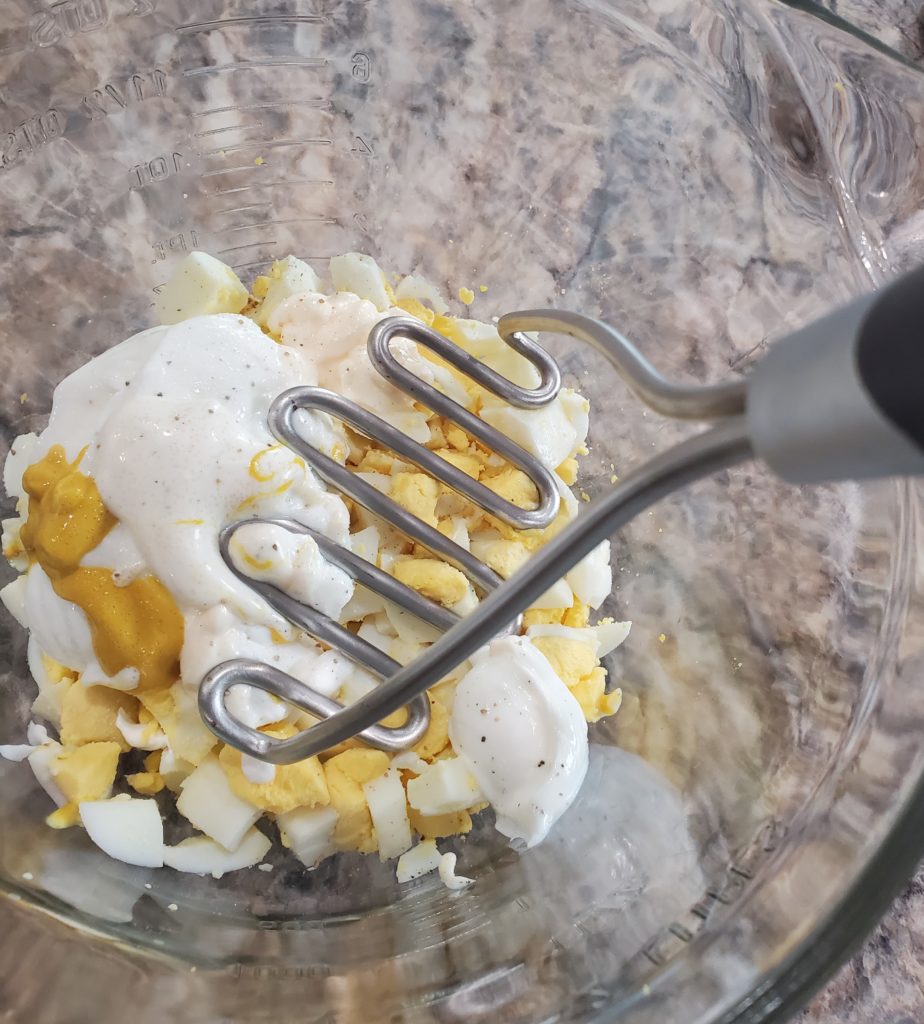
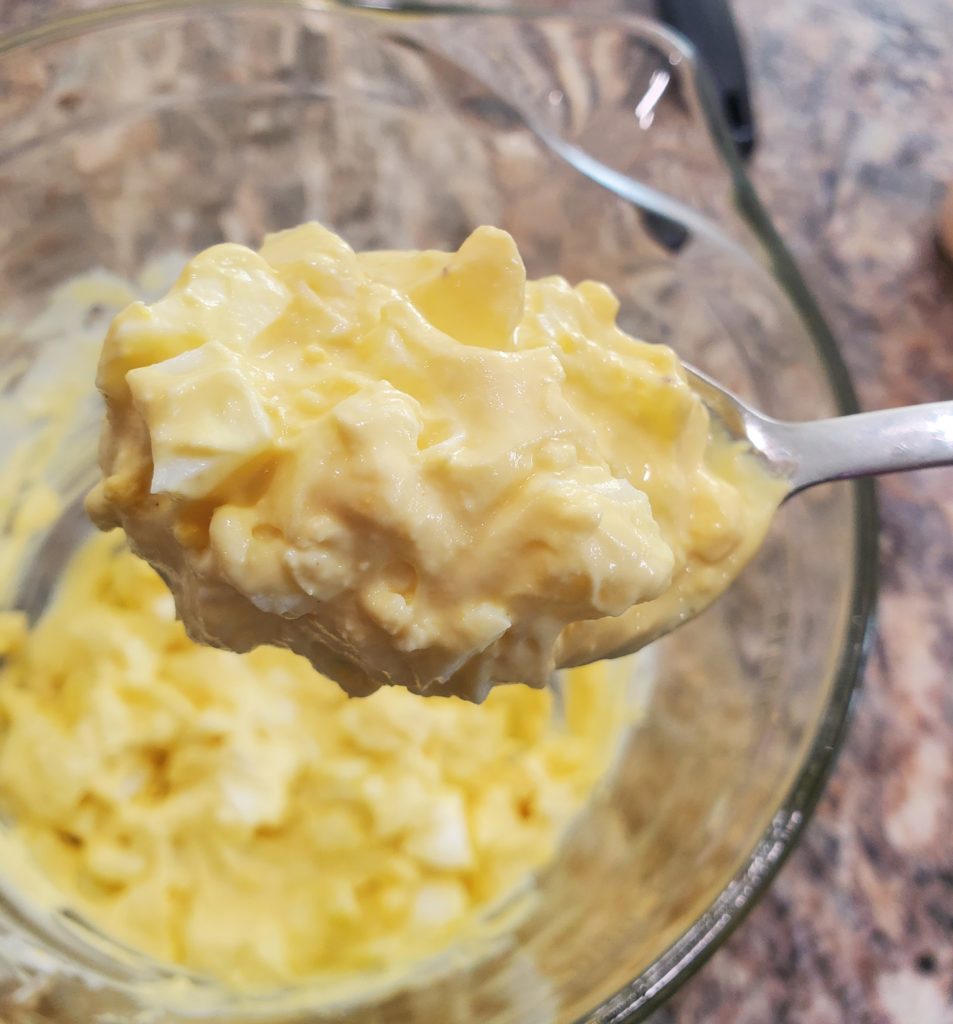
Using a fork or your potato masher, mash all the ingredients together.
Once everything is mashed to the size you like, use a spoon to stir a few times and make sure all the ingredients are well combined. Serve it immediately or store the egg salad in an airtight container in your refrigerator for five to seven days.
Greek Yogurt Egg Salad
This Greek yogurt egg salad recipe is tasty, low calorie and packed with protein. Plus it's only 1 point using the 2023 WW point system!
Fill a pot about 2/3 full with warm water and add a dash or two of salt. Put the pot on your cold stovetop. Carefully place 4 eggs into the pot. Put a lid on the pot, and turn the stove on high heat. Leave them be.
When the water begins boiling, turn off the heat. Leave the eggs on the warm stovetop for 10 to 12 minutes. Transfer the eggs to a bowl and fill it with cool water. Add in ice cubes and let the eggs sit until they are completely cool.
Once the eggs are completely cool, you can either chop them into pieces or leave them whole. (I prefer chopping for smaller egg pieces.) Place them into a mixing bowl.
Add the Greek yogurt, mayonnaise, yellow mustard, Ranch salad dressing and honey mustard. Add a bit of salt and pepper to taste.
Use a potato masher and mash the ingredients together well. Once the egg salad is the desired consistency, use a spoon to stir a couple of times.
Serve immediately or store in an airtight container in the refrigerator for five to seven days.
I love a good chicken dinner. A lot. As I’m making more and more chicken at home for my daughter and me (my husband and son don’t eat chicken), I’m branching out into different flavors. This honey mustard chicken with bacon and cheese is completely inspired by a favorite dish I’ve had a chain restaurant from down under.
The mix of honey mustard, cheese, chicken and bacon is so good. I decided to try making it myself. You could also make this into a quesadilla by cutting up the chicken pieces and piling them into a tortilla with honey mustard, bacon and cheese. I haven’t yet done that, but I am definitely going to try it! (You can easily bake quesadillas to get them nice and crispy without being greasy.)
I’m telling you, this is one chicken dinner idea you’re going to add into your line-up. It’s easy and tasty!
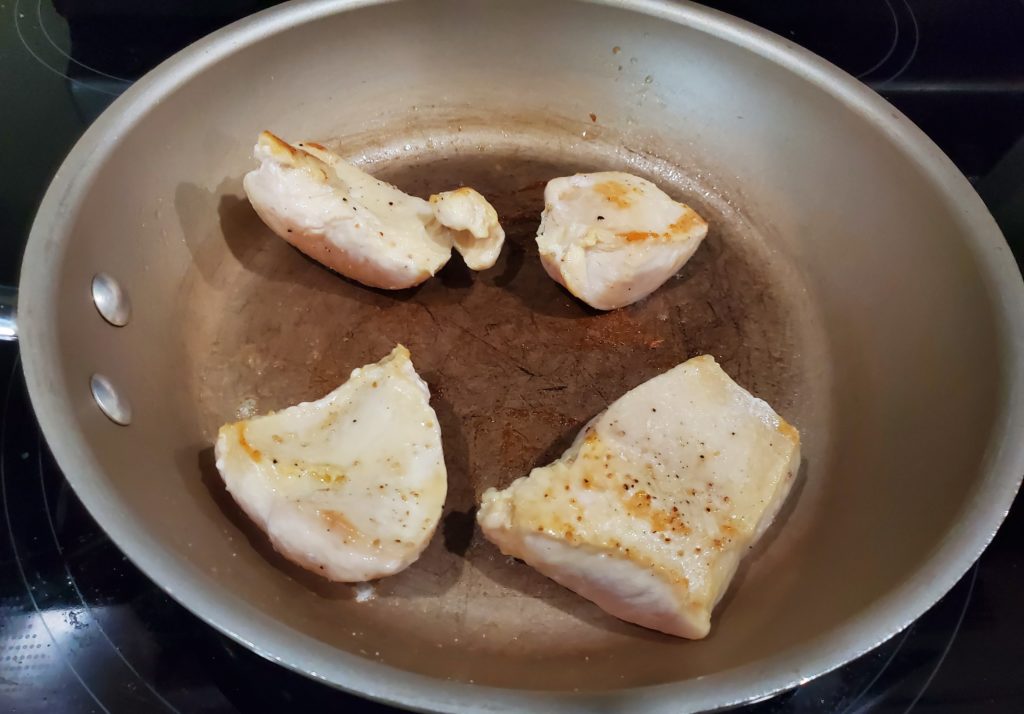
Preparing the chicken
When I made this honey mustard chicken with bacon and cheese to take photos, I had four small pieces of chicken. So, that’s what I went with. Next time when I haven’t totally messed up the chicken breasts I previously bought, I’d make it with larger pieces of chicken.
Heat a skillet over medium-high heat. Then pat your chicken dry and season it with salt and pepper to taste. Spritz your skillet well with non-stick cooking spray and place the chicken into the pan. Cook it for 4 to 6 minutes per side, depending on the size and thickness of your chicken. I always temperature check mine in the middle to be sure it’s at least 165-degrees (F).
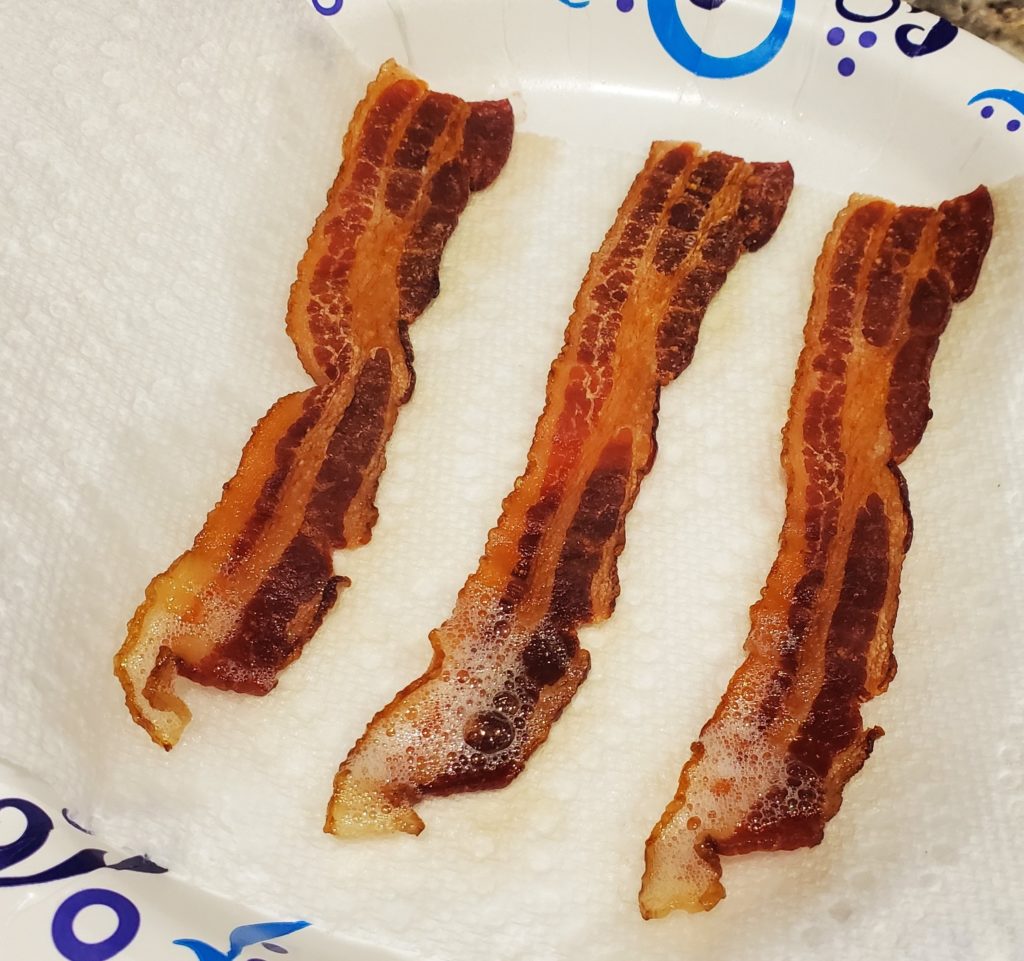
While the chicken is cooking, make your precooked bacon. I used three slices between these four small pieces of chicken. You can definitely use regularly cooked bacon as well. The precooked just saves time by making it in the microwave. We like bacon crispy around here, so I cooked it until it was crispy.
Baking the honey mustard chicken
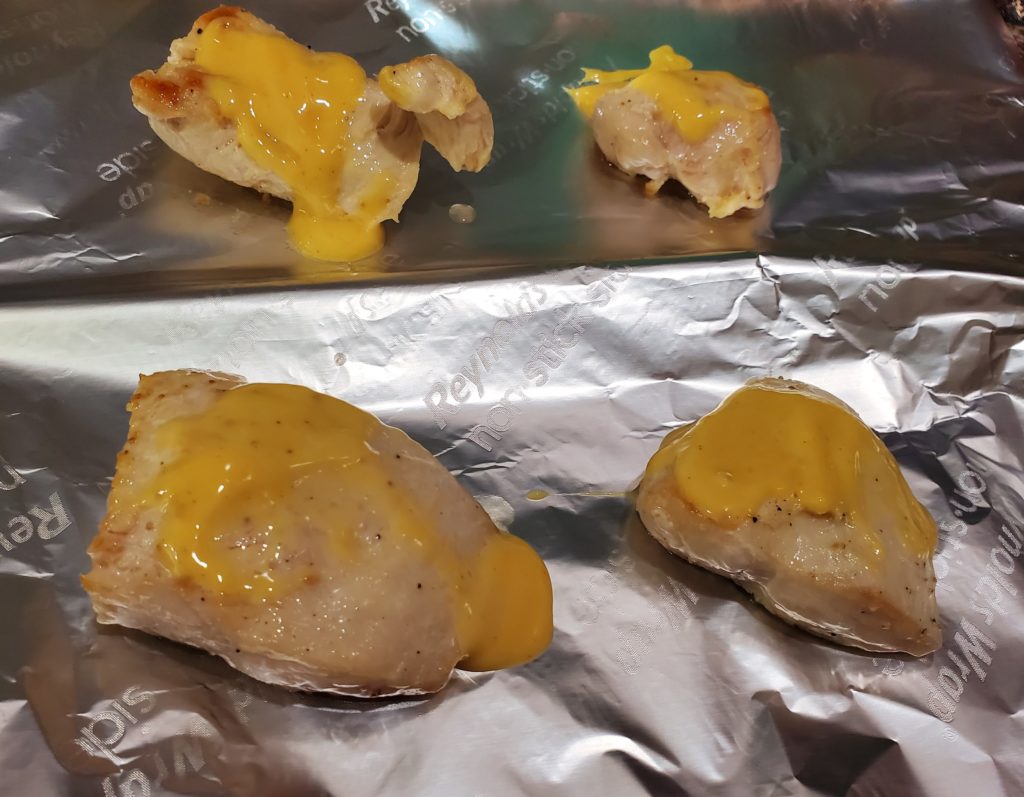
When the chicken is cooked through, transfer it to a baking sheet lined with parchment paper, non-stick aluminum foil or sprayed with non-stick cooking spray. Spread about 1 tablespoon of honey mustard on top of each medium chicken breast.
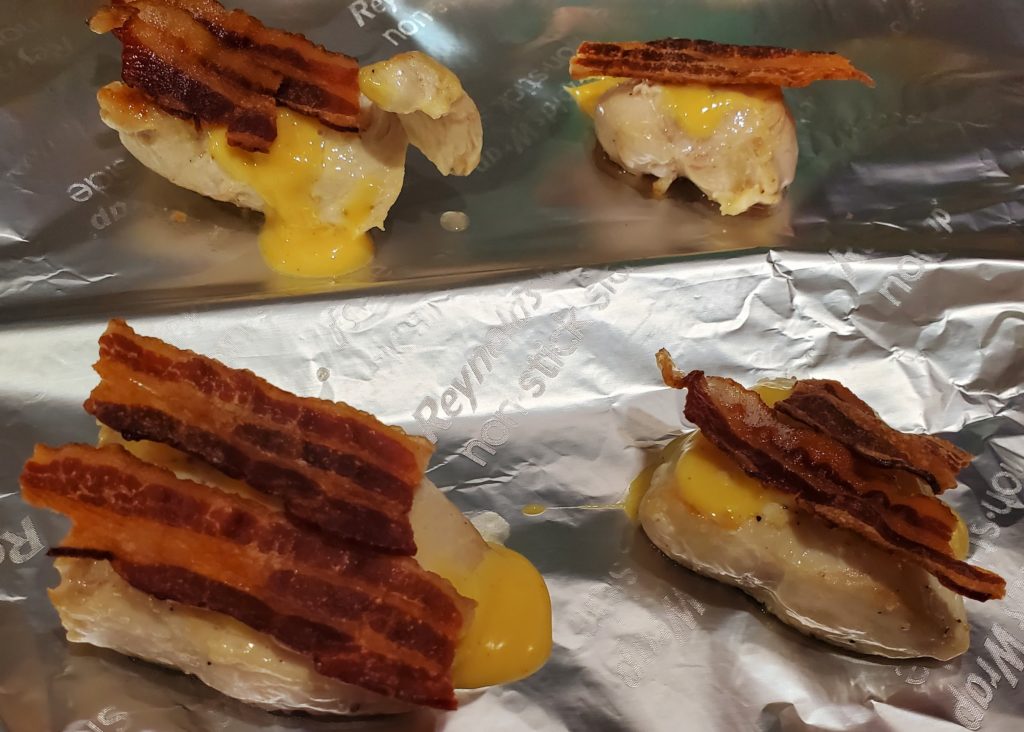
Next, take your cooked pieces of bacon and break them apart to fit in slices on top of each piece of honey mustard chicken.
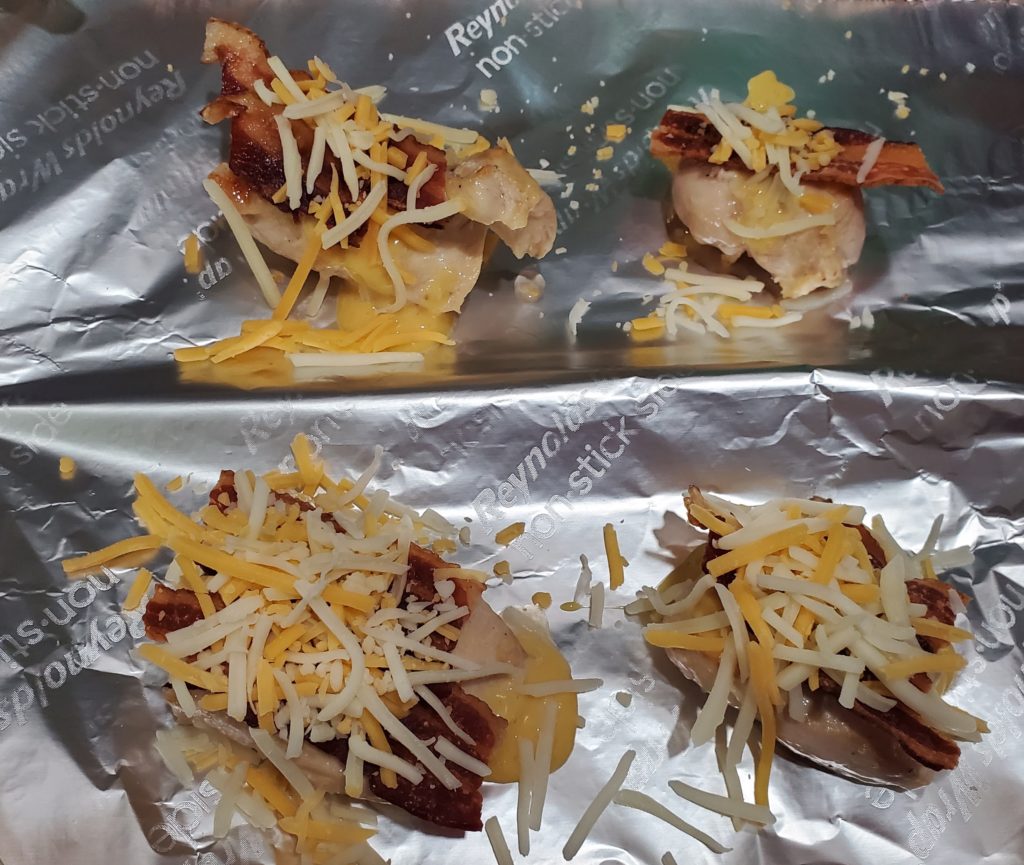
Then, for two servings, divide 1/2 cup shredded cheese between the chicken breasts. I use Colby jack cheese, but cheddar would also be great for this. You might notice half the chicken has more cheese than the other. That’s because my daughter isn’t big on melted cheese, but I am!
Put the prepared honey mustard chicken with bacon and cheese into your oven and turn the broiler on low. Broil the chicken for 2 to 5 minutes until the cheese is bubbly and browned. Keep an eye on it so it doesn’t burn.
Heat a skillet over medium-high heat on your stovetop.
Pat the chicken breasts dry and season to taste with salt and pepper.
Spray the skillet well with non-stick cooking spray, then add the chicken. Cook each side for 3 to 5 minutes until a thermometer inserted into the middle of the chicken read 165-degrees (F) and all pink is gone.
While the chicken is cooking, cook the bacon in the microwave until it is at your desired crispness.
Once the chicken is finished cooking, place it on a baking sheet lined with parchment paper or non-stick aluminum foil or sprayed with cooking spray.
Top the chicken with 1 tablespoon each of honey mustard. Distribute the bacon slices and shredded cheese between the two chicken breasts.
Place the chicken in the oven and broil on low for 2 to 5 minutes until the cheese is bubbly and golden. (Keep a close eye on it to keep it from burning!) Serve immediately.
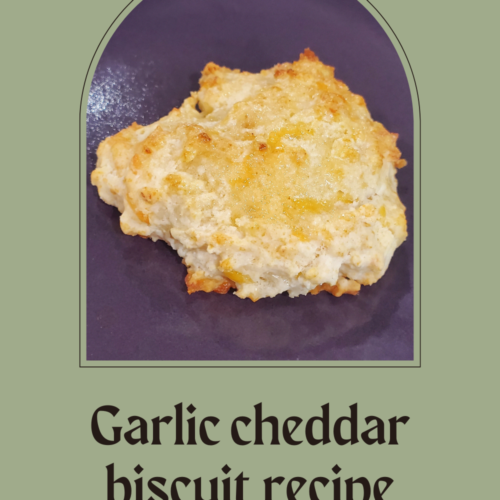
An easy recipe for garlic cheddar biscuits that taste better than the ones from that well-known crustacean restaurant!
My husband, kiddos and I are not big seafood eaters. My guys don’t eat any seafood; my daughter and I eat a small amount. But there is that well-known chain crustacean restaurant we sometimes go to mostly because we really want the garlic cheddar biscuits. But then I figured out how to make them easily at home — and found they were more moist to boot. So now we can enjoy them pretty much any time!
One of the things I most love about this garlic cheddar biscuit recipe is that it’s simple enough for weeknight dinners, and I usually have the ingredients on-hand. I’ve tried a few varieties of this recipe, and finally found one I liked pretty well. I made a few teaks and now I’m in love!
Making the biscuit dough
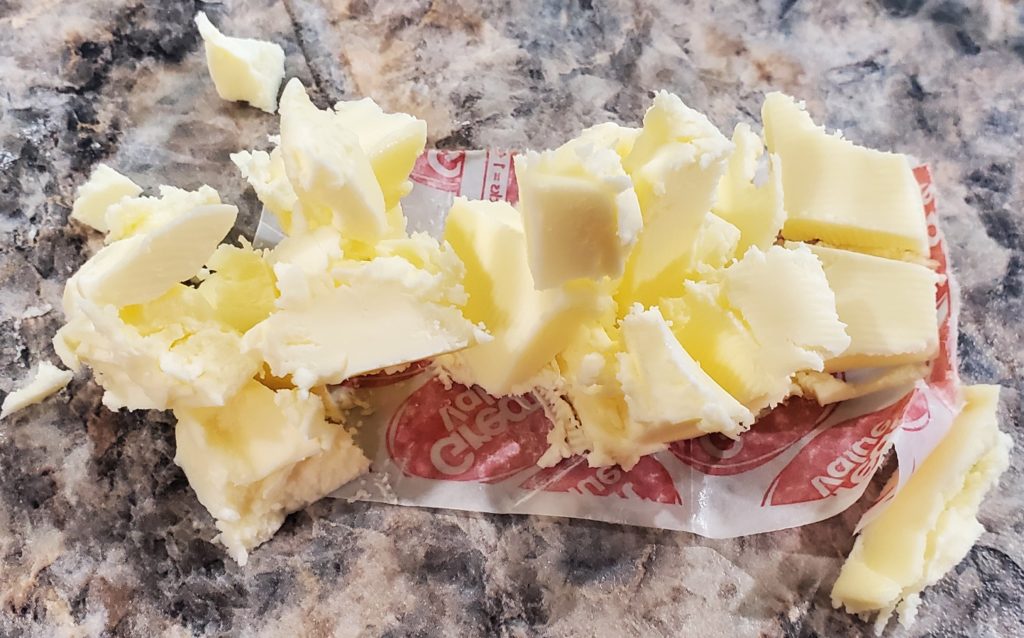
The thing that sets these garlic cheddar biscuits apart from all the others is using butter in small pieces so you get buttery bursts as you eat them. You can make these using vegetable oil instead of butter, but they don’t have that nice buttery pop that is so decadent.
For eight to nine biscuits (depending on the size you make them), cut 2 tablespoons of cold butter into pieces.
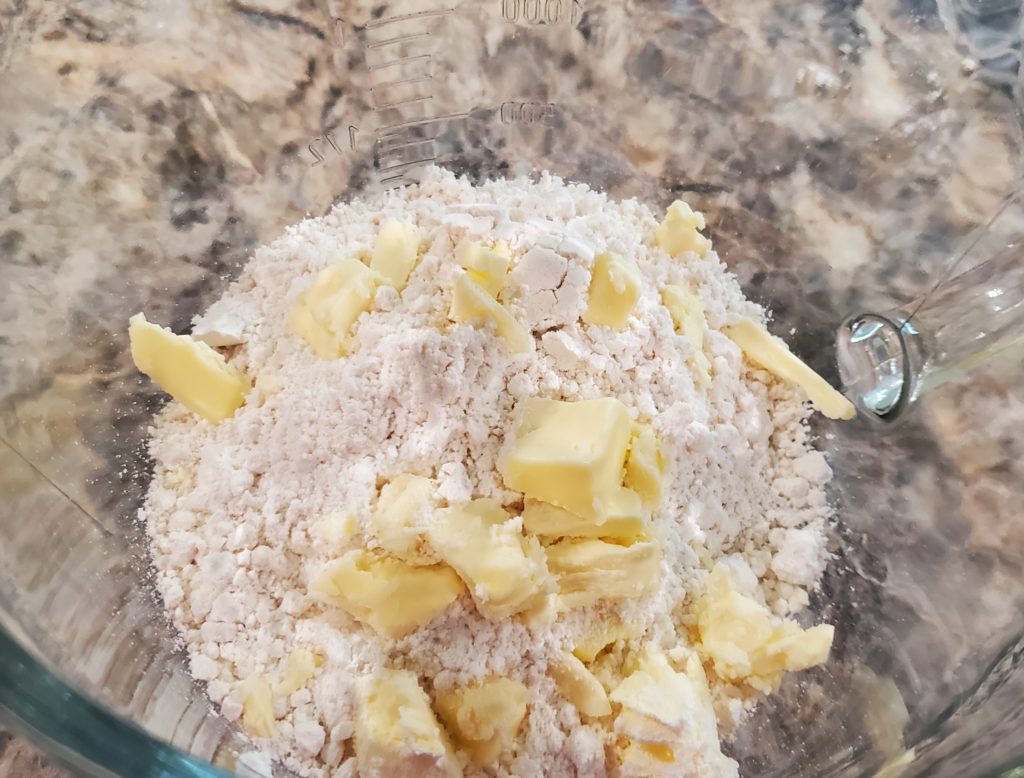
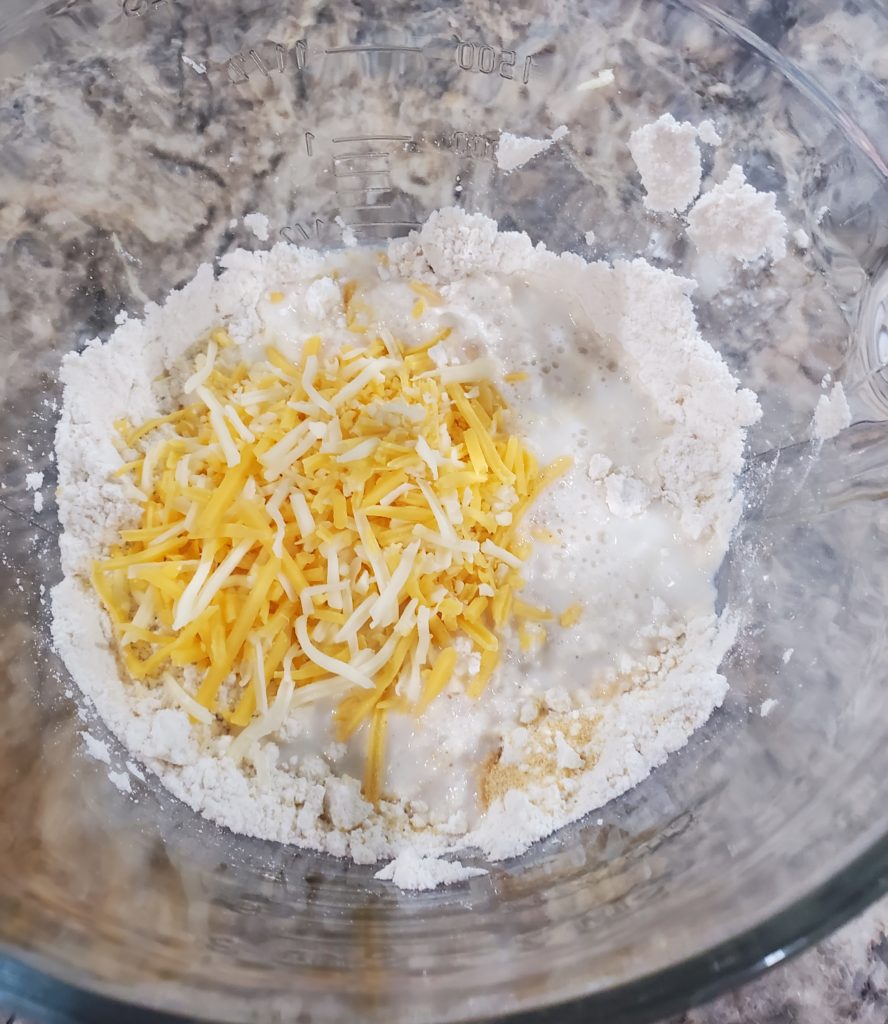
Next, put 1-1/4 cups of baking mix into a large mixing bowl. The name brand option is Bisquick. I have used the Kroger store version for this recipe as well and had it turn out perfectly fine. Add the butter into the bowl with the dry mix.
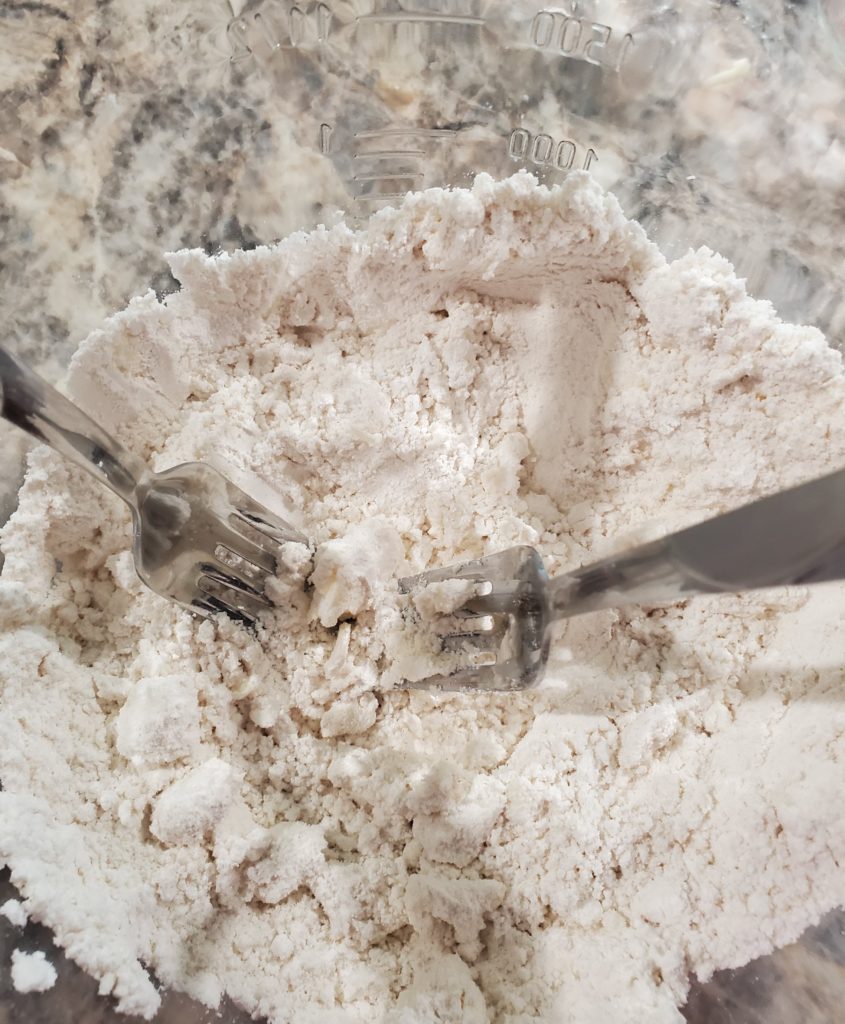
Use two forks to mix the butter pieces into the dry mix. You want to keep the pieces of butter about the size of a pea or smaller so they are dispersed throughout the dough.
Next, add 1/2 cup of shredded cheddar (or cheddar jack) cheese, 1/2 cup of milk and 1/4 teaspoon of garlic powder into the mix.
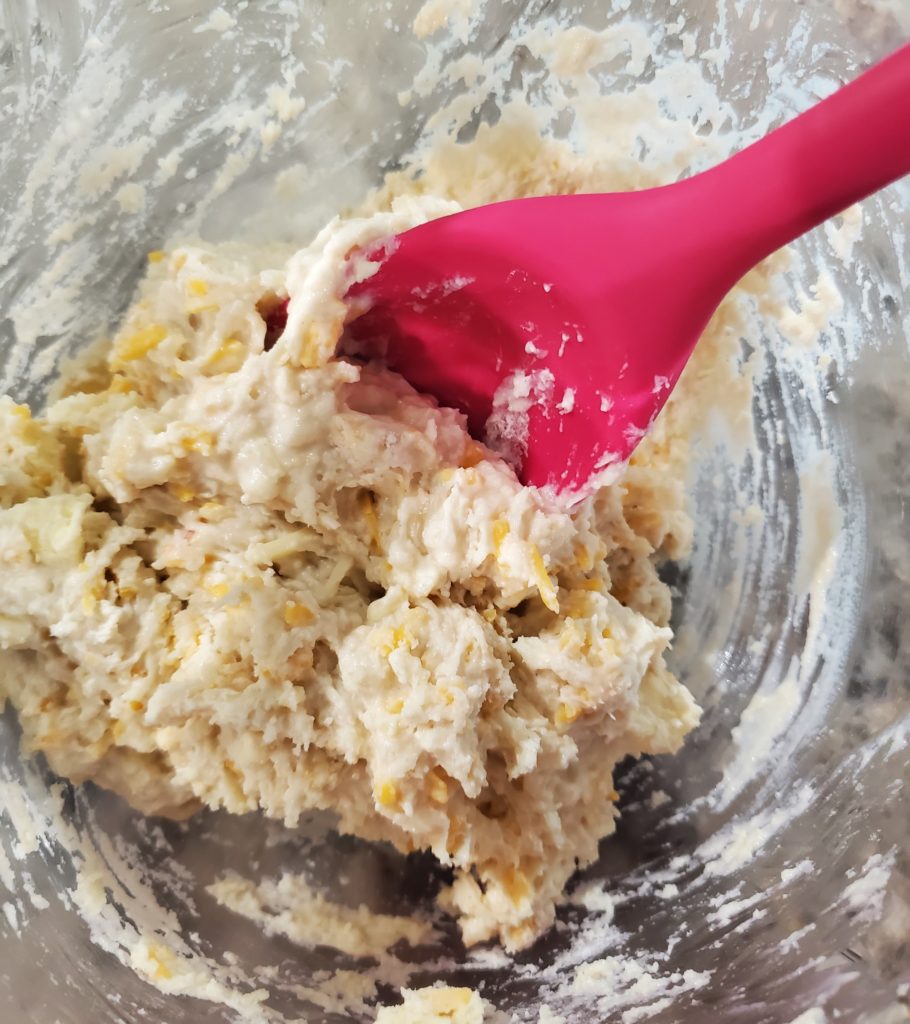
Stir the ingredients together until they are combined without any dry pockets of baking mix. It should form a dough that is soft and moist.
Baking the garlic cheddar biscuits
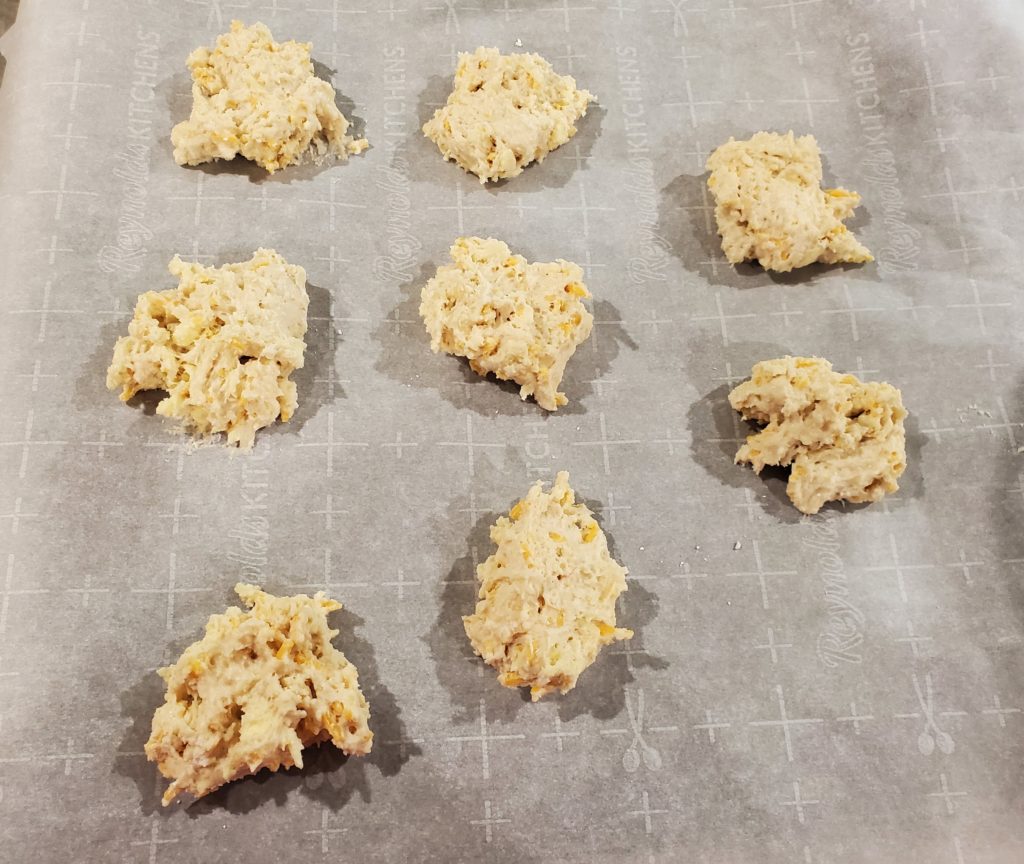
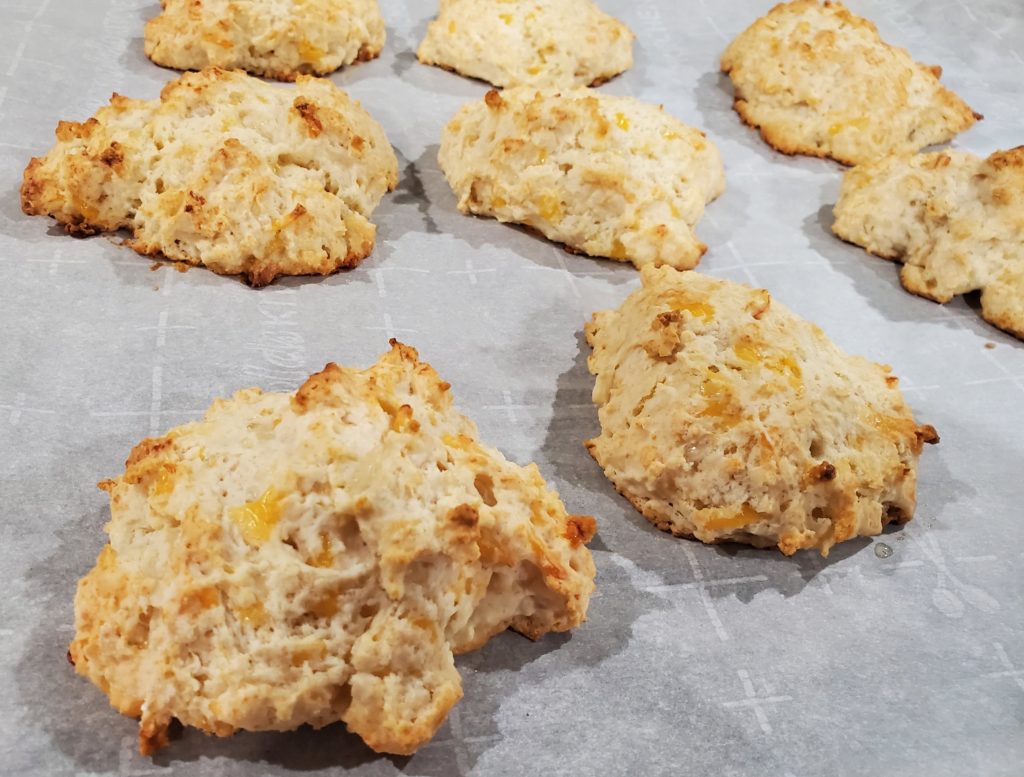
Dollop the dough on a baking sheet that is lightly greased or lined with parchment paper (my pick!). I usually get about nine biscuits from this recipe. I don’t roll or round the biscuits in any way. The nooks and crannies that form when the dough is dropped get a bit of extra crispiness. And that’s worth the more rustic look to me!
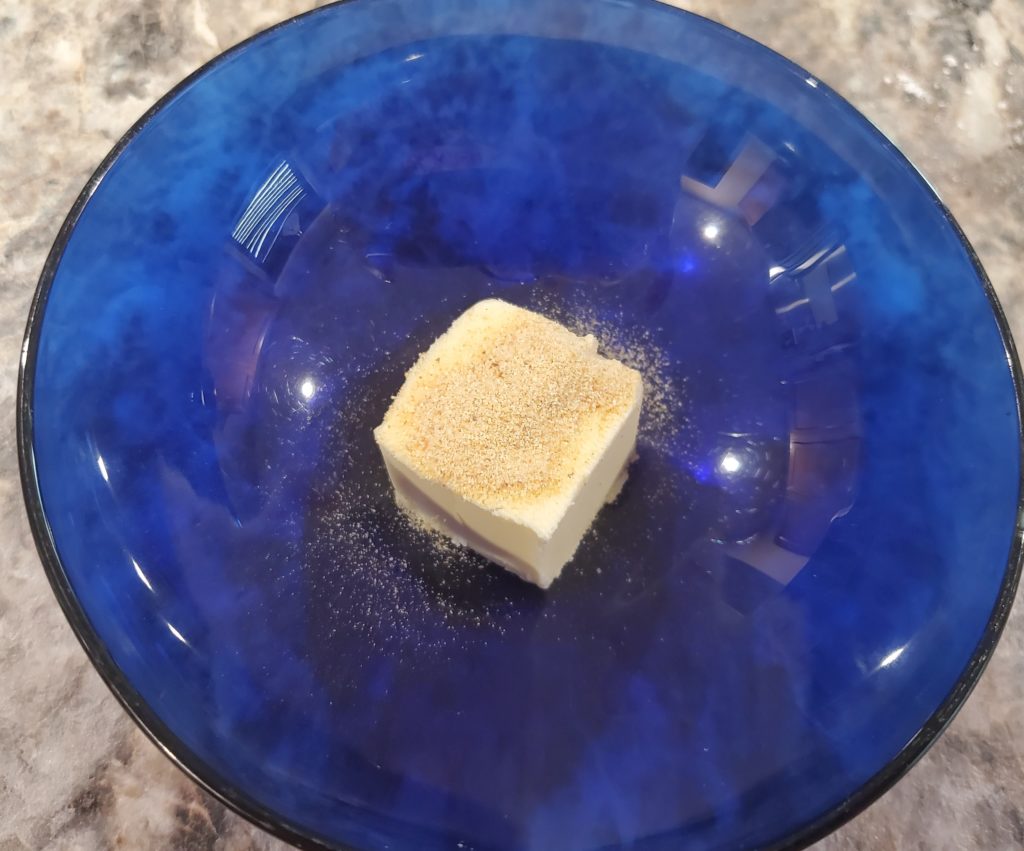
Bake the biscuits in the oven at 400-degrees for 11 to 13 minutes until the tops start to turn light brown. A couple of minutes before the biscuits are ready to come out of the oven, put 2 tablespoons of butter and 1/4 teaspoon of garlic powder into a microwave safe bowl to melt. (Or you can add the garlic powder after the butter melts; either way works!)
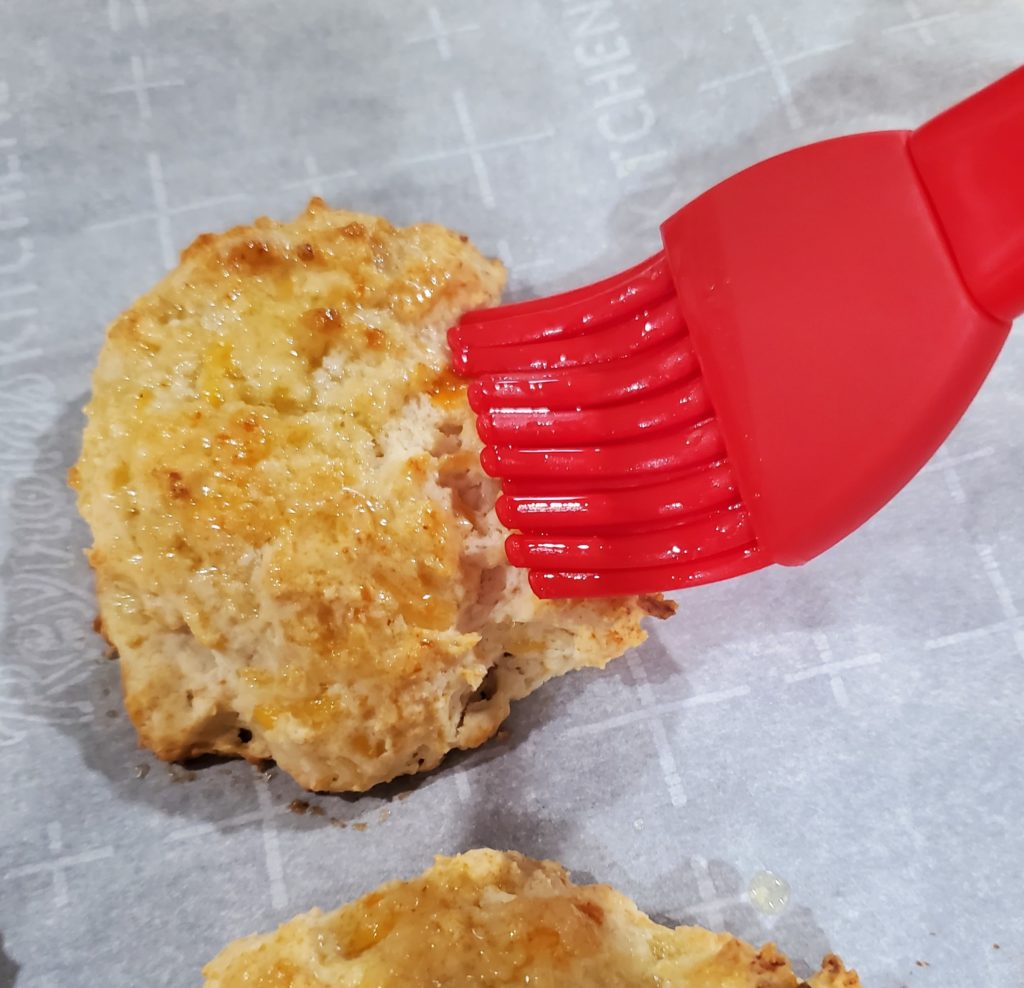
Once the butter is melted, stir it so the garlic powder is all mixed in. Pull the garlic cheddar biscuits out of the oven.
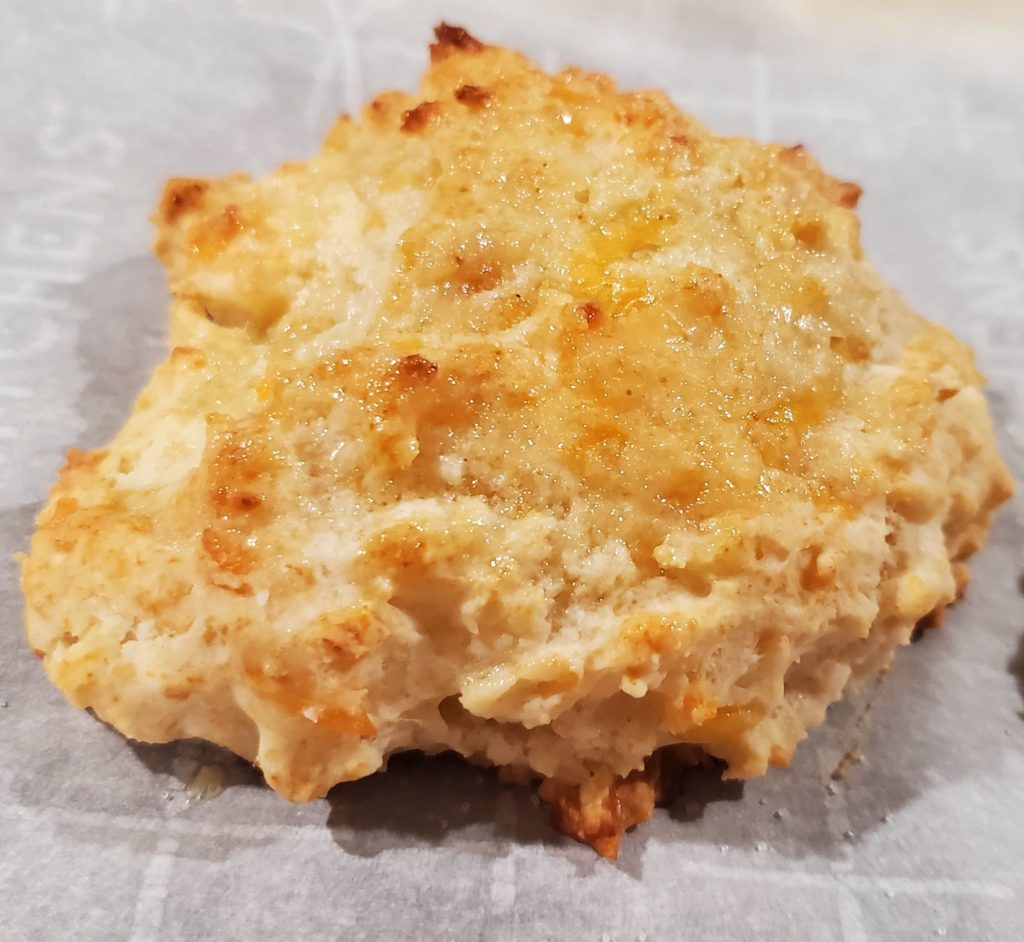
Immediately brush the tops with the melted garlic butter. Get into all the nooks and crannies!
Finally, lightly sprinkle the biscuits with salt. Serve them hot! Leftovers can be stored in the refrigerator or at room temperature.
Garlic cheddar biscuits
An easy, weeknight recipe for garlic cheddar biscuits that actually taste better than the ones at the chain crustacean restaurant!
One of the simplest recipes I make is deviled eggs. In fact, it’s one of the only recipes I never measure ingredients for. I’m generally big on measuring ingredients! I first learned the recipe from my mom and then tweaked it slightly through the years. And now I just feel it in my soul.
OK, that’s probably a bit too dramatic. But, I am pretty good at telling when I have the amounts just right. So I set out and figured out the correct measurements for ingredients in order to put together this recipe. I’ve put it off for a while because I knew I’d have to do that.
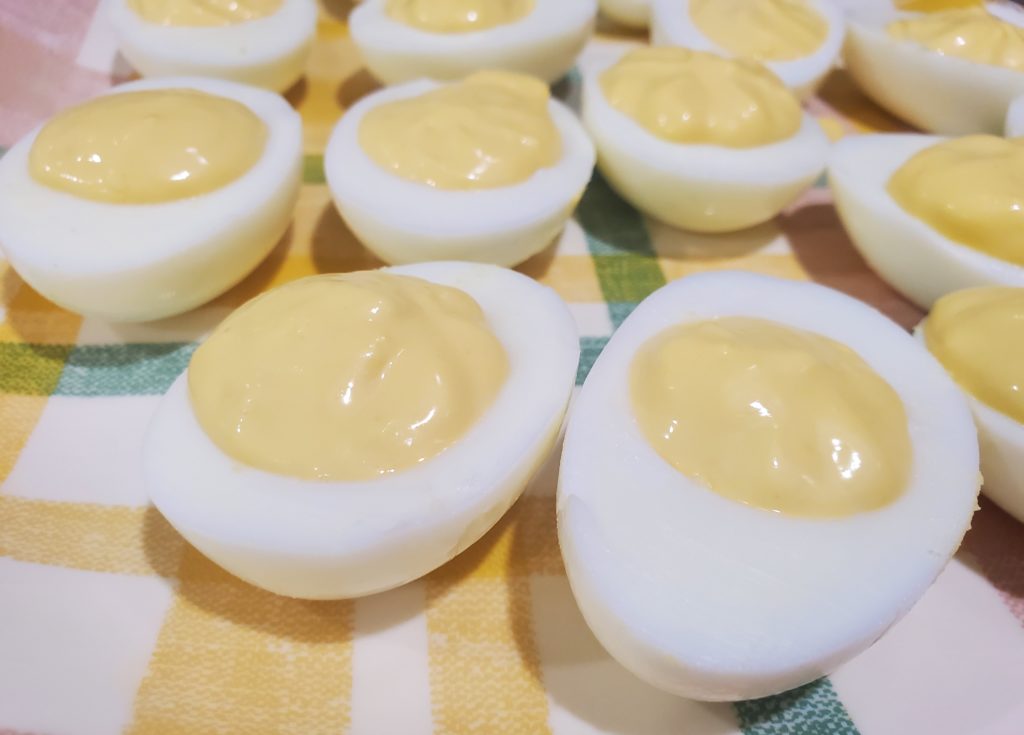
However, with all that said, sometimes I make mistakes. And when I do, I continue to do a bit of tweaking to get the deviled eggs just right. I like my deviled eggs pretty basic without fancy extra ingredients. When I was making them for this post, my 13-year-old daughter wanted to make them instead. I guided her through the recipe, but when it was time to add the honey mustard, she added in double the amount I usually use.
If these eggs look like they have a looser filling than usual, that’s why. We ended up having to add some extra mayo, extra mustard and even some sour cream to get them right this time. But they weren’t ruined. And they were still gobbled down by my daughter, my father-in-law and myself!
How to boil eggs
One of the first things I had to learn in making good deviled eggs was to boil them correctly. I didn’t want them to be over-boiled and get that dark tint to the yolk. Having them be soft boiled also wouldn’t work. Like Goldilocks, I want boiled eggs that are just right. So, here’s what I’ve found that works best.
First, start with older eggs. I’m not saying expired eggs, but the fresher your eggs are, the more difficult they are to peel so they’re smooth. Next, fill a pot about 2/3 full with warm water and add a dash or two of salt. (The salt will help the shells come off a bit easier.)
Put the pot on your cold stovetop. Carefully place the number of eggs you want into the pot. I used seven eggs for this batch, but this works for any amount of eggs you’re using as long as you have a big enough pot and enough water!
Put a lid on the pot, and turn the stove on high heat. Leave them be. When the water begins boiling, turn off the heat. Leave the eggs on the warm stovetop for 10 to 12 minutes. Transfer the eggs to a bowl and fill it with cool water. Add in ice cubes and let the eggs sit until they are completely cool.
Prep the eggs
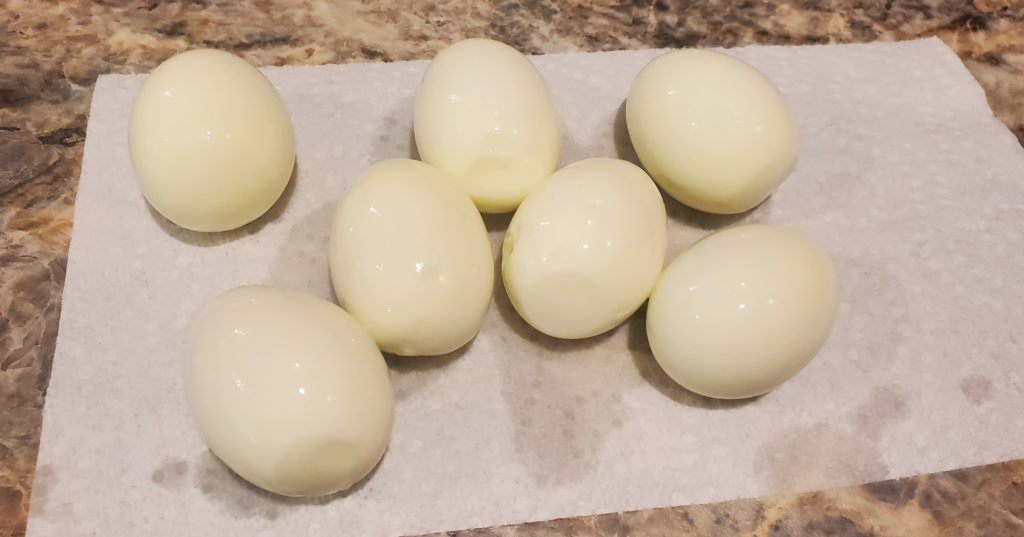
Once your eggs are cooled, you’re ready to start prepping them. I usually tap them on the countertop to crack the shells and then peel them over a paper towel. When I’m finished, I rinse the egg to be sure I have gotten off all bits of shell, and then I place them onto a clean paper towel to dry.
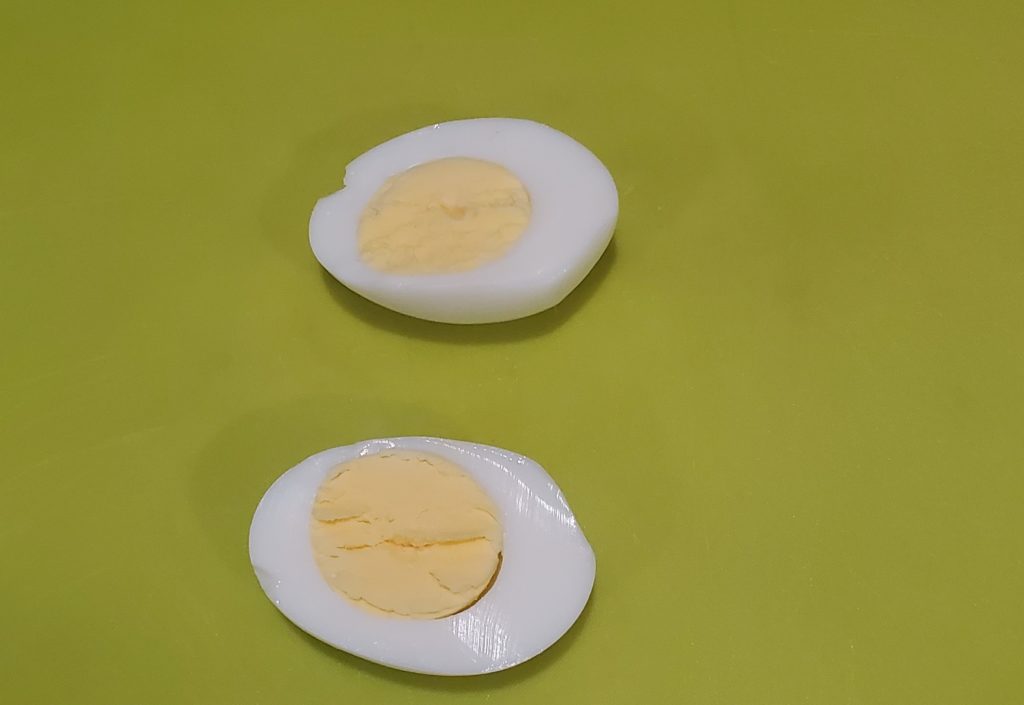
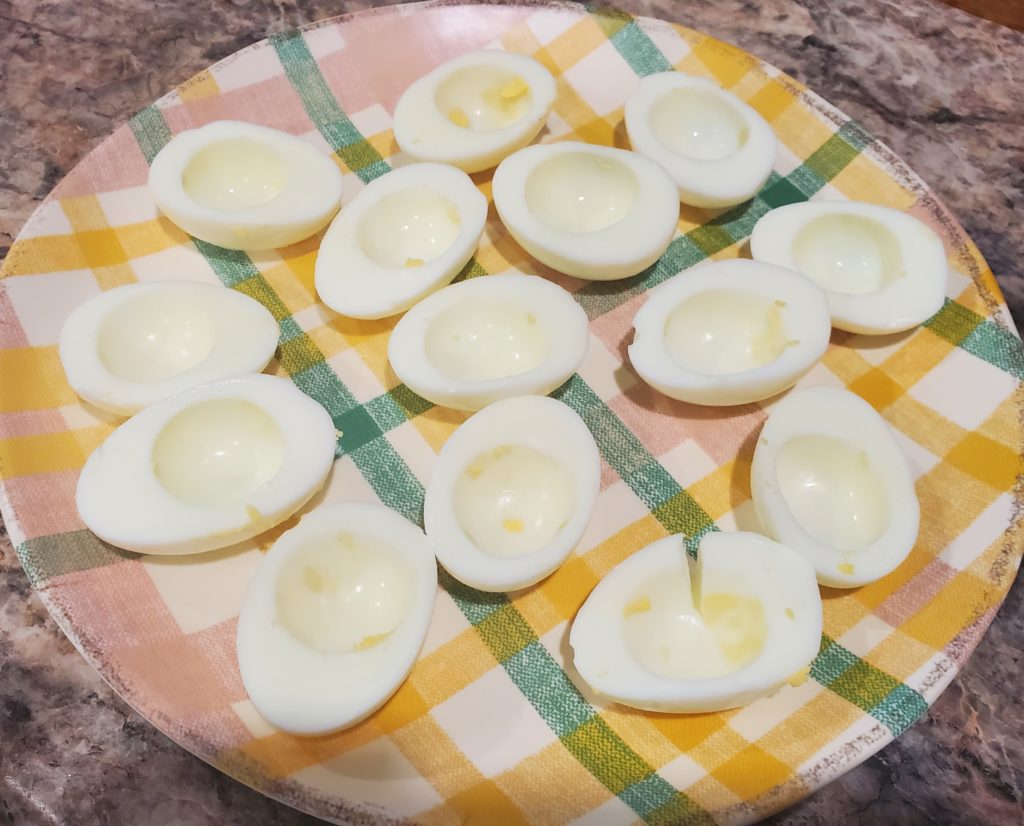
Next, you want to cut the eggs in half lengthwise to make two large ovals. I use a sharp knife or even a butter knife for this.
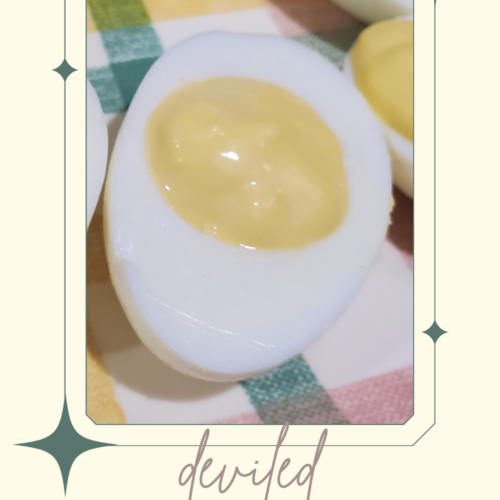
Look at that beautiful yolk!
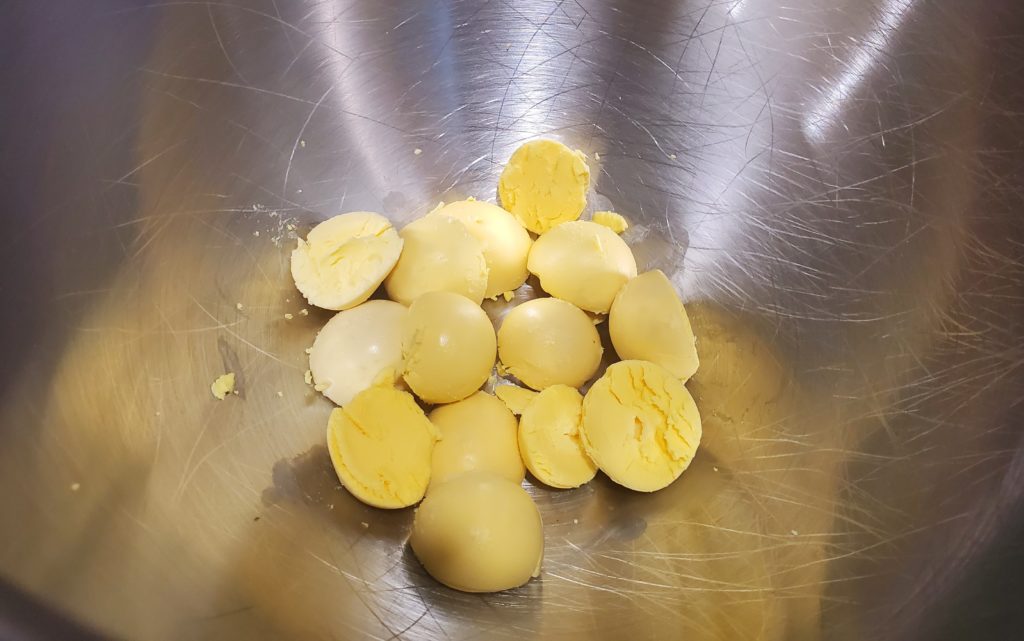
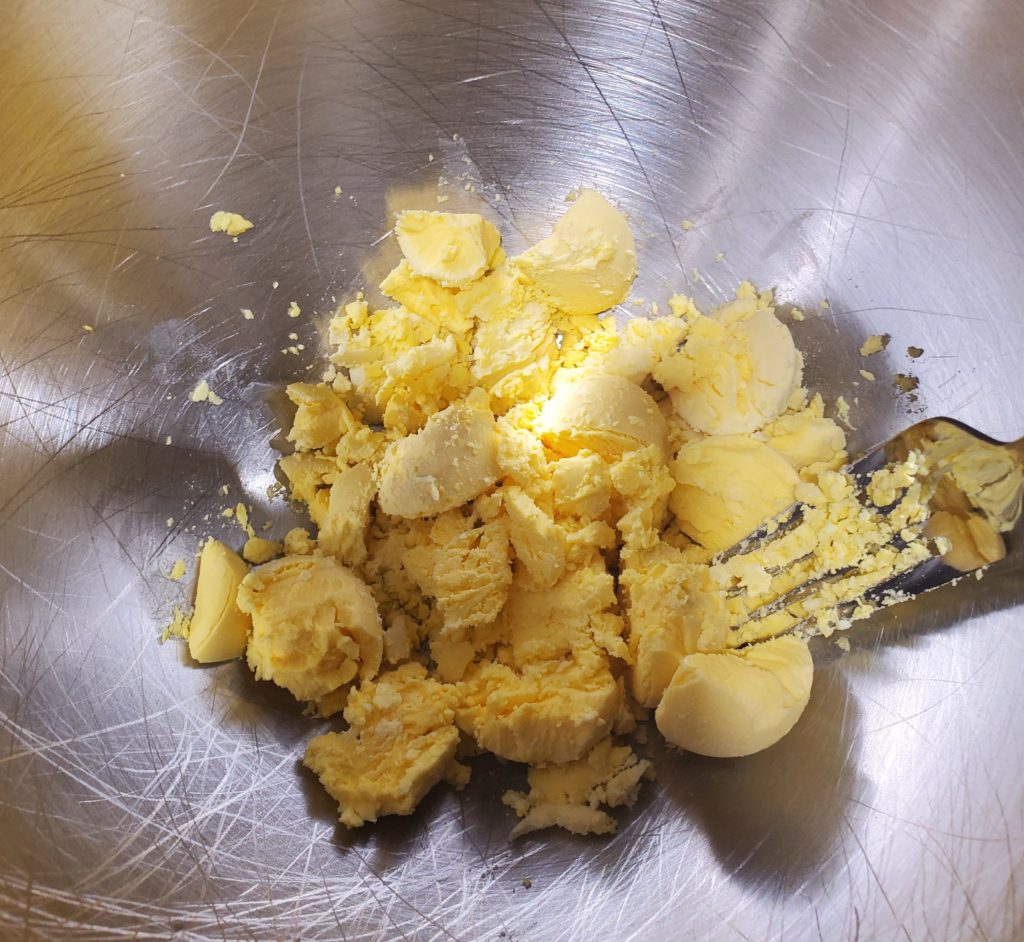
Gently “pop” the yolk out into a large mixing bowl. I put it in the mixing bowl of my stand mixer. You can use any bowl you’d like that works with a mixer. I’ve found using a mixer makes the deviled egg filling creamier and smoother.
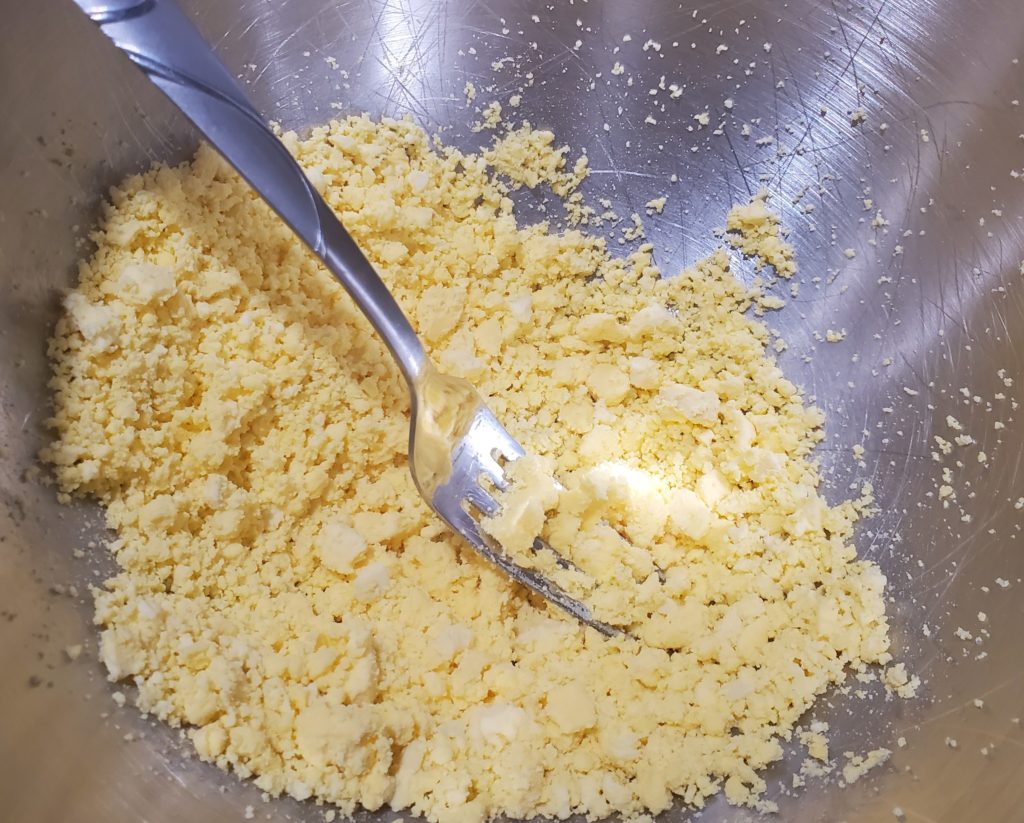
Use a fork to mash the egg yolk up into smaller pieces.
Making the deviled eggs
Once the yolks are mashed pretty well, add in the mayonnaise, yellow mustard and honey mustard. This photo shows about twice as much honey mustard as you actually need to use.
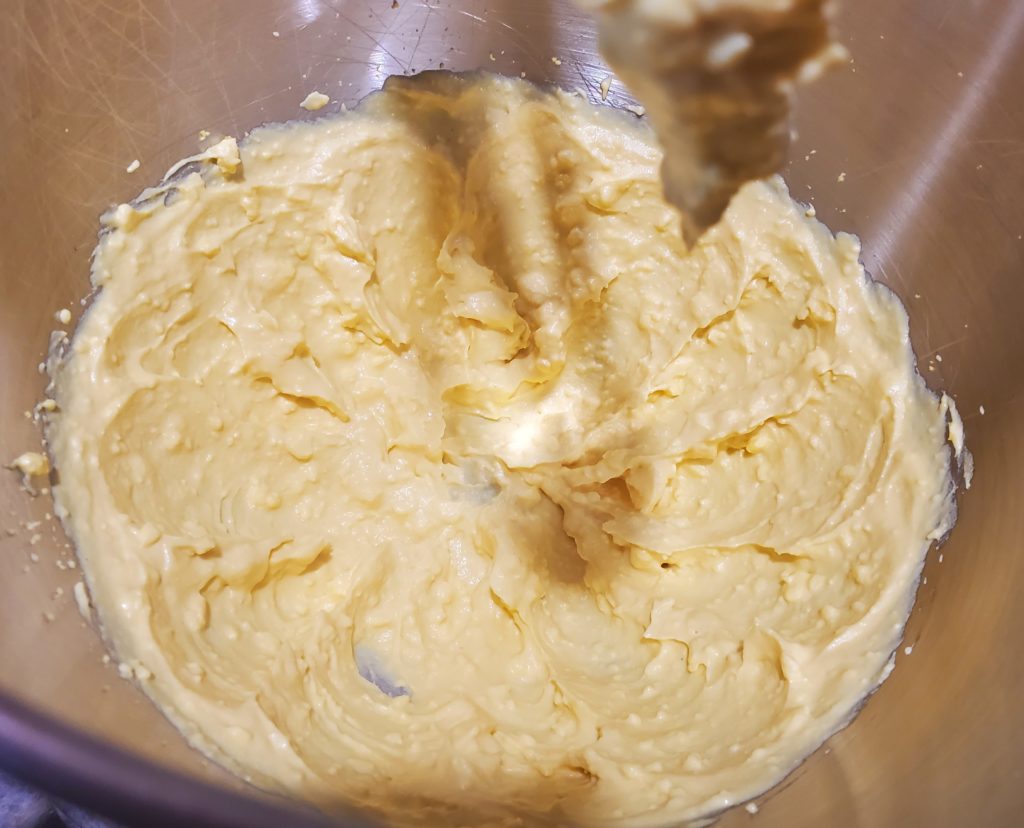
Using a stand or handheld mixer, mix the ingredients together until they are creamy and relatively smooth.
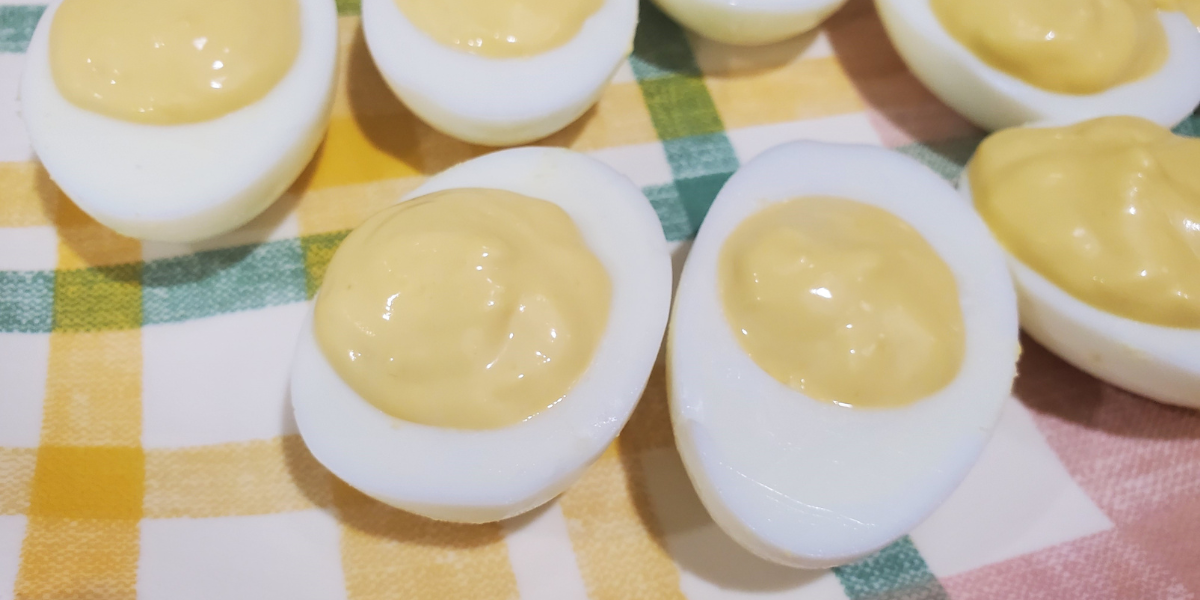
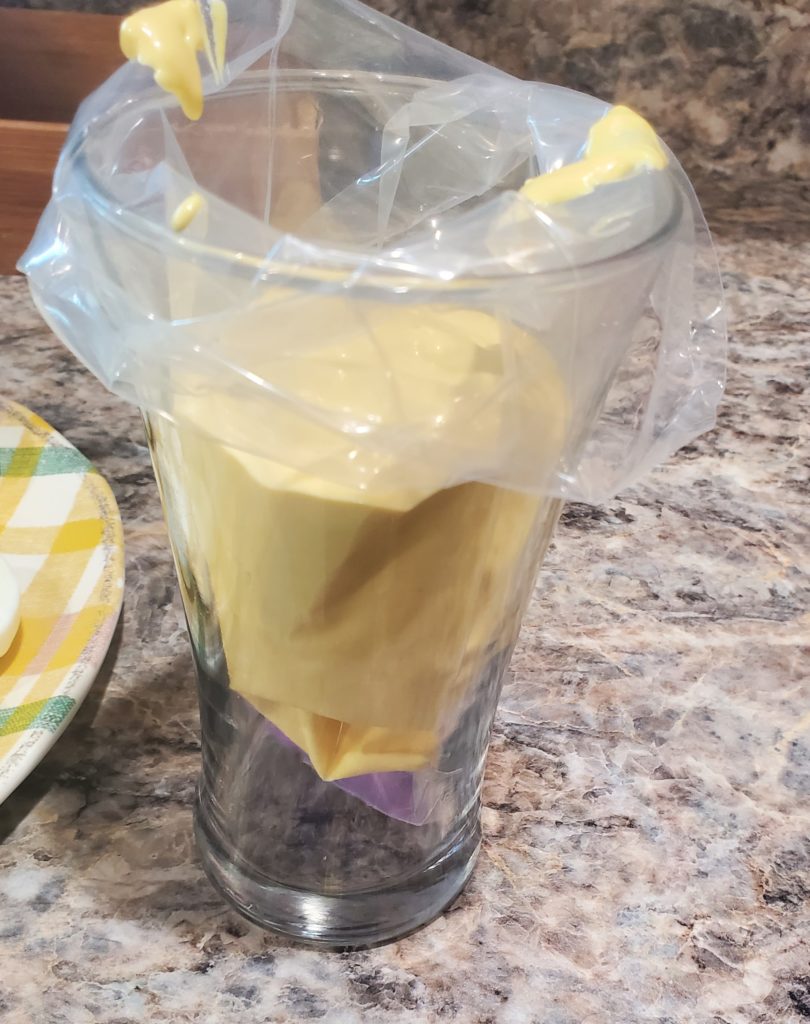
Next, you just need to fill the eggs. You can do this with a spoon or, if you want to be fancier, use a piping bag. Since I was making these for Easter dinner and for this post, I went with the piping bag. I use a tall drinking class to hold my piping bag while I fill it — whether for icing or for deviled egg filling!
I use the star tip and then pipe the filling into the eggs. This time around, the shape didn’t hold quite as well as usual since we ended up having to add extra ingredients to counteract the too much honey mustard my kiddo added. So, the filling was looser than it should be. But, they still tasted delicious!
Serve the deviled eggs immediately, or store them in the fridge until you’re ready to serve them. You can easily make deviled eggs a day ahead of your event and save yourself time by working ahead!
Deviled eggs
This simple, straightforward deviled eggs recipe doesn't take lots of ingredients or expertise. But you end up with a crowd pleaser!
Start with boiling the eggs. Place warm water into a large pot, and put the pot onto a cold stove. Salt the water and then carefully add the eggs. Turn the heat on high and cover the pot.
When the water begins to boil, turn off the heat and leave the pot on the still-warm burner with the lid on for 10-12 minutes.
Remove the eggs from the hot water and rinse with cold water for a minute. Then add ice cubes and let the eggs sit until cooled.
Once the eggs are cooled, cut them apart lengthwise. Gently "pop" or scoop the yolks out into a large mixing bowl. Place the egg whites onto a plate.
Use a fork to mash the egg yolks a bit. Then add the mayonnaise, yellow mustard and honey mustard.
Mix a mixer on medium to medium/high for a couple of minutes until creamy and smoother.
Fill the egg whites with the yolk mixture by using a spoon or a piping bag with a star tip.
Serve the deviled eggs immediately, or refrigerate them.
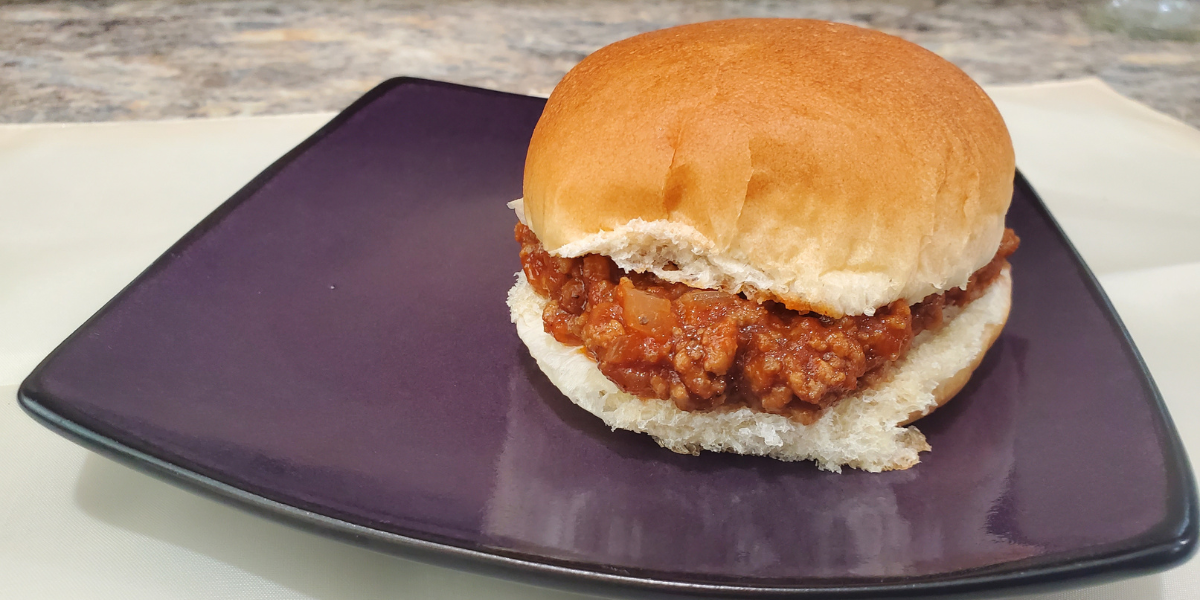
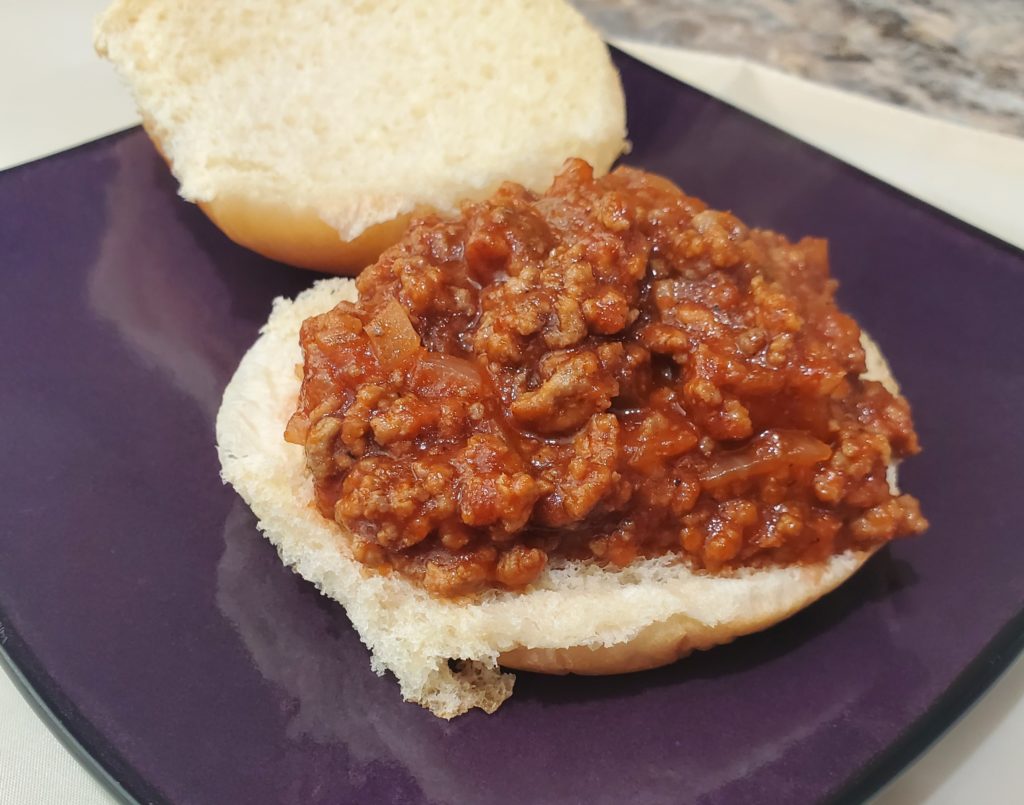
This sloppy joe recipe is both easy and delicious!
Affiliate links are used in this post, if you make a qualifying purchase via my link, I receive a small percentage of the sale at no additional cost to you. I only recommend products and services I use and love. It helps support my blog, so thank you for your support! Read my full disclosure here.
When it comes to recipes that are tried and true in my family, this sloppy joe recipe is one of them. This is one of the very first recipes I developed on my own many years ago. And for some reason I haven’t shared it, yet. This week is the time to do so!
My guys are particular eaters. But, both of them will eat this sloppy joe recipe. My son won’t eat even thin hamburger patties, but he will eat my sloppy joes. That makes me feel good!
When I first came up with this recipe, I did some experimenting. I was trying to get away from using canned sloppy joe sauce because it contained vinegar, which sent me into an interstitial cystitis flare. I’ve refined it and, even though I can now eat barbeque sauce without flaring, I still prefer this sloppy joe recipe to any other.
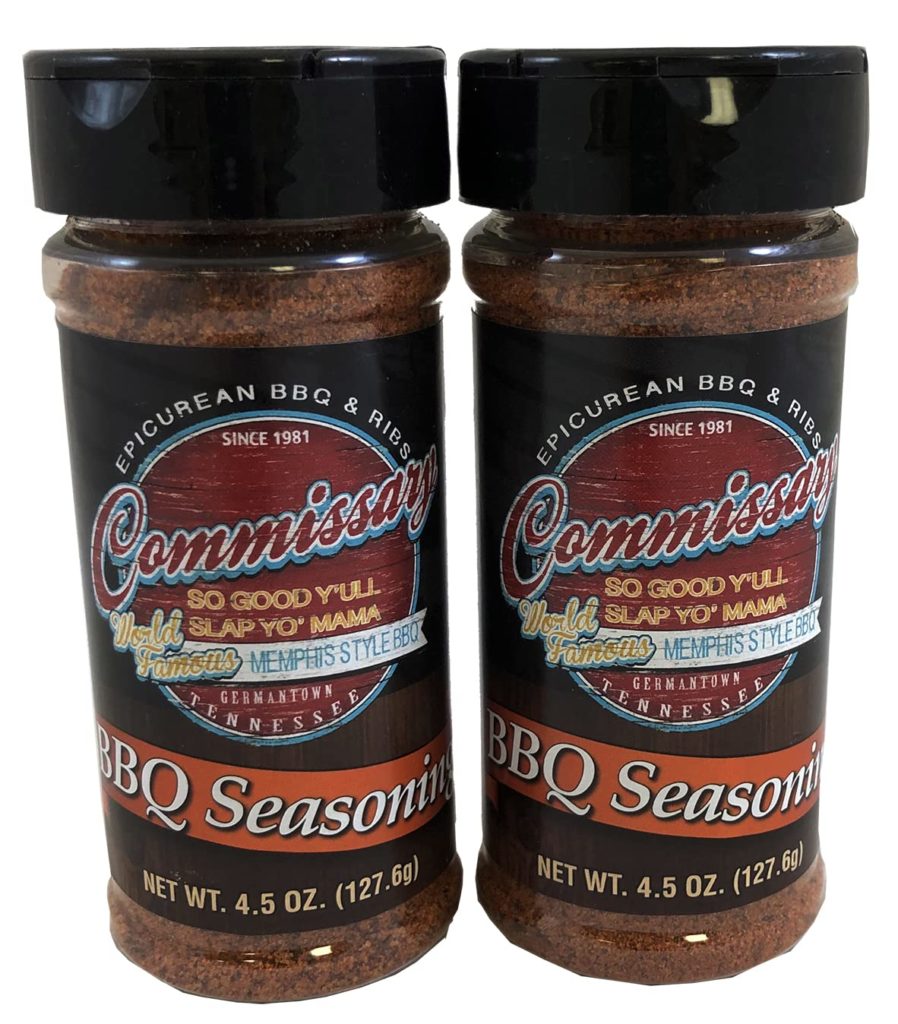
In terms of economics, making homemade sloppy joes is also cheaper than buying a can of sloppy joe sauce, especially since you probably have the ingredients in your house. The one caveat to that is the barbeque seasoning I use. I highly recommend this Commissary BBQ Seasoning. It costs more than I usually pay for seasonings, but the stuff is soooooo good. Like sooooo good. However, you can use barbeque sauce instead. I have tried other BBQ seasonings for this recipe and not liked them, so go with sauce if you don’t want to order this rub. (It’s also so, so, so good on grilled burgers!)
In fact, I used the very last of my seasoning when I made the sloppy joes for this post. I’ve got to order some more for myself! (I also have no affiliation with Commissary BBQ Seasoning of any sort. It just makes my taste buds happy!)
The meat for sloppy joes
I use 1 pound of ground chuck (80/20) for making sloppy joes. This more than feeds my family of four. In fact, last time I had enough left for two sloppy joes as leftovers. However, we don’t pile on the meat in my family. My husband and son, in particular, use probably about 1/3 of the sloppy joe meat you’ll get at a restaurant. So, use your best judgement for how much meat to use.
(I will add that this recipe freezes really well. My mom often doubles her batch to put some in the freezer.)
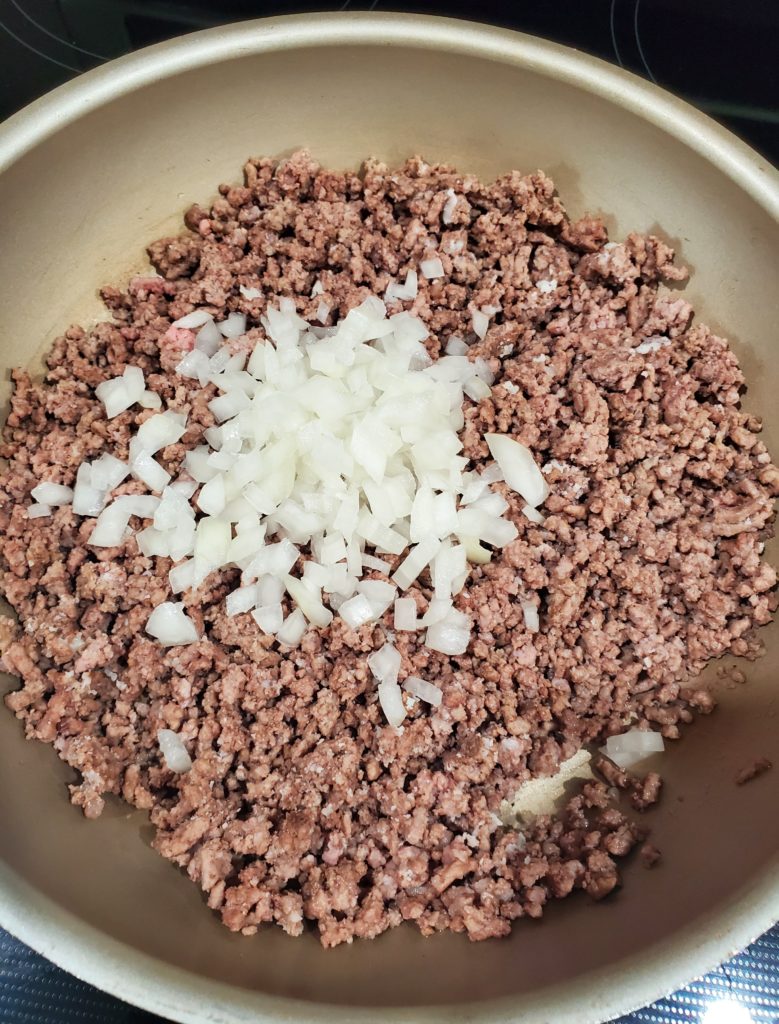
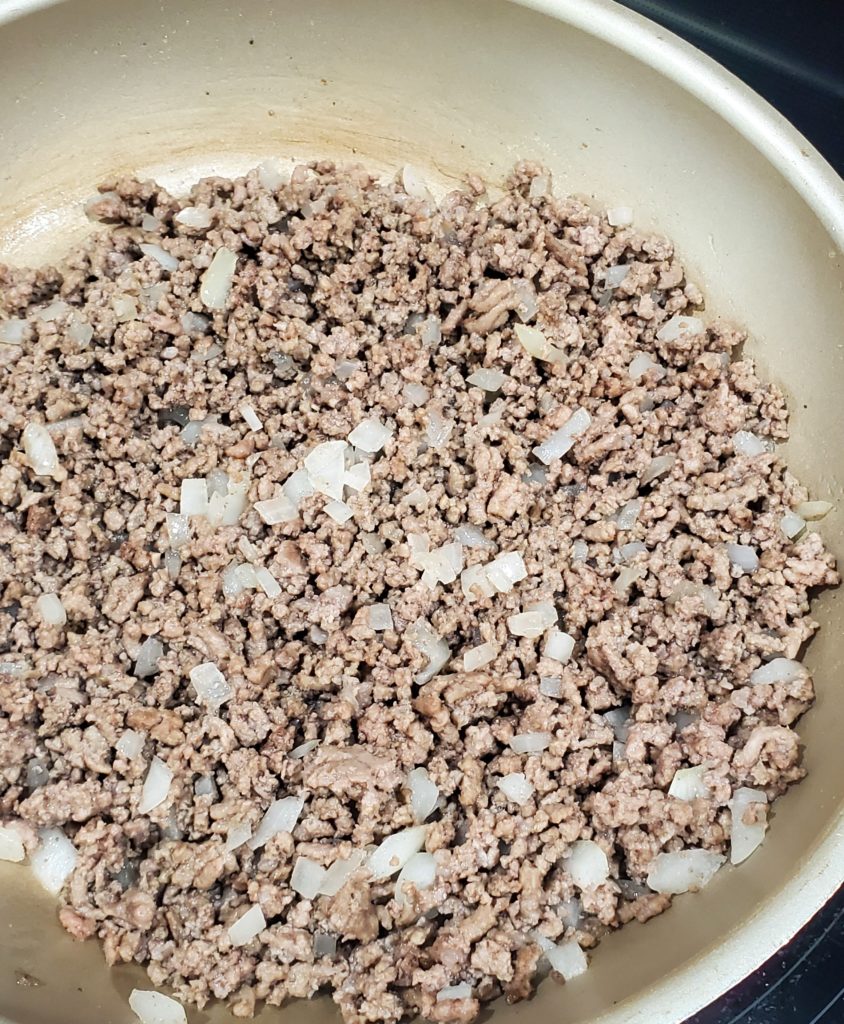
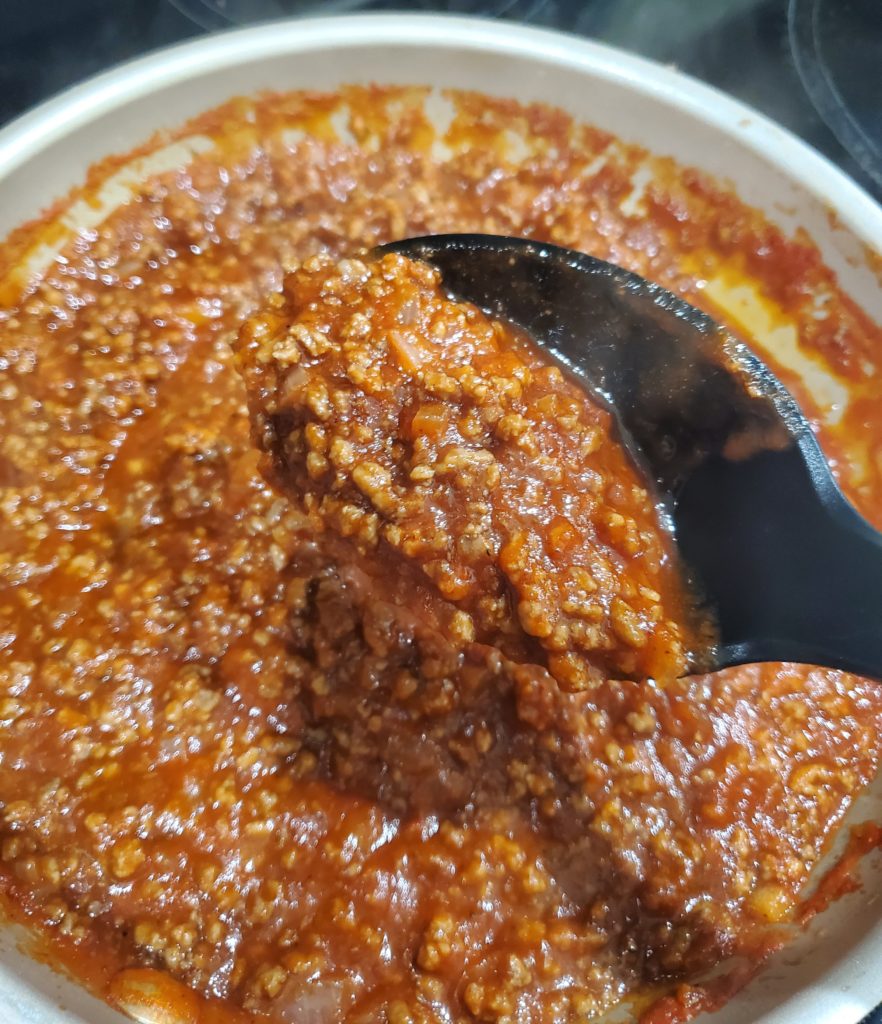
In a large skillet, cook the 1 pound of ground beef over medium-high heat, chopping it into small pieces. (I chop mine really small, but you can do the size your family likes.) Once the pink is mostly out of the meat, drain off the excess grease. Add in 1/3 cup of diced onion and cook for about three more minutes, stirring occasionally, until the onion starts to turn translucent.
Time to get saucy
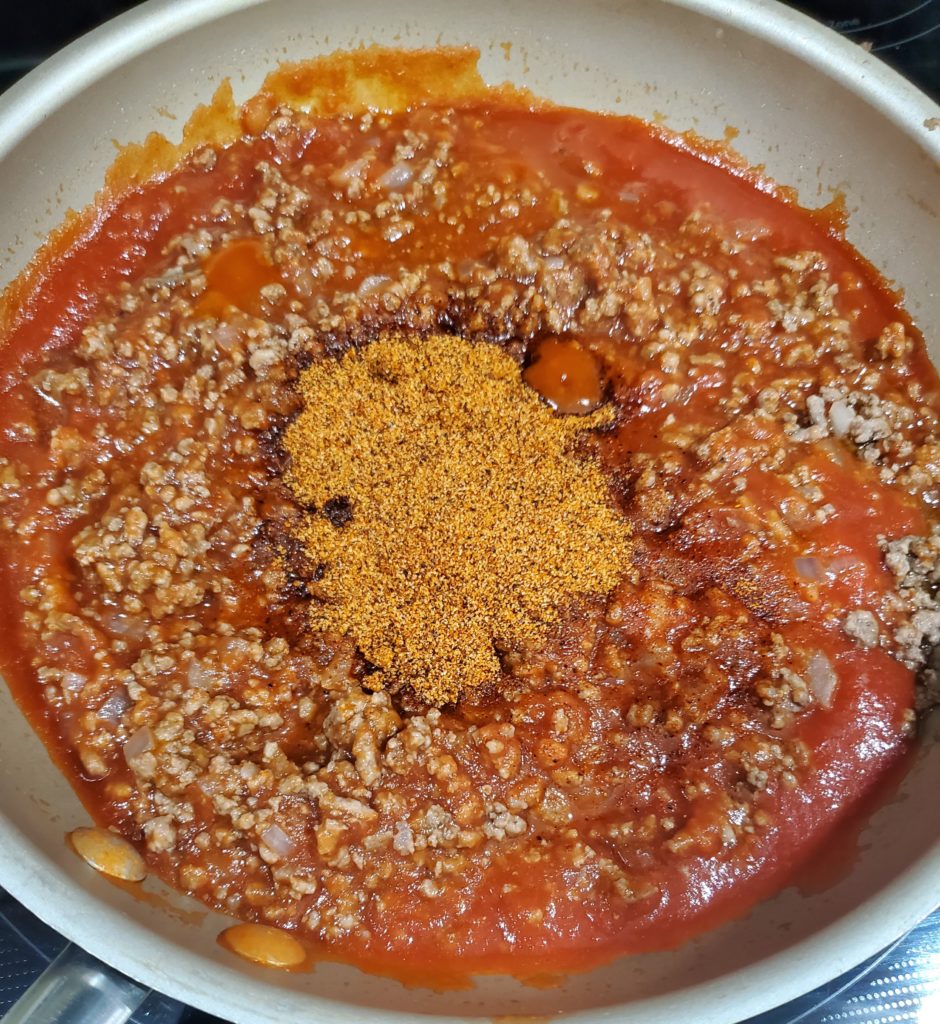
Next, pour 1 can (15 ounce) can of tomato sauce into the skillet right over the beef and onion. If you are making more than 1 pound, you may need to use more tomato sauce. The ratio of 15 ounces of sauce per 1 pound of ground beef works best.
Stir the sauce into the meat, leaving the temperature on medium-high. Now it’s time to add in the seasoning. I use 2 tablespoons of BBQ seasoning (preferably the Commissary BBQ Seasoning) and 3 to 4 tablespoons of brown sugar. If you like it sweeter, add more brown sugar; if you like it less sweet, add less. I tend to be in the sweet sauce camp!
If you are using BBQ sauce instead of BBQ seasoning, add in two tablespoons of sauce. If you have sweeter sauce, you may not need as much brown sugar. Or if you have spicier barbeque sauce, you may need more brown sugar. It really is to taste!
Stir it all together to combine. Let it bubble for about 2 minutes and then reduce the heat to low. Simmer on the stove for 5 to 10 minutes and it’s ready to serve.
Serving a crowd
You can make this sloppy joe recipe and keep it warm in a slow cooker to serve a crowd. In that instance, use 15 ounces of tomato sauce per 1-1/2 pound of ground beef. The slow cooker will get condensation on the lid and add liquid to the sloppy joes.
Because of the added condensation, you also need to add an extra tablespoon of the BBQ seasoning or sauce as well as the brown sugar for every 1 to 1-1/2 pounds of meat.
Homemade sloppy joes
This easy sloppy joe recipe is homemade and so much better than canned sauce. It's a great weeknight family dinner and can serve a crowd!
Cook and crumble the ground beef over medium-high heat in a large skillet. When the meat is mostly cooked, drain the grease.
Return the meat to the stovetop and add in the diced onion. Cook for 3 to 5 more minutes to let the meat finish cooking and until the onions soften and become more translucent.
Add the tomato sauce to the skillet. Stir.
Add the BBQ seasoning or sauce and brown sugar. Stir together and continue cooking over medium-high heat until bubbly (about 3 minutes).
Reduce the heat to low and simmer for 5 to 10 minutes. Serve on buns and enjoy!