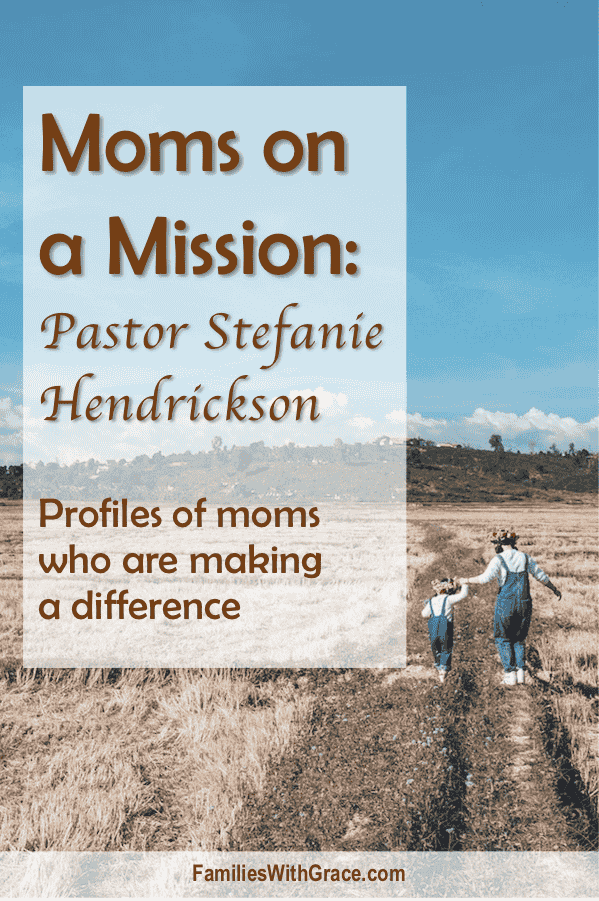
Profiles of moms who are making a difference
I am often awestruck at the women I see around me — both in real life and online — who are doing really amazing work in the midst of motherhood. These women are difference makers in the world who have identified and are living out their mission or God-given passion.
You need to know all about them, too! The Moms on a Mission series is all about these women. Once or twice a month, I’ll feature a mom who is living out her mission both inside and outside her home.
I’ve got a few other moms in mind, but I also would love suggestions. If you know a mom or are a mom who is living out her mission and God-given passion, I’d love to hear about it! Click on the “Contact” tab or send me a message through the Families with Grace Facebook page. I look forward to sharing stories that will inspire us all!
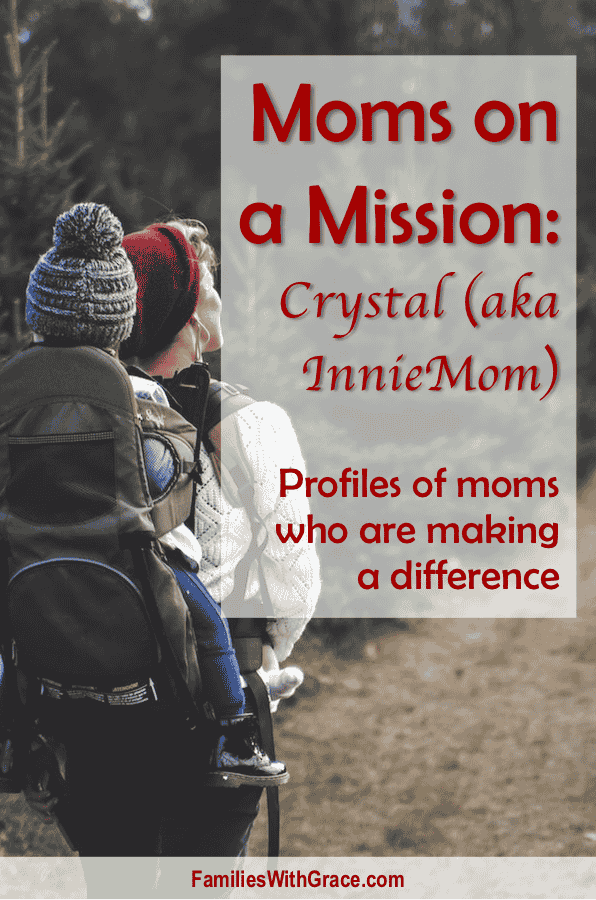
Today’s mom is Crystal, aka InnieMom. (For privacy, she chooses to not share her last name.) I started following the InnieMom blog on Facebook a couple of years ago. I’ve enjoyed her posts from the beginning as a fellow introvert. (We’re both INFJs even!) When her posts changed to include spiritual topics as well, I enjoyed her even more. I relate to so much of what she shares.
I was thrilled when she said yes to participating in the Moms on a Mission series. You’re going to be inspired and encouraged by her story!
FWG: What is your God-given mission or passion?
Crystal: My passion is Jesus. There are many things I feel called to do, but He is absolutely at the root of all of it. I just want to grow to know Him more, to surrender more fully to Him each day and to share Him and what He’s done for me with others. My prayer at the start of every day is for Him to help me surrender more fully and to be obedient to whatever it is He calls me to do. That being said, let me explain a bit about where that has lead me.
After I first became a Christ-follower, my husband and I had been trying to get pregnant. We tried for two years. The ups and downs in those few years were very, very difficult. Finally, we tried using fertility medicine and were able to conceive our fist child. We were so excited. We had a name picked out, and we had so many plans.
When a woman finds out she’s pregnant, it’s not just the baby itself, but it’s the life she imagines for that baby that she begins to plan for in her heart. Unfortunately, that pregnancy ended in a loss. My husband and I were both so heartbroken. I remember being angry with God. I didn’t understand why He’d allow me to experience that joy just to take it away from me.
I remember driving down the road and asking Him out loud, “Why? Why did You do this? If You love me, why did You allow this to happen?” I glanced over just in time to see a pregnancy resource center out my window, and it just clicked for me in that moment: “That’s it. That’s how He will use this pain for good.”
That year, I trained in that very center and coordinated their annual Walk for Life. Six years later — after losing three more babies and being blessed with two living children — once again the Lord called me to reach out to a local pregnancy resource center. I knew I was going to train to be an advocate.
As an introvert, with pretty extreme social anxiety, I literally told Jesus, “I’ll do it because it’s what You’re telling me to do, but I have NO ability to do this on my own. So I’ll go, but YOU have to take over when I get there.” And that’s exactly what He’s done. I get to help mamas in crisis pregnancy situations, and I get to share Jesus with them as well. I’m so thankful I pushed through that initial anxiety, because I’m right where I’m supposed to be.
FWG: How do you work to live out that mission right now?
Crystal: Volunteering. Aside from the PRC that I work with every week, I also volunteer at a local maternity home for pregnant and homeless young mothers. I get to babysit their little ones while they go out and work/go to school and assist with some of their big fundraising events.
I also try to use my platform on InnieMom to give other moms who struggle with anxiety and depression a place to feel like they aren’t so alone in the world. I hope seeing how much I love Jesus, and how much He’s changed my life will help other moms know where to turn when they are in those crisis situations. I love encouraging others to seek Him above all other things.
It’s also a goal of mine to bring a sense of “real-ness” and “human-ness” to the world of Christian blogs. I am not perfect; nobody is. I want to talk openly and honestly about my struggles, and I also want to have a bit of fun while doing it. Jesus has a wonderful sense of humor.
FWG: What are some of your biggest challenges in living out your mission?
Crystal: Representing Him well, I think. I often times allow my own human fears or desires to cloud my judgement. I get angry or snarky far too easily. I can be very sassy. I’m learning to do a better job of apologizing when I mess up, whether it be as a mom, a wife, a friend or someone with a platform on social media.
I think that’s what my “page change” was all about. When I first created the InnieMom page, my goal was to have a voice. A lot of what I posted was funny, but I was compromising on my beliefs as a Christian for likes. Somewhere along the way, I realized that wasn’t what I wanted at all… nor what Jesus wanted for me. Now, everything I post is viewed through the lens of my faith in Christ.
FWG: What have been some of your biggest blessings in living out your mission?
Crystal: My biggest blessing, by far, is growing closer to Jesus. The more I pursue Him, the more He leads me out into these crazy adventurous waters with Him. It’s amazing and terrifying all at the same time.
Also, when people message me and tell me I’ve impacted them. I’ve had more than a few page followers say, “I’ve never found another Christian introverted mom with anxiety who isn’t afraid to talk about it.” That feels amazing. Like, hey, maybe I’m not so weird after all!
The other thing that comes to mind are hugs. At the end of some of the sessions I have with moms in crisis pregnancy situations, I pray for them. Sometimes, if I’m lucky, they ask me for a hug. Those things keep me going through appointments that aren’t so easy. In that moment, I know we’ve connected and that somehow they’ve been impacted by our session. That means absolutely everything to me.
FWG: How do you balance motherhood responsibilities with your work/mission?
Crystal: My boys keep me grounded. I’m a hyper-sensitive individual, so it’s easy to get in my head about different situations I’ve come across. I asked my kiddo what he wanted to be when he grew up and he said, “I want to be a Jesus follower like you,” which pretty much sealed the deal for me that I’m doing a pretty OK job as a mom. I try to be present in the moments when I’m with them. I try to take lots of one-on-one days with each of them. We have a lot of “slumber parties” and “snuggle nights.”
I forgot to mention, I also own an IT company with my husband. So things are hectic around here most of the time. We love our crazy beautiful lives, though. Being a business owner gives us more control over how we’re spending our time. We’re able to be there for our kiddos far more than if we were working for someone else, like taking time off for field-trips and school events. It was a scary jump to make together at the beginning of the year, but it’s been an absolute blessing.
FWG: What’s the best advice you have for other moms who are following their passions?
Crystal: Pray for an obedient heart. Lay yourself at His feet every morning and say, “Wherever You lead me, I’ll go.” Don’t be afraid to listen to what He’s telling you. Sometimes it can be scary or completely outside of your comfort zone, but “obedience is always followed by blessing” (a quote from my good friend Summer, who’s an editor for InnieMom).
Read more from the series:
Moms on a Mission: Dr. Karen Dowling
Moms on a Mission: Mari Hernandez-Tuten
Moms on a Mission: Kathleen Brooker
Moms on a Mission: Sarah R. Moore
Moms on a Mission: Stacey Pardoe