A series of easy, quick and healthy summer dinner ideas you’ll love
Summertime dinners often need to be quick and easy. Some days are busy with activities and others are just busy spending time as a family or even being a bit lazy! I love summer dinner ideas that are pretty healthy while also being quick and easy. We have central air conditioning, but I still like some dinner ideas for summer that don’t require use of the oven or stove.
So I’m running a series for a few simpler summer dinner ideas over the next few Tasty Tuesdays. I’d love to hear from you and any suggestions you have for what you make for your family during the hot days of summer!
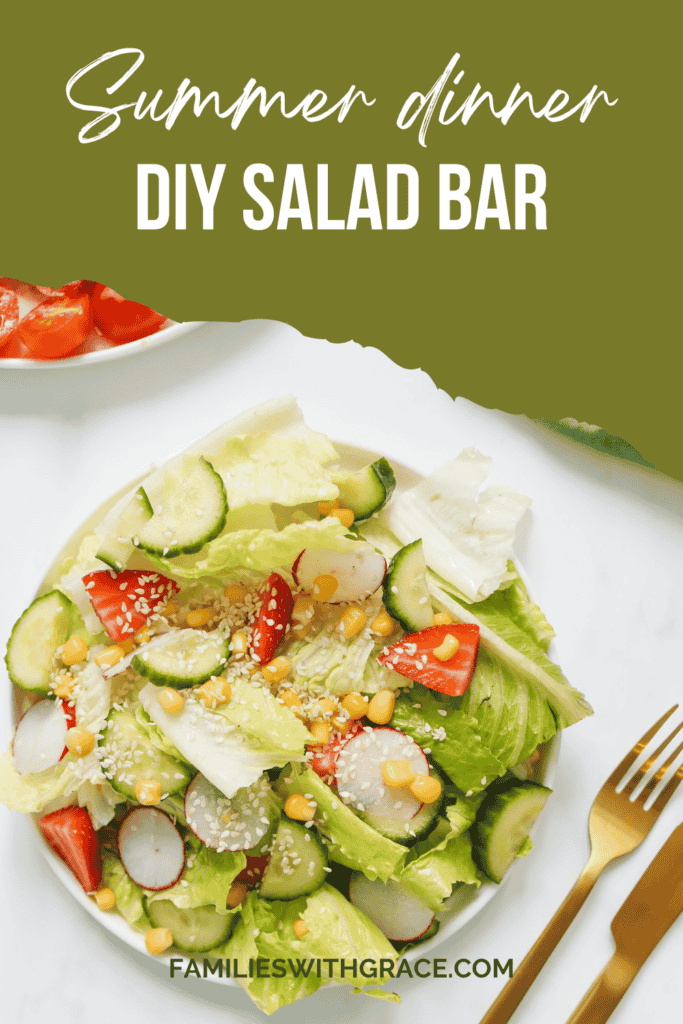
With that in mind, I’m excited to share the first simple summer dinner idea my family enjoys: a DIY salad bar. One of the things I love most is that I can prepare ingredients ahead of time and then just pull them out at dinner for easy, quick serving.
DIY Salad Bar
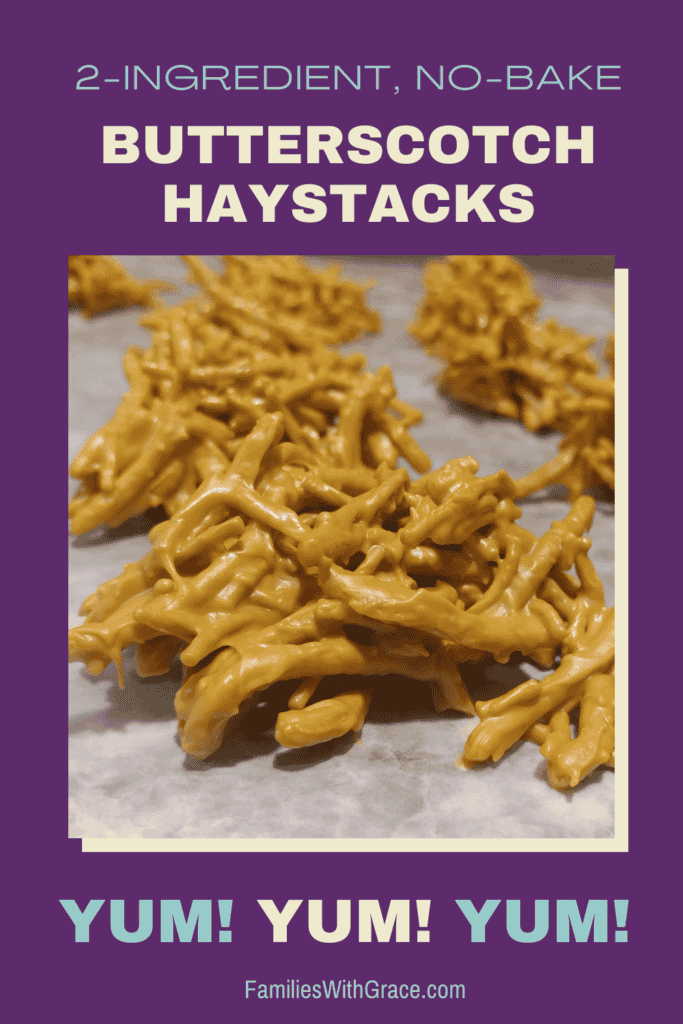
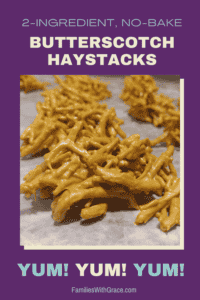
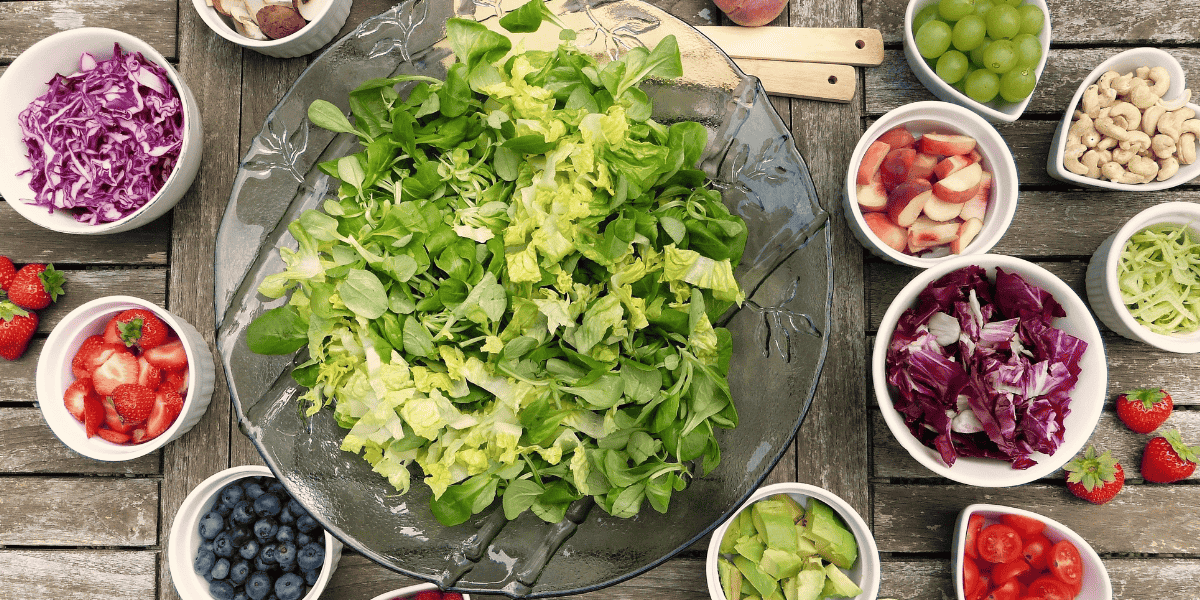
For a DIY salad bar, put all the salad fixings out on your kitchen counter and let each family member build their own tasty salad. It’s pretty straightforward, and you can totally customize it with what you family likes. I like to get some special salad treats for us that we don’t always have like sunflower seed kernels or a salad topper mix. My husband also loves the crunch of chow mein noodles on his salad, so I include those as well. (And leftover chow mein noodles can be turned into yummy butterscotch haystacks!)
Our salad bar toppings often include the following:
- Lettuce
- Shredded cheese
- Boiled egg
- Diced onion
- Diced bell pepper
- Diced tomatoes
- Shredded or chopped carrots
- Diced cucumbers
- Turkey or ham
- Pepperoni
- Croutons
- Bacon bits
- Chow mein noodles
- Sunflower kernels
- Various salad dressings
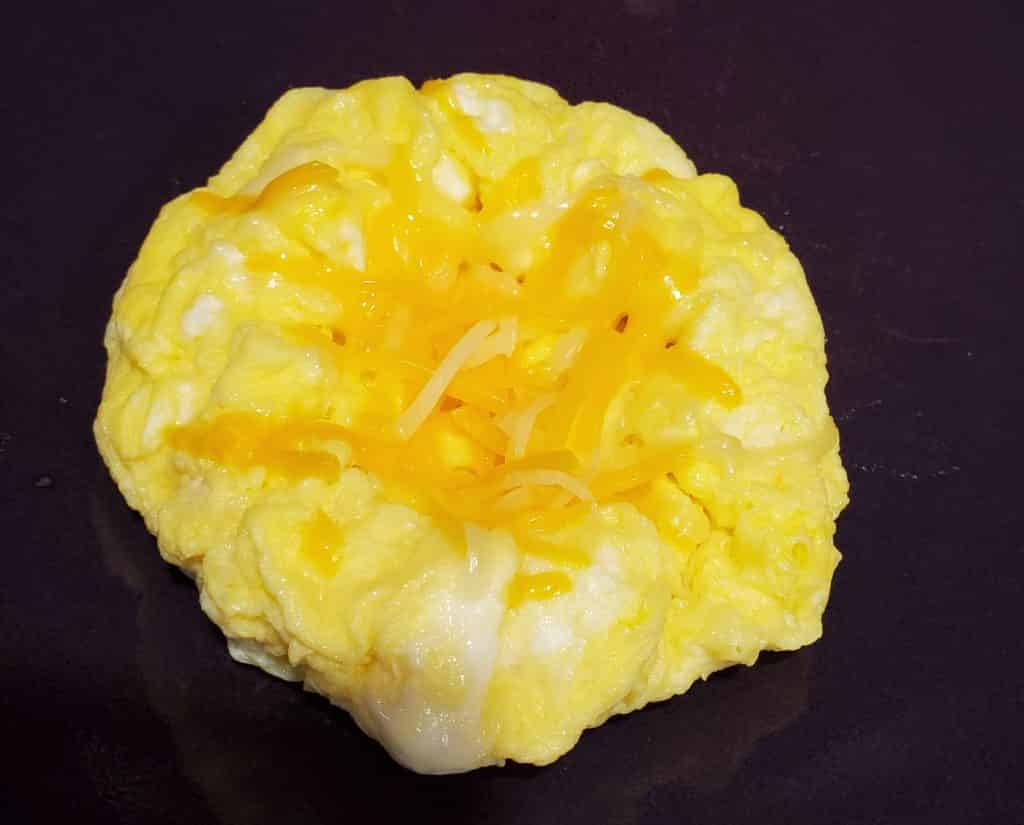
My salad bar toppings are often diced because that’s how I prefer them, but obviously you can do them however you like! As you can see from the photo below, I put out the ingredients and let each person fend for themselves. We are not at all fancy with this. In fact, sometimes if I’ve just cleaned the lettuce, it’s laid out on paper towels across the counter to air dry a bit!
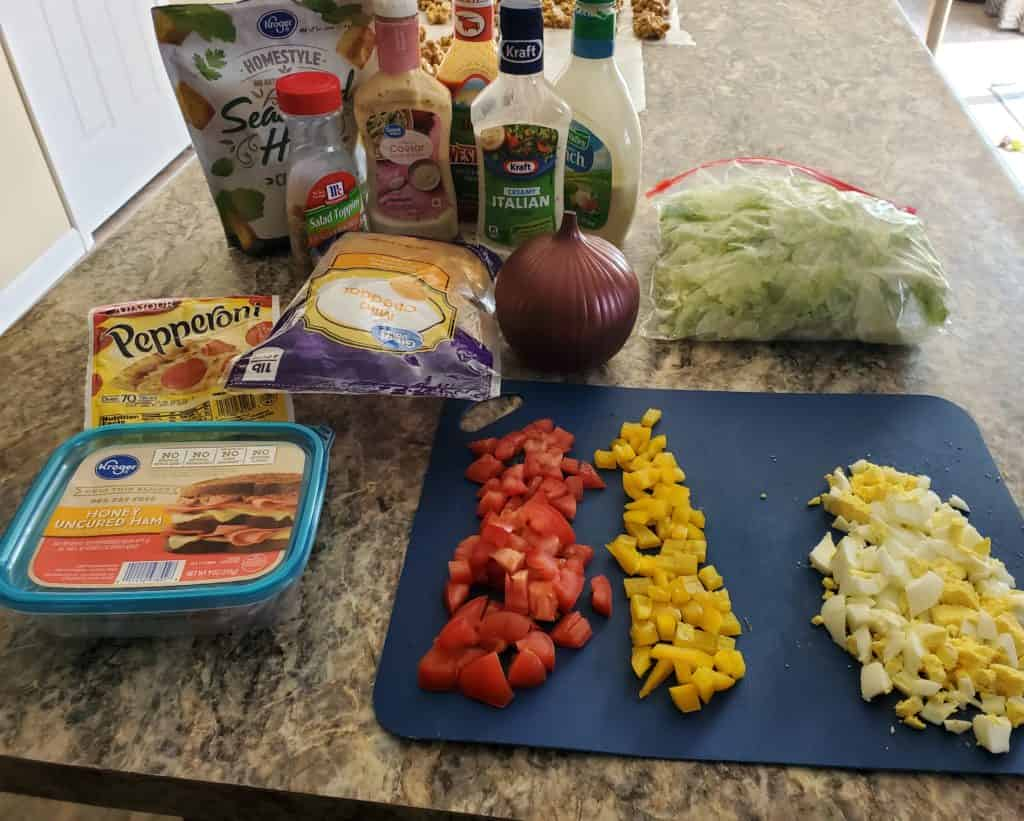
You can make your life easier and buy pre-cleaned lettuce or salad mix if you want. I usually get a head of iceberg lettuce, which is what my family likes most, and then plan other meals around the same time that use lettuce like tacos or BLT pizza.
Salad bar sides
I do usually serve up something on the side when we do a salad bar at home. Check out these ideas to go along with your salad bar:
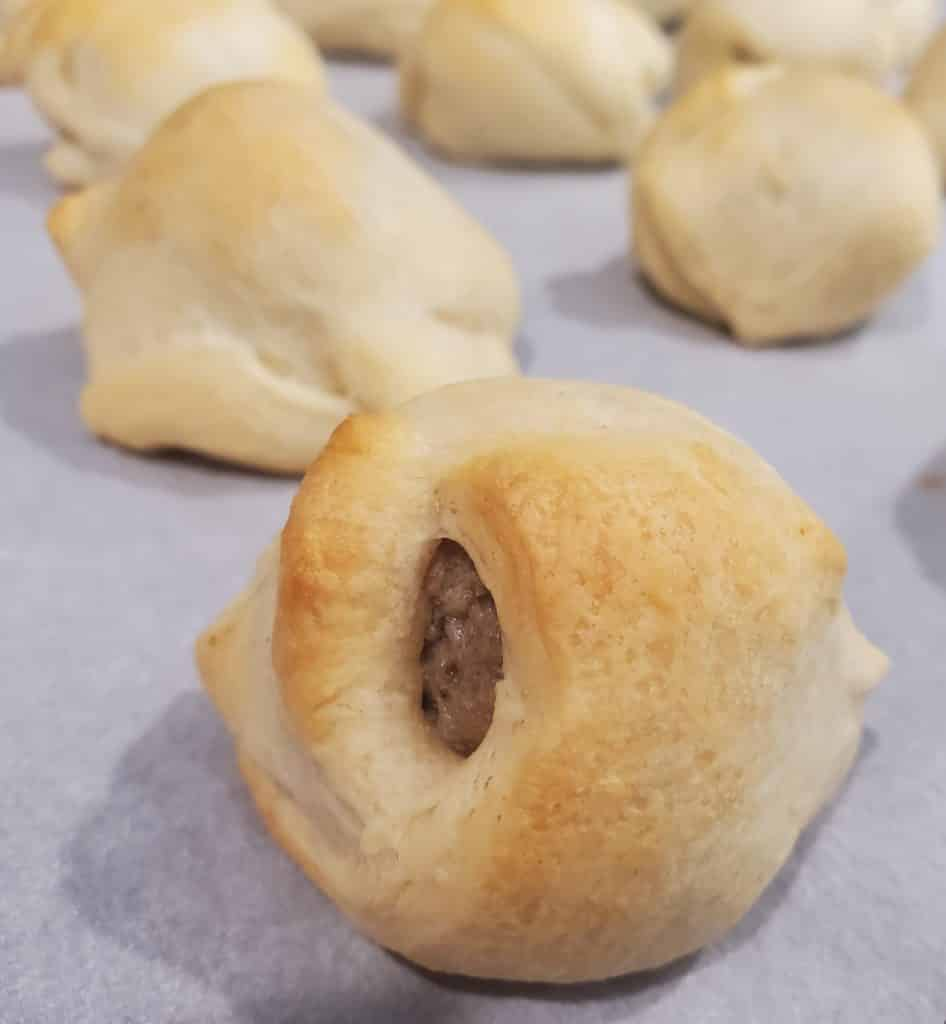
- Crescent rolls
- Garlic bread
- Texas toast
- Crackers (oyster, saltine, butter, etc.)
- Fresh fruit
- Homemade bread (This happens less often around my house!)
Basically, my favorite salad bar side is something I can use to scoop out the residual salad dressing that’s left in my bowl when I’m finished eating! I love a good salad dressing. My all-time favorite is poppyseed salad dressing. It’s so sweet and yummy!
Serving up salad for picky eaters
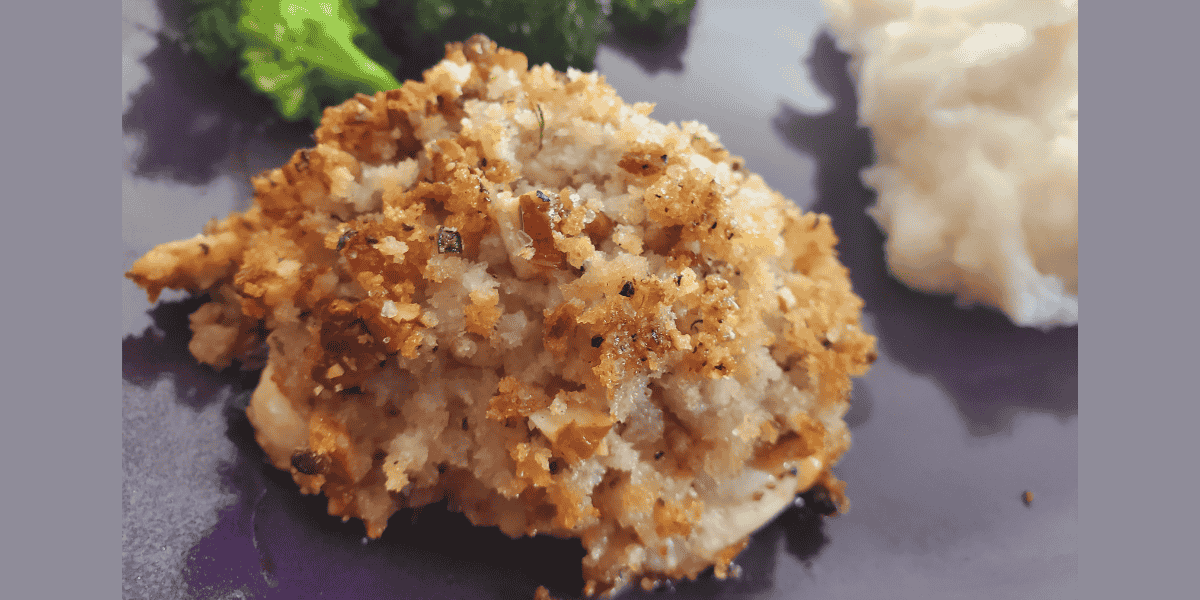
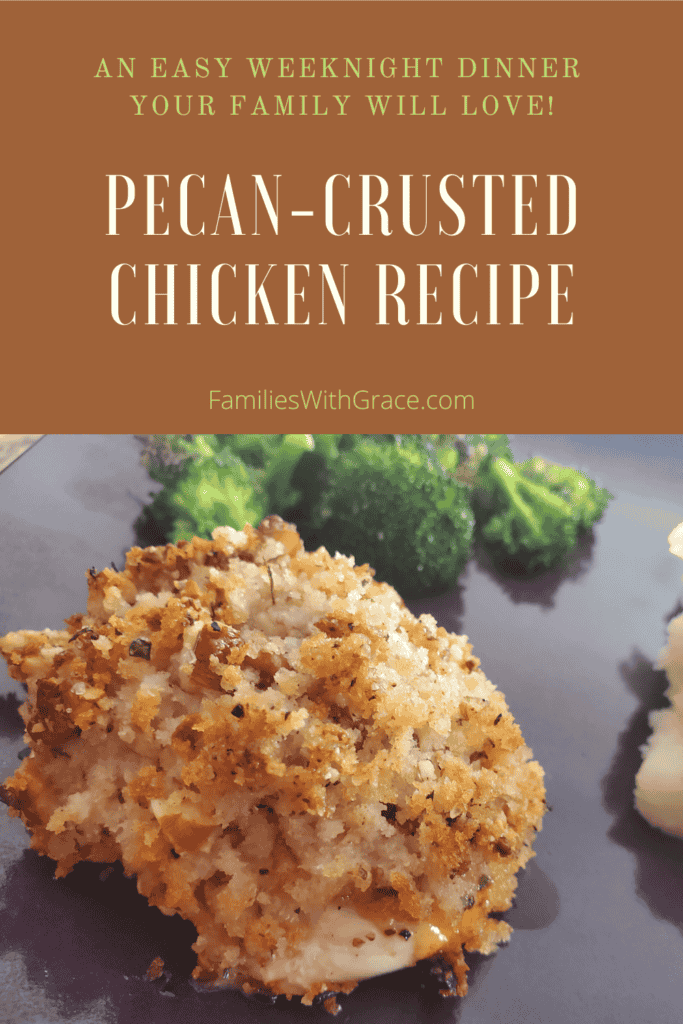
I’ve mentioned quite a few times that I have some particular eaters in my family. For example, when I make delicious pecan crusted chicken for dinner, my particular eaters would rather have frozen pizza or peanut butter sandwiches. Neither of them like chicken.
So for DIY salad bar nights, I get a little creative. My husband is a fan of salads and salad bars, so that only leaves my son as a picky eater. His biggest complaint is lettuce. He just doesn’t like lettuce. Instead I make him a deconstructed salad with some of his favorites like pepperoni, cheese and croutons. Usually I stick some baby carrots on his plate as well, but we were out of them for the most recent DIY salad bar night we had. And then he’s happy with whatever is on the side. This time it was crescent rolls.

Simple sweets
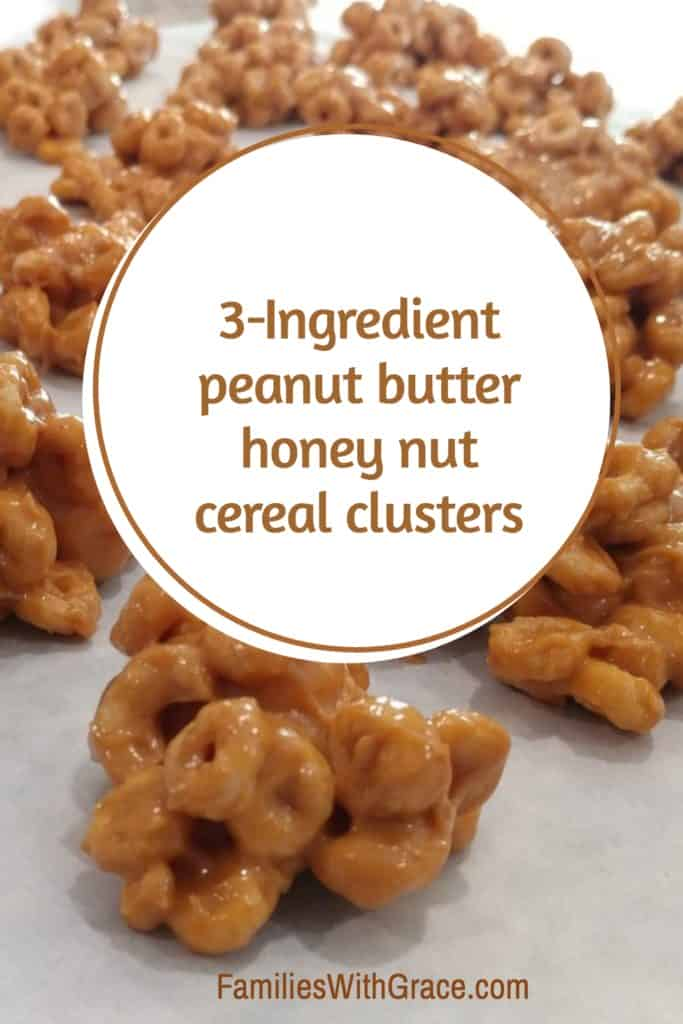
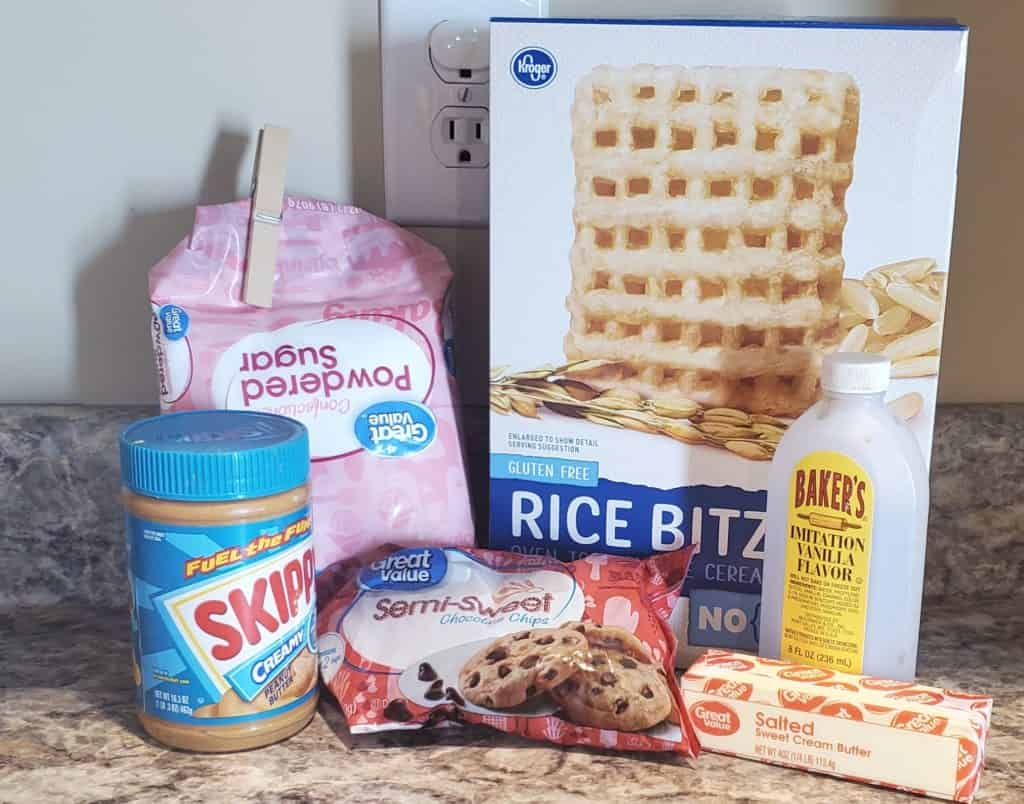
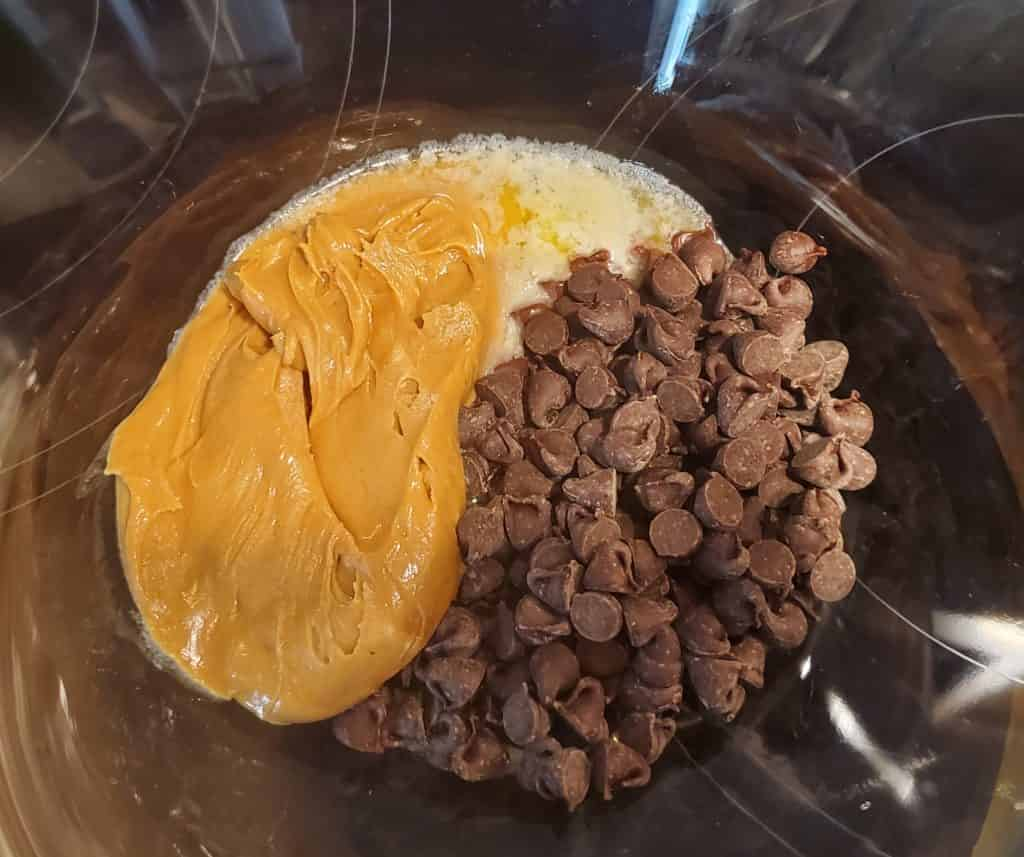
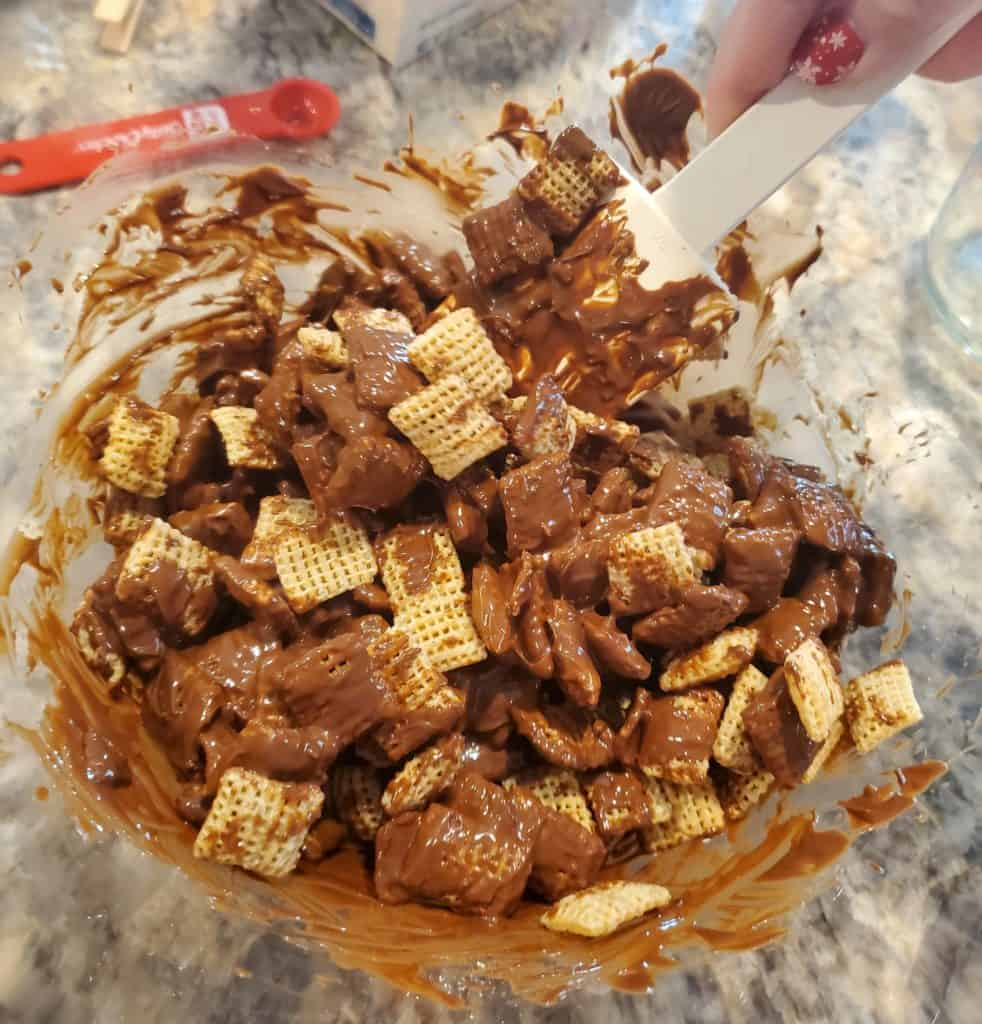
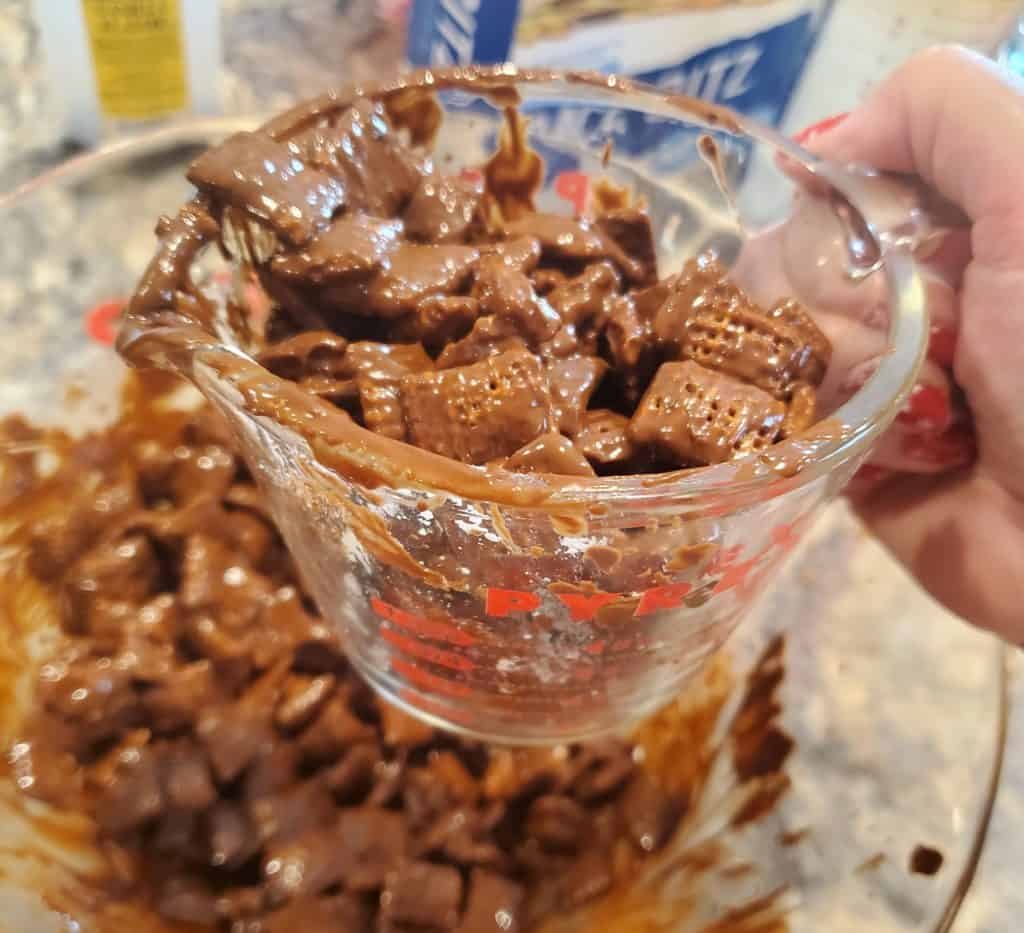
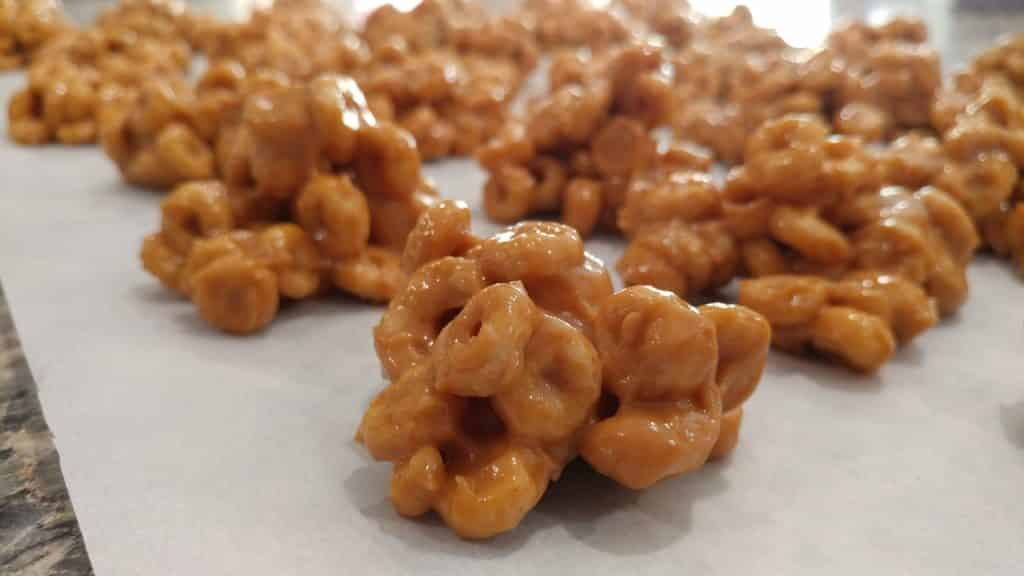
And then if you’re going with simple summer dinner ideas, you need a simple sweet as well. For DIY salad bar nights, it seems wrong to eat something heavy or rich. Plus hot weather calls for lighter foods, I think. So if I make a sweet for us, it’s usually either oat and honey granola or peanut butter honey nut cereal clusters. I’m a little partial to peanut butter honey nut cereal clusters for simple summer dinners because they only use the microwave and not the oven.
What are your family’s favorite simple summer dinner ideas?
Check out these other simple summer dinner ideas: