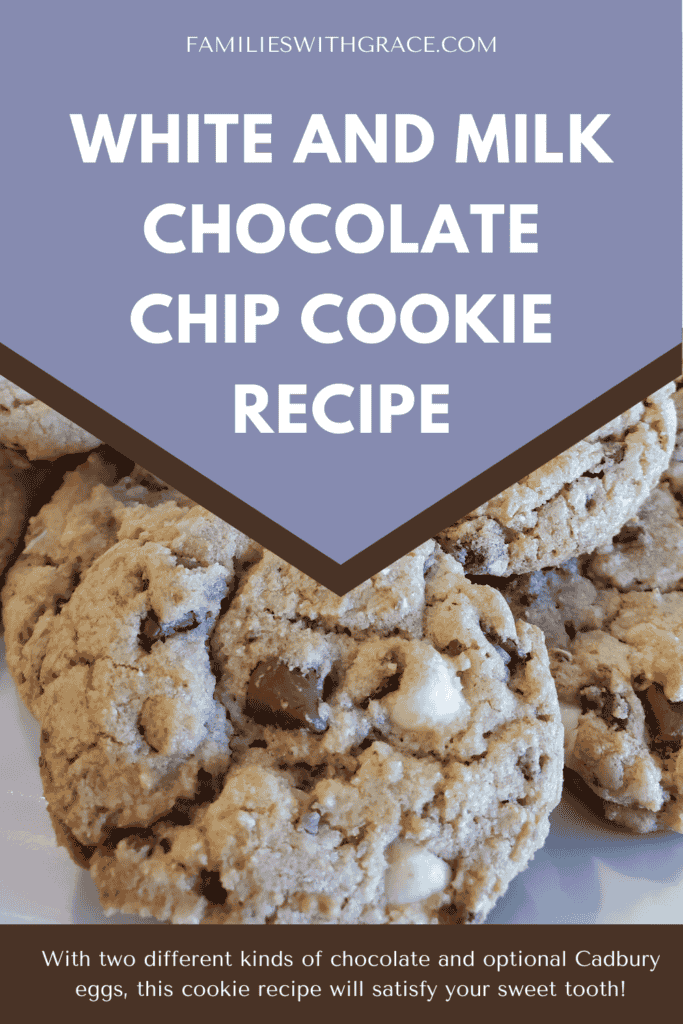
With two different kinds of chocolate and optional Cadbury eggs, this cookie recipe will satisfy your sweet tooth!
Affiliate links are used in this post. If you make a qualifying purchase via my link, I receive a small percentage of the sale at no additional cost to you. I only recommend products and services I use and love. It helps support my blog, so thank you for your support! Read my full disclosure here.
One of my favorite desserts to make — and eat! — is cookies. I’ve shared a couple of family favorite cookie recipes before like my peanut butter cookie recipe and my toffee chip cookie recipe. This white and milk chocolate chip cookie recipe, though, is perfect for springtime. I first made it eight years ago. Then I sort of forgot about it. I made it again this year and I’m trying to not eat my weight in these cookies!
I also LOVE Cadbury eggs. And I know. People either love or loathe them. I’m 100% in the love category. Their creamy goodness makes me happy. I’ve haven’t been as much into the mini, hard-shelled Cadbury eggs, though. But this recipe has changed that. You can totally make the recipe without the Cadbury eggs to enjoy it year-round. However, the Cadbury mini eggs make a nice addition to the cookie. (Pick some up on sale after Easter and toss them in your freezer to enjoy them year-round!)

The other nice thing about this white and milk chocolate chip cookie recipe is that it makes about 8-9 dozen cookies, which is double with a “normal” batch of cookie dough makes. In fact, since I wasn’t feeding a huge crowd, I baked out half the dough and put the other half in a flat gallon size zip-top storage bag in my freezer to bake later.
Dealing with the candy
If you’re going to use the mini Cadbury eggs with the crunchy candy shell, start there. You also opt for another milk or white choclate-ly candy if you find yourself with a lot of something else. Just follow the same steps. (If you’re not using any candy, skip this step and move on to the dough.) The recipe calls for one 10-ounce package, which looks like this:

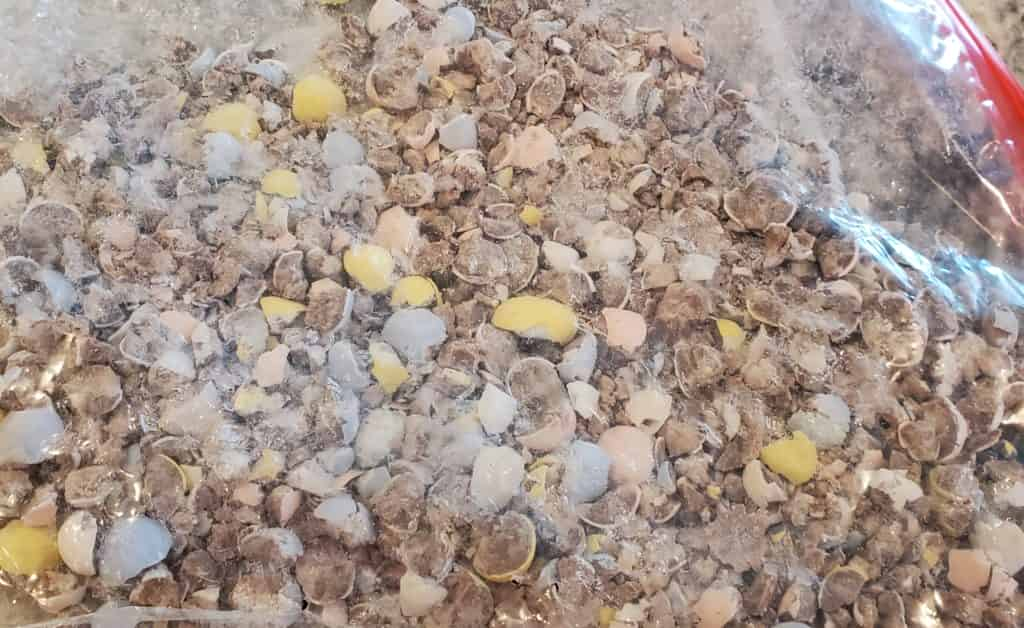
You need to crush or rough chop the candy. I put it in a zip-top bag and hit it with my rolling pin. You can also use a spoon. My 8-year-old son helped me and quite enjoyed hitting and banging around in the kitchen.
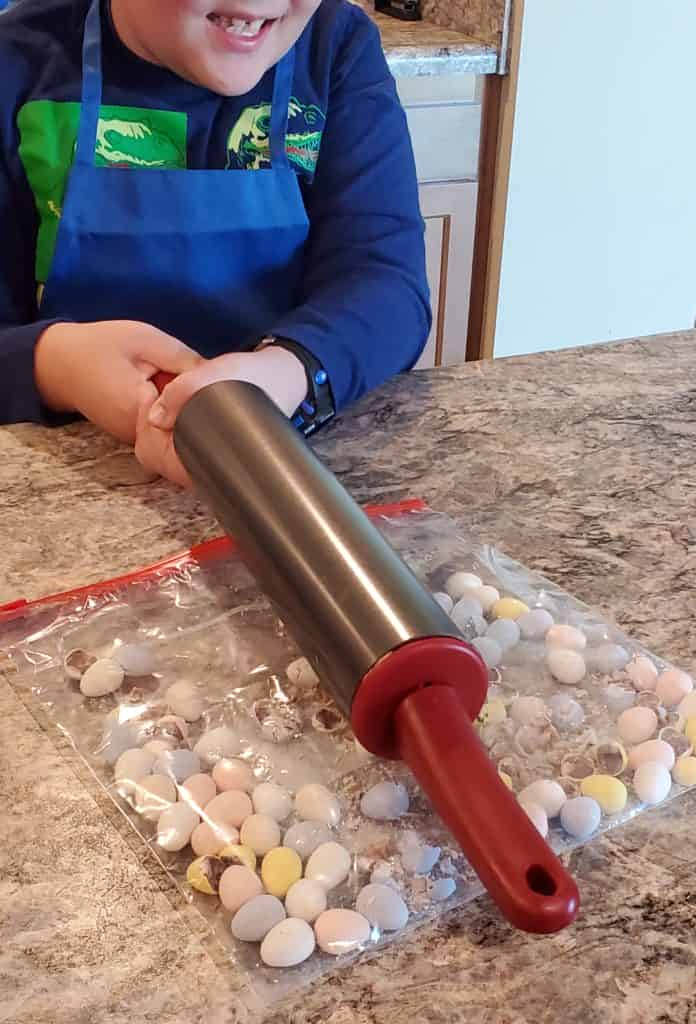
You want the candy in small pieces, but not totally crushed. It should look something like this:
Moving on to the dough
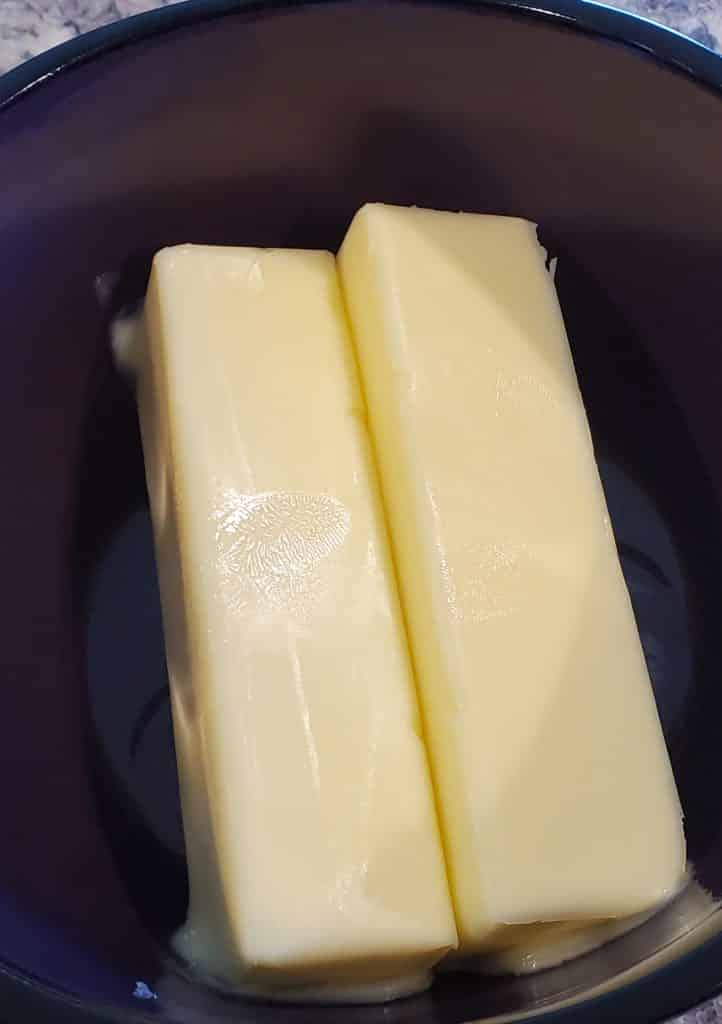
Next, turn your oven on to 350-degrees to preheat. If you’re using candy set it aside for now. It’s time to get the dough going. Start with two sticks (1 cup) of slightly softened butter or margarine. I used butter this time but used margarine before and both work just fine. You want them ever-so-slightly soft like this:
Put the softened butter into your mixing bowl or the bowl of your stand mixer if you’re using one. Add in both the white and brown sugar and beat until light and fluffy. I used my stand mixer and started at “stir” until they were combined, then I worked my way up to level 6. After about 2 to 3 minutes, the mixture looked like this:

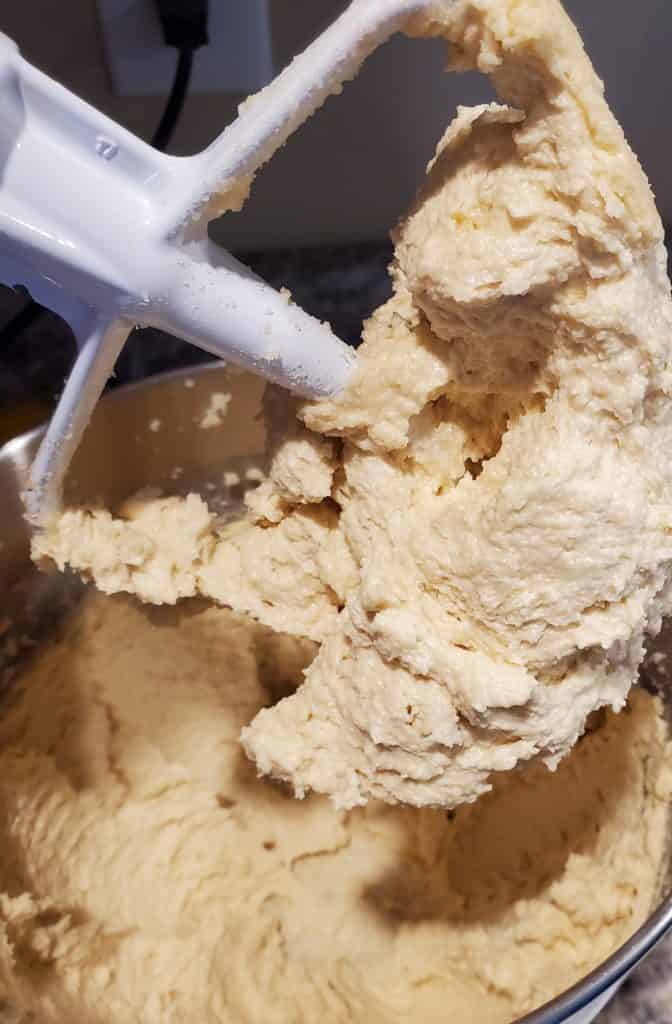
Next, mix in each egg one at a time and then add the vanilla. Get a second mixing bowl and stir together the flour, salt, baking soda and baking powder until they are combined. Slowly add the dry mixture into the wet mixture and let your dough come together until everything is incorporated. It should thicken up and look like this:
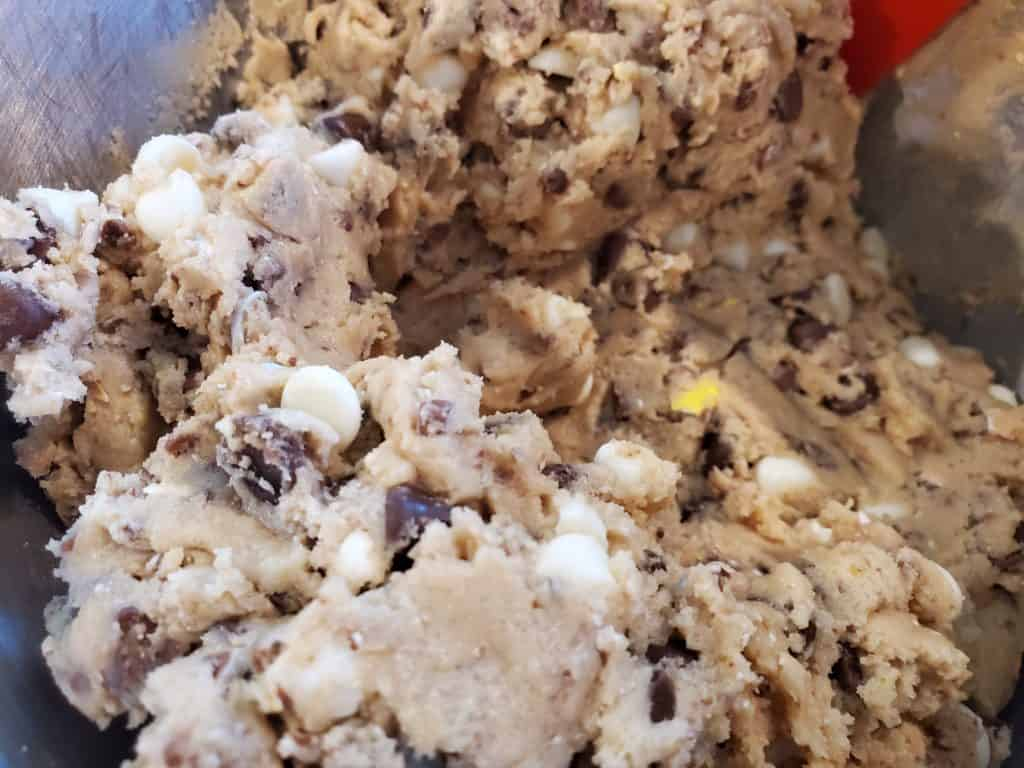
Now it’s time to stir in the goodies. I stir in the white chocolate and milk chocolate chips first. Then I add the Cadbury mini egg pieces. If you are using other candy, stir it in last like the Cadbury eggs. If you are using only the chips, then do those. You can add extra white or milk chocolate chips if you’d like. One of my favorite things with this cookie recipe is that it has so many chips that each bite ends up with at least a chip of some sort.
Baking the cookies
Now you’re ready to start baking. I use parchment paper on my cookie sheets because it makes clean-up way easier and the cookies never, ever stick to the pan. I highly recommend it! No matter what, you want to form the dough into approximately 1-inch balls. I used a cookie scoop for mine because it is faster and easier. Place the dough balls on your cookie sheet.

Bake the cookies in your preheated to 350-degree oven for 10 minutes until the edges are slightly browned. Take them out of the oven and cool on the baking sheet for about a minute before transferring them to a cooling rack to finish cooling. Do your best to let them cool enough that they won’t burn your mouth before enjoying them!
Store them in an airtight container. I use gallon-sized zip-top bags. These white and milk chocolate chip cookies stay fresh for about a week.
White and chocolate chip cookie recipe
Ingredients
- 1 cup butter or margarine softened
- 1-1/2 cups white sugar
- 3/4 cup brown sugar
- 3 eggs
- 3 teaspoons vanilla
- 3-1/2 cups flour
- 1-1/2 teaspoons salt
- 1-1/2 teaspoons baking soda
- 1-1/2 teaspoons baking powder
- 1 12- oz. package white chocolate chips
- 1 11.5- oz. package milk chocolate chips
- 1 10- oz. package Cadbury mini eggs with hard candy shell optional*
- * You can substitute the Cadbury mini eggs for other white or milk chocolate candy you have more white chocolate chips, more milk chocolate chips or just omit them completely. The recipe is full of yummy flavor even without the adding candy or chocolate chips!
Instructions
- Preheat the oven to 350-degrees Fahrenheit.
- If you're using the Cadbury mini eggs with a hard candy shell (or other candy), put them into a large zip-top bag. Use a rolling pin or spoon to crush the candy into pieces around the size of chocolate chips. (Some bigger pieces are fine if that's what you like.)
- Cream the butter and sugar together in a mixing bowl or with your stand mixer until it is light and fluffy. (It took mine about 2-3 minutes total.)
- Add in the eggs one at a time and mix well after each.
- Add in the vanilla and mix well.
- In a separate bowl, mix together the flour, salt, baking soda and baking powder. Stir until combined.
- Gradually add the dry mixture into the wet mixture and stir until incorporated.
- Add the white chocolate chips, milk chocolate chips and prepared candy.
- Roll the dough into 1-inch balls or use a cookie scoop. Place the dough balls onto a cookie sheet. (I cover mine with parchment paper for easier clean up.)
- Bake at 350-degrees for about 10 minutes until the edges are lightly browned. Remove from the oven and let them cool for about 1 minute on the cookie sheet before removing them to a wire rack to cool.
- Once cooled, store them in an air-tight container or zip-top bag.