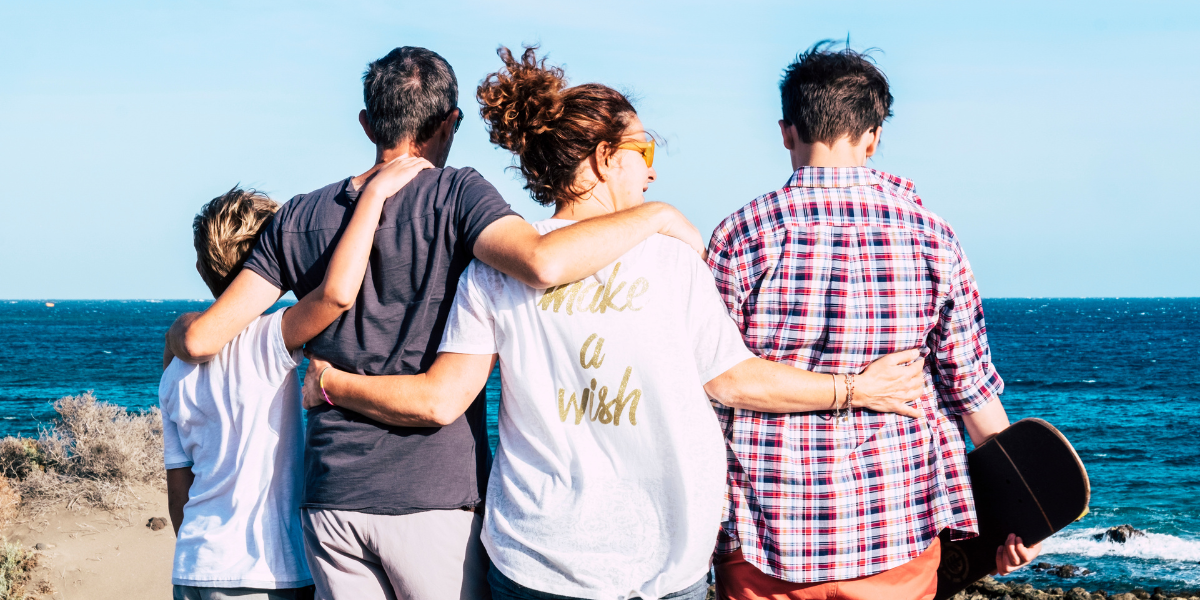
Tips for Christian moms with a good dose of encouragement
The “Moms with Grace” series takes a look at modern Christian moms and how they handle daily life with raising children. You’ll find monthly posts from moms with older kids, younger kids and all those in between. Let real-life moms encourage and uplift you!
Sometimes when you get introduced to someone, you realize you are on the same page right away. That’s how it was for me with Rachael Belle. Rachael publishes a quarterly magazine called “Healing Home” that focuses on Biblical homemaking. She also maintains a related blog and a second site, Healing Home Recipes, where she posts healthy recipes for families.
Along with her online ministry, Rachael is a wife of nine years to Danny and a mom to three boys: Wyatt (5), West (3) and Wylder (8 months). Needless to say, she’s one busy mama! She and her family live on 40 acres in Minnesota where they homestead with gardens, bees, pigs, chickens and turkeys.
Recently she took time out of her jam-packed schedule to answer a few questions for the Moms with Grace series.
Affiliate links are used in this post. If you make a qualifying purchase via my link, I receive a small commission at no additional cost to you. This helps support my blog. Thank you for your support! Read my full disclosure here.
Can you share a little bit about your marriage?
It’s hard to talk about our marriage without mentioning a turning point that happened for Dan in 2005. At the time Dan was living a very different life. In God’s true sovereignty, He issued Dan a wake-up call in the form of a tree. The only problem with this tree is that it met Dan’s head as he was going 60 MPH on a brand-new Harley Davidson motorcycle.
Dan was found dead on scene. He died again in the ambulance and again on the operating table.
But God is gracious, and he saved my future husband’s life.
Dan’s life changed that night. He woke up with virtually no memory and had to relearn how to walk, talk, write, eat and everything else. Although I was not there during this tumultuous time, I have heard many of the stories. And to this day I marvel at God’s goodness in saving Dan’s life.
I met Dan in 2013 at our church, and we were married the next year.
How have you changed from the beginning of your mom journey until now?
The change in me could be summarized in one word: sanctification.
By no means, do I claim that I have arrived at any ending point of development, but again God is gracious. Motherhood and marriage reveal the sin nature in us in ways that nothing else has for me.
After I had my second child, I found myself seething in anger over the smallest of things. I never would have considered myself an angry person, but those little sinful boys triggered my own sin battle with bitterness, angry and resentment.
The beauty of the gift of motherhood is that God does not leave us helpless as we stand there wondering where all this sin is stemming from. He gave us His Word, other sisters in Christ, community and the church.
The biggest change in me from the beginning of my mom journey until now is God’s grace in my life revealing sin in me and His work in me as I learn to lean into His will for my life.
What are some challenges you’ve faced as a mother? How have you worked to overcome them?
The biggest challenge I have faced in motherhood is learning how to be a wife and a mother.
When Dan suffered his brain injury in 2005 it left his brain with certain damages. The section of our brain that allows us to feel empathy was greatly impacted. Our children need our empathy. When they are crying on the floor in frustration, our empathy is in part what allows us to offer them grace when it is needed.
When I married Dan, I thought I fully understood his brain injury, but I didn’t. I didn’t understand how his brain injury would impact our parenting. In our marriage vows I said, “I love you for you were, who you are and who you will become.” To this day that is the only section of our marriage vows that I remember, and it’s because God has brought them to my mind time and time again. He knew I would need that vow consistently in my head as I learned the balance of being Danny’s wife and my boy’s mother.
Your marriage is a covenant between you, your spouse and God. Your motherhood is a gift.
Out of the deepest of respect for my husband, I will be vague concerning this, but I have shed many tears of frustration and cried out to God in desperation as I have tried to learn the balance of parenting my children with grace when my husband’s brain significantly struggles to connect with empathy.
Yet at the end of the day, God is sovereign. He knew we would face this struggle before the beginning of time. I truly believe that if Danny is pursuing Jesus, I am pursuing Jesus and we are united in our love for our boys, we can conquer anything. If you are struggling in your marriage and parenting, do a deep dive into God’s sovereignty. I believe you will be blessed by the study.
In what ways have you and do you share your faith with your children? (I’d love examples!)
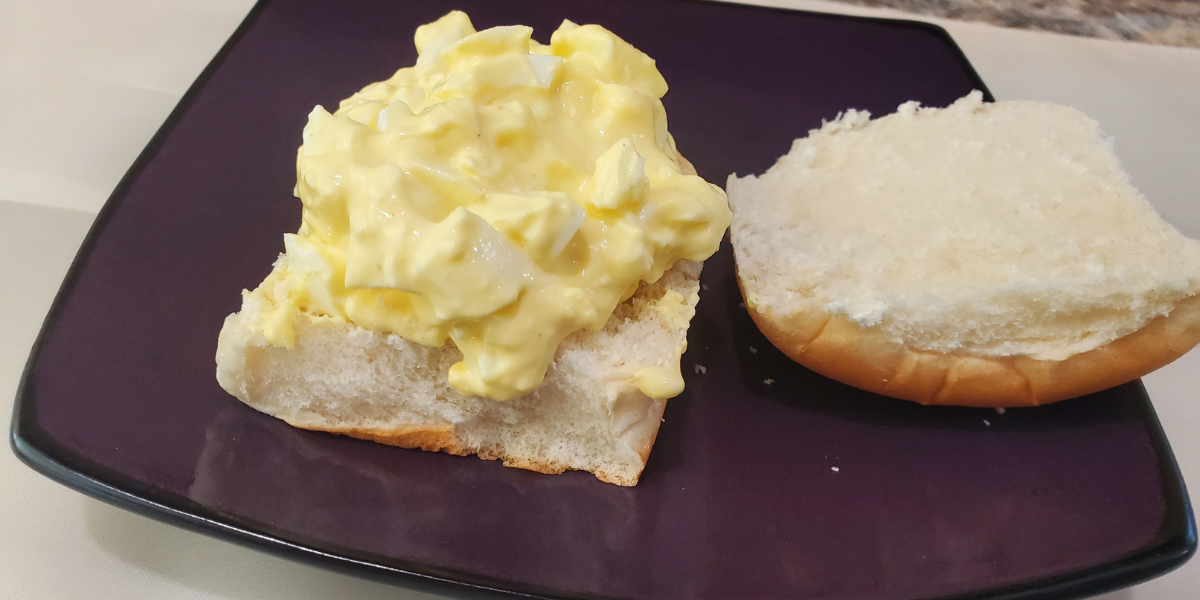
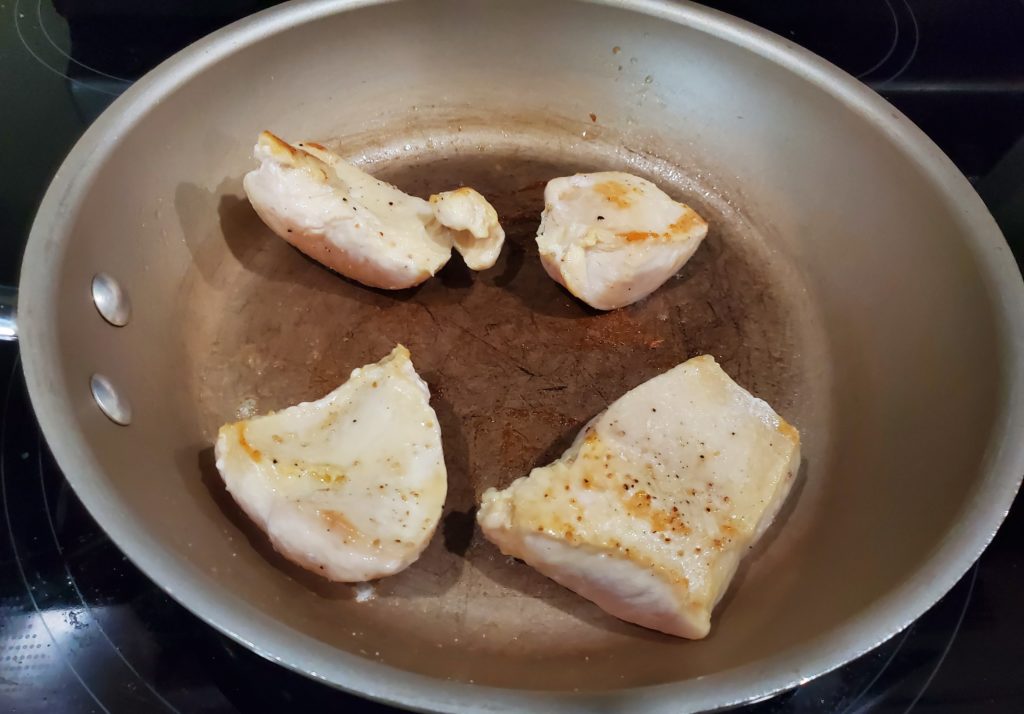
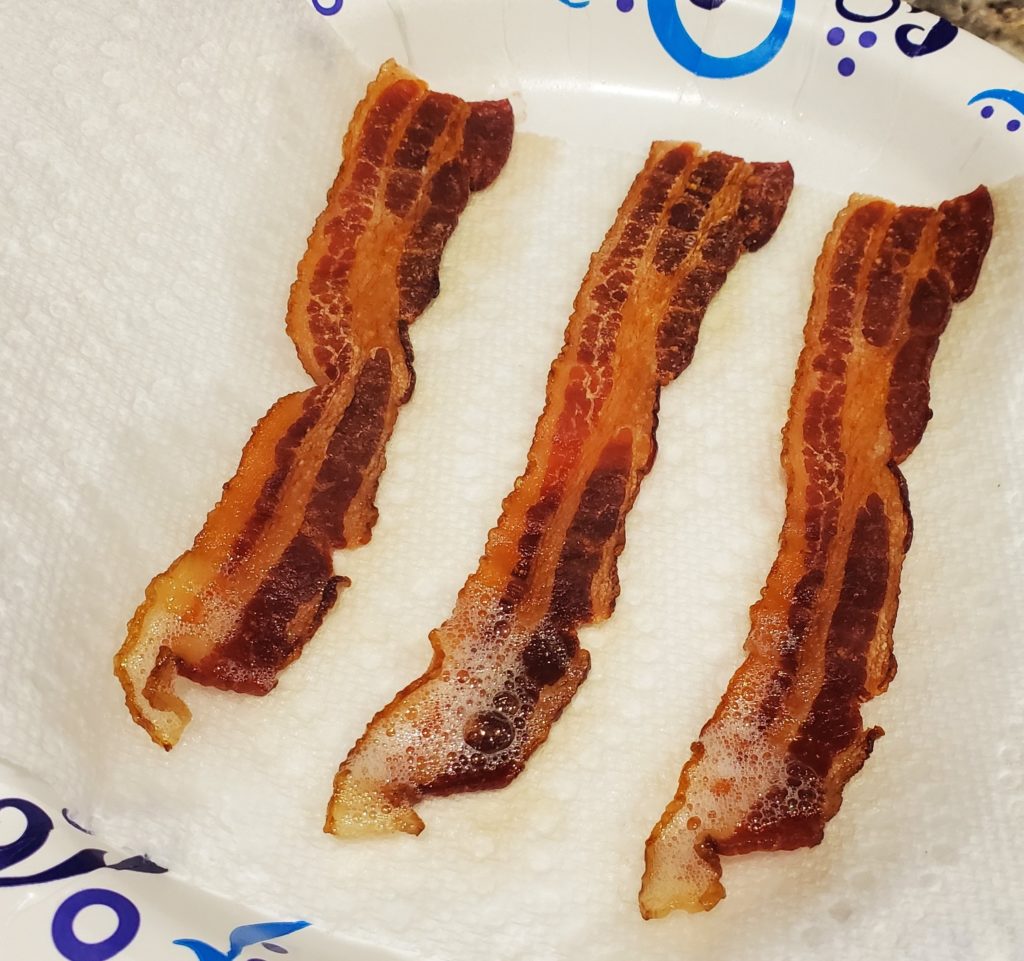
This past year we have started something that has been our number one discipleship tool! We make breakfast together and sit down as a family to enjoy a hearty breakfast and have family devotional time.
My husband can be home on Friday, Saturdays and Sundays, so on those days we sit down as a family of five. Most days we cook farm fresh eggs, bacon and some sort of sourdough bread or roll.
We eat and do a Bible reading or devotional. Our three favorites right now are: The Laugh & Grow Bible for Kids by Phil Vischer, How Great is our God by Louie Giglio and The Really Radical Book for Kids by Champ Thornton.
Sharing our faith comes in seasons, but in all the seasons we should be intentional. I have also used our drive time to listen to kids’ Christian podcasts and have discussions afterward. Our bookshelves are filled to the brim with books by Godly authors like R.C Sproul. His book The Priest with Dirty Clothes recently sparked some truly delightful conversations about our faith! Our faith is woven throughout our day and conversations. We are intentional about showing our kids that our affections should be for Jesus.
What are some of your favorite parts of motherhood?
I have endless favorite parts of motherhood, but truthfully my absolutely favorite part is simply watching them have fun.
Last night we were able to sit on our deck finally after such a long winter. My oldest son was in our field with a toy sword, and he was chopping down the tall grass and pretending to fight a dragon. My youngest was playing by a water table on our deck, and he looked over at me with such a big smile it melted my heart. Finally, I looked over at our middle while who was oblivious to the world. His hind end was sticking up in the air as he was trying to look inside a gopher hole.
It was absolutely perfect. Those are my favorite moments. It’s the moments I just get to enjoy watching them.
How does grace play a role in your daily life? Do you have any tips or advice for how moms can show more grace to their families?
I’m not perfect. Far from it. However, one of my prayers with my mothering is that in the moments where my weakness shows through that God’s strength would be evident.
Grace is a necessity in parenting. I need God’s grace to sustain me throughout the day, and my children need to see grace in my parenting. Grace is not the absence of discipline, but the evidence of it.
I often tell my children when I’m extending grace. It might sound something like this:
Wyatt, mommy messed up today and God extended me grace and forgave me. Right now, you directly disobeyed me, but I want to give you grace like Jesus did for me. Can we both repent and move on with our day?
What are you most proud of as a mom?
Right now, I’m just proud that my children seem receptive to what we have taught them about the Bible and Jesus.
Do you have any resources that help you be a mom with grace? (Music, books, websites, etc.)
I love podcasts and right now one of my favorites is The Art of Home: A Podcast for Homemakers by Allison L Weeks. She has great wisdom as a seasoned homemaker and mother.
Speaking of homemaking, I would love for you to join me in the most important step of my day, Bible reading! Inside my Homemaker Binder Planner (updated monthly) there is a Bible reading section. It has been a JOY to read my Bible with other mothers and homemakers. (P.S. You can still call yourself a homemaker even if you work another job!)
It would be a delight if you decided to join the monthly homemaker planner and joined me in the Bible reading challenge. During the month of May we have worked on reading a Proverb a day.
Do you have anything else to add that we haven’t talked about?
Your home can be a healing place! Allow Jesus to be the builder of your home and abide in him.
Connect with other Christian moms for support and encouragement in the private Facebook group, Moms with Grace!