Simple DIY resurrection eggs perfect for toddlers through elementary aged kids
A few years ago, I was searching for ideas to help my kids understand the meaning of Easter. They were 2 and 5 at the time. I knew the 2-year-old wouldn’t grasp too much, but the 5-year-old definitely would. So I began my search for something simple, yet effective, and discovered resurrection eggs.
Resurrection eggs were a new concept to me. They weren’t something I grew up with or had ever heard of. I did some research and learned you can buy or make them. Most of them were for 12 days, which seemed overwhelming to me.
Then I found a plan that used six eggs. I did some tweaking for my own set of resurrection eggs, and we gave it a try four years ago. Our own DIY resurrection eggs were a hit and worked really well.
My kids are older now, and they look forward to our resurrection eggs each year. I love that the eggs help us stay focused on the story of Jesus, which is why we celebrate Easter.
It is very similar to what we do with our Christmas countdown using Bible verses to tell the Christmas story. Each evening we open one of the plastic eggs and have the kids tell us what has been happening in each part of the Easter story so far.
Why 6-day resurrection eggs work well for younger children
Finding ways to teach young children about the real meaning of Easter can be challenging. The true meaning of Easter is serious and parts of it are frightening.
So making your own Easter story eggs is a creative way to help little minds understand Jesus’ crucifixion in a fun and tangle way. Resurrection eggs are a perfect new tradition for Christian families with young children!
Making the eggs
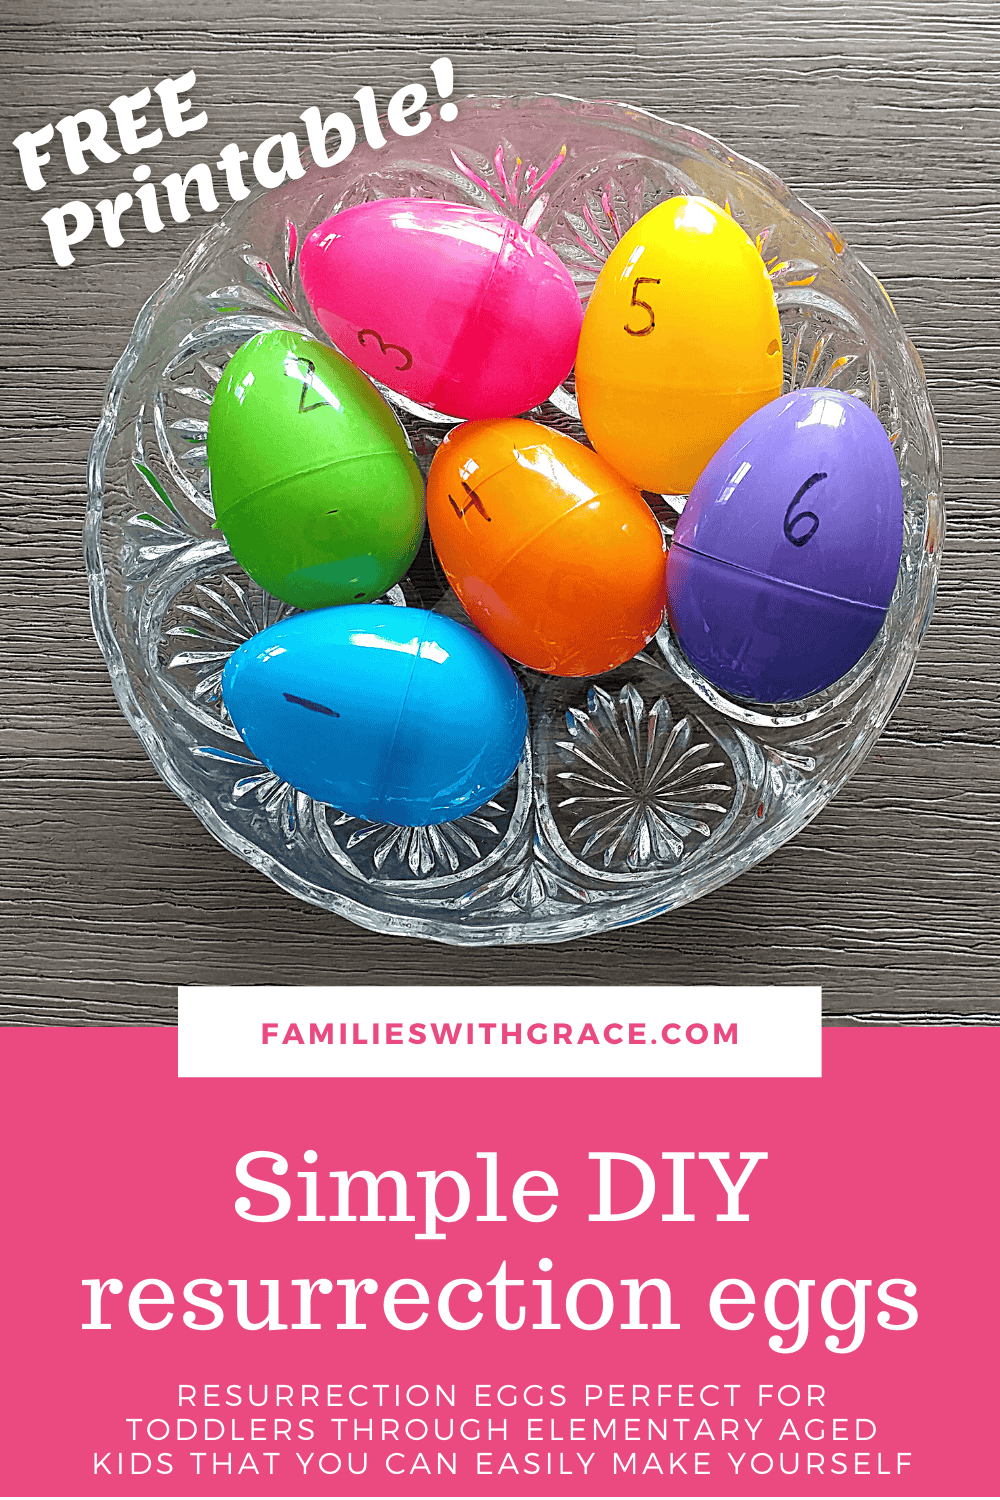
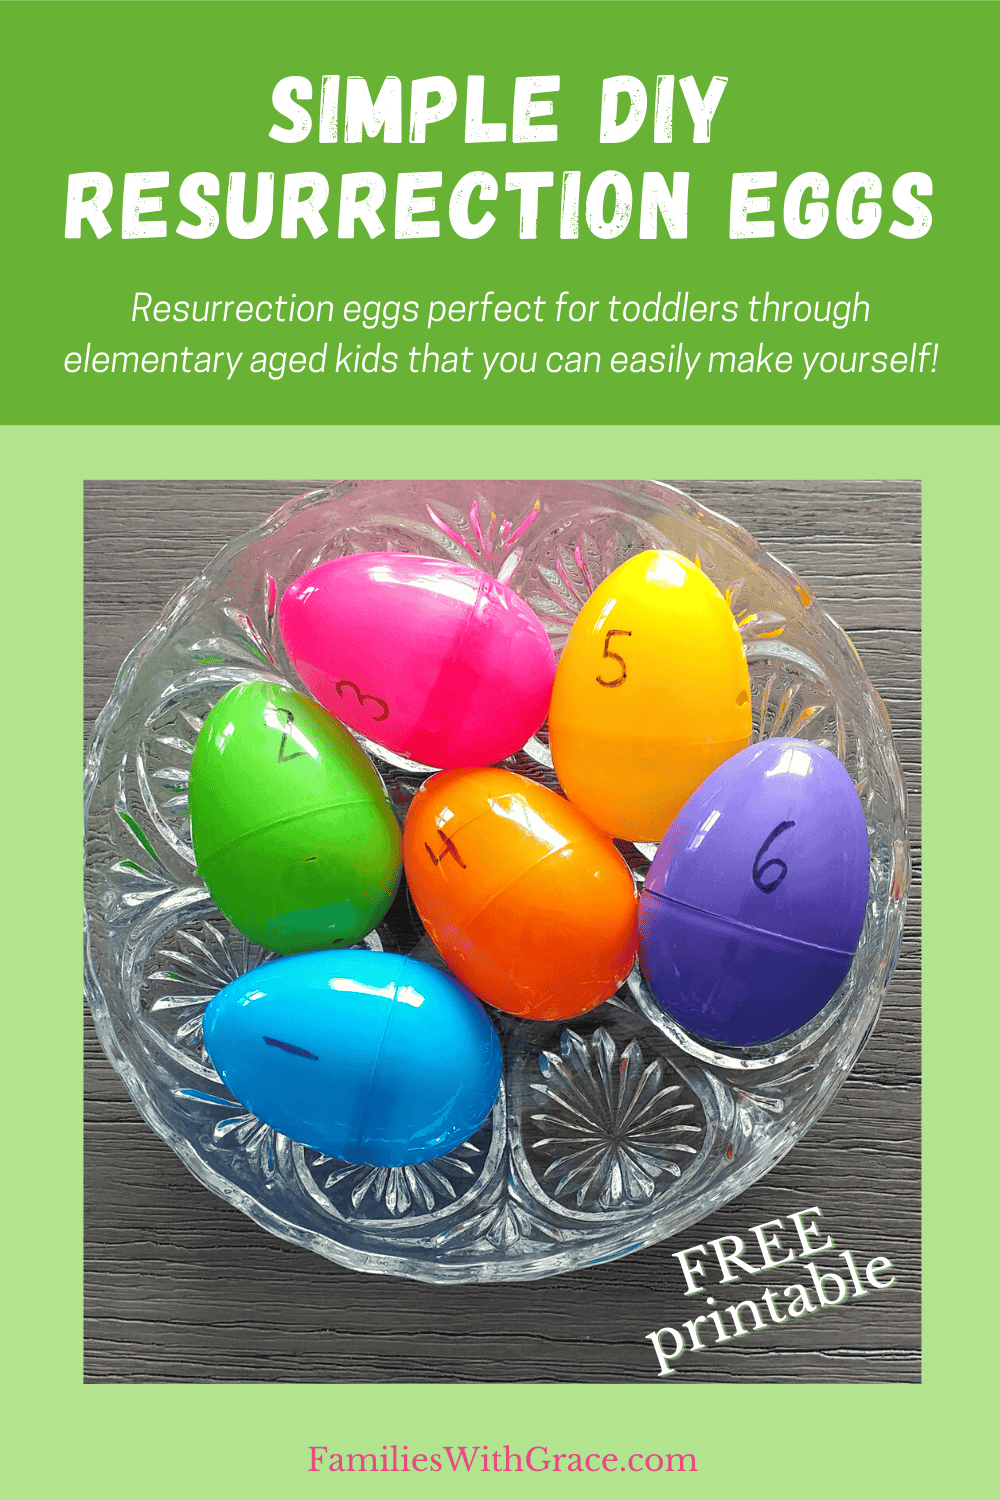
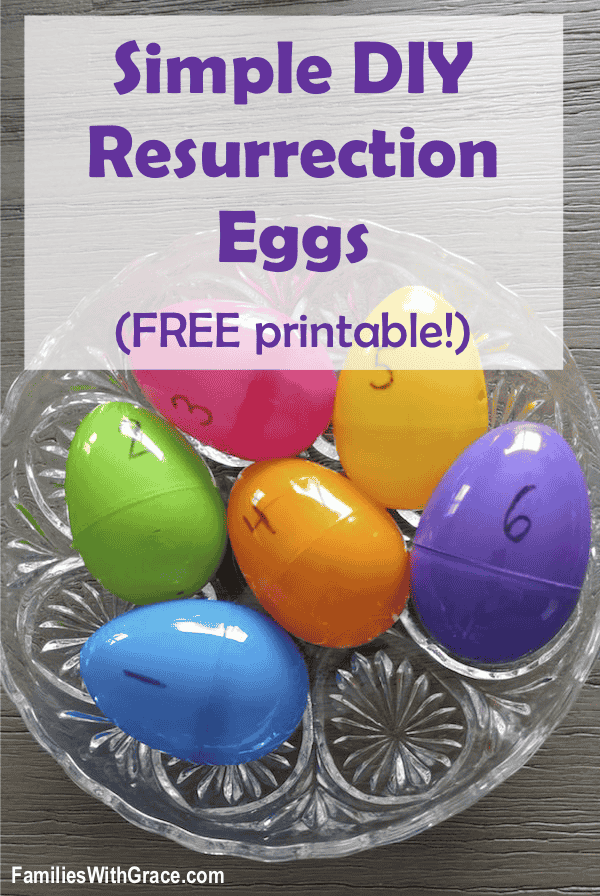
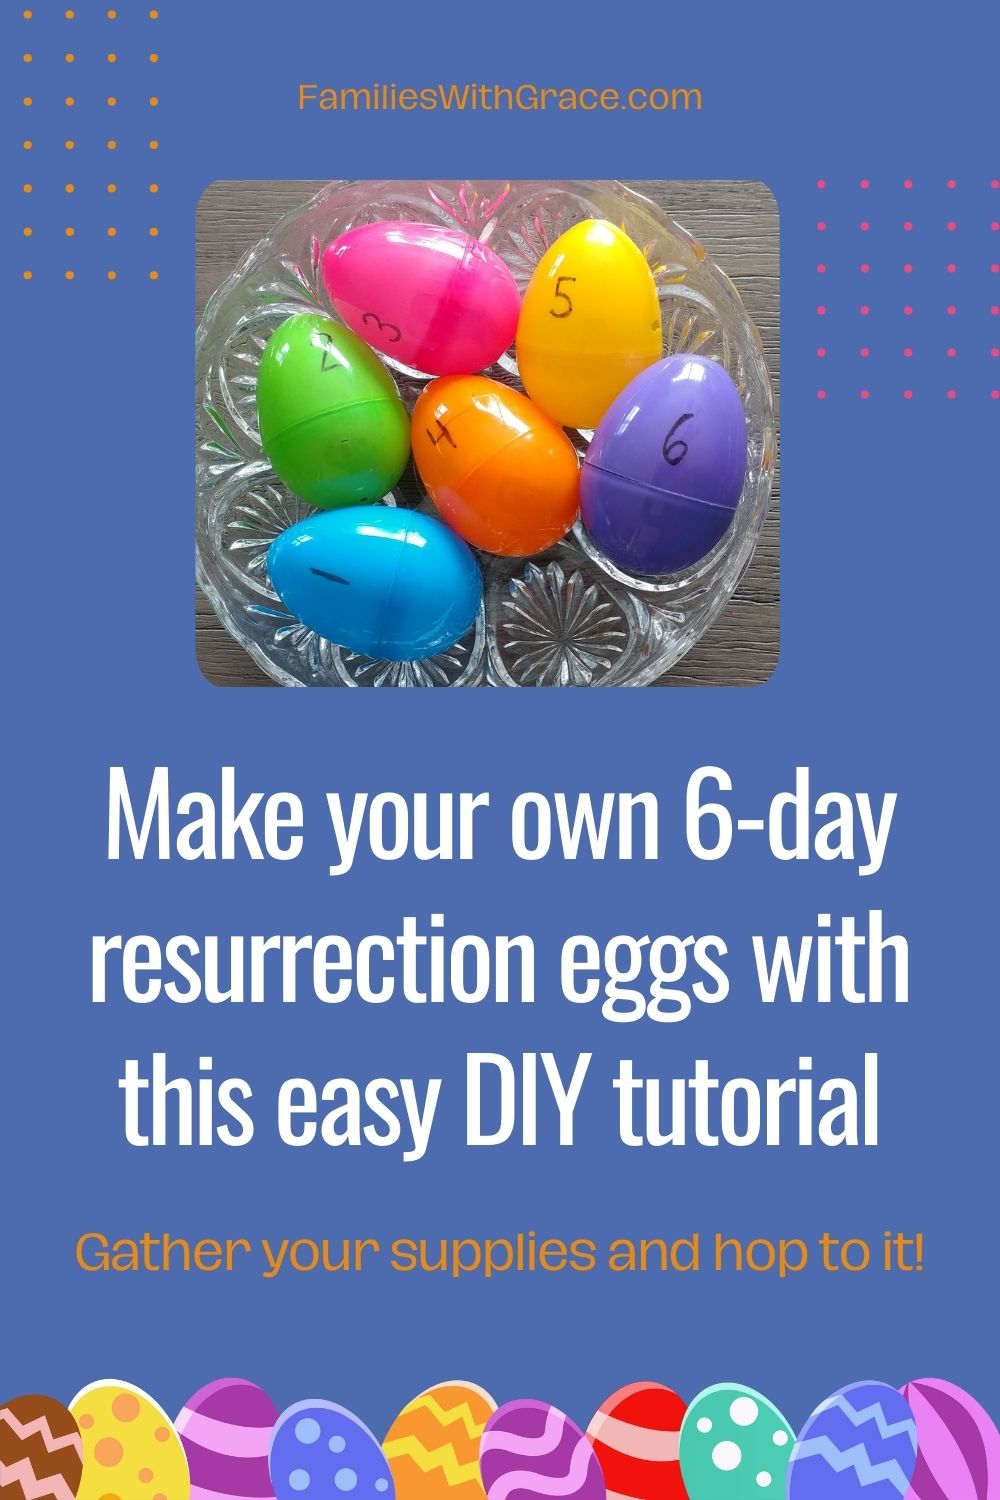
I am not one bit a crafty person, so I can assure you this resurrection eggs DIY project is really simple to pull off. Start with six, large plastic Easter eggs.
While the smaller eggs you’d us in an Easter egg hunt could work, the large eggs give you plenty of room to fill them with a small strip of paper and small objects that represent the story of Christ.
Label the eggs one through six using a permanent marker.
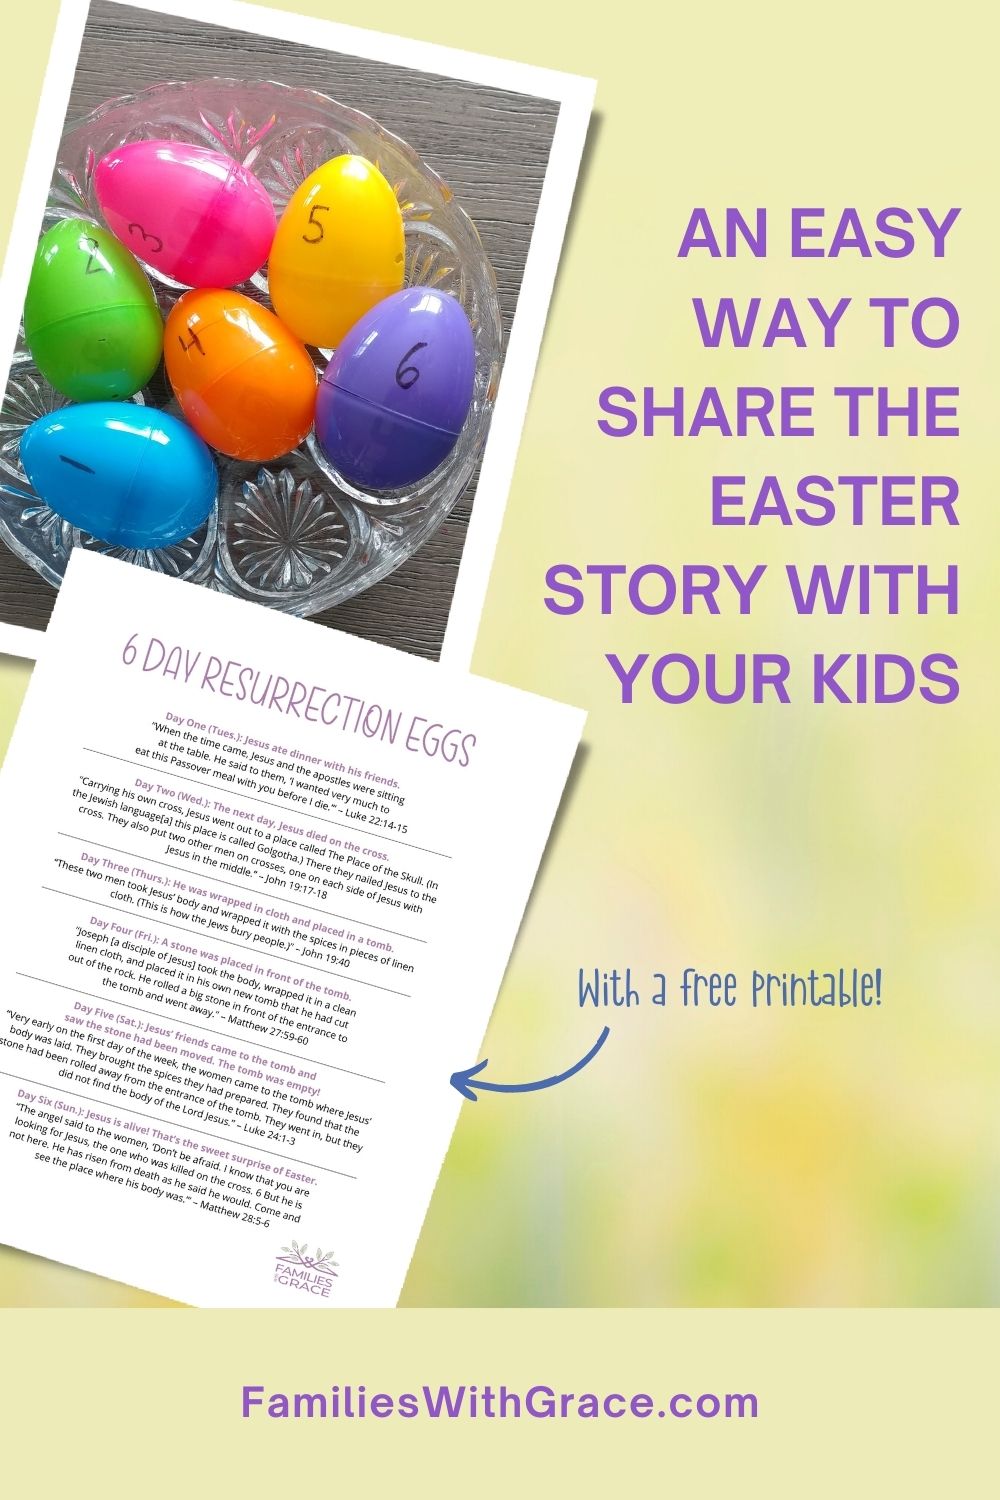
Next download and print the free printables of Bible verses below, cut them into slips and place them into their corresponding egg. Each slip tells you what is needed for each day.
If you use the large eggs, then storing them in an empty egg carton won’t work. I keep mine in a large zip-top bag for storage and then place them in a bowl when it’s time to start on them the Tuesday before Easter Sunday.
The good news is, you will most likely already have everything you need to fill the eggs, so you can make free resurrection eggs in just a few minutes at home!
Day one
The first egg talks about the Last Supper. Place the verses from Luke 22:14-15 inside the appropriate egg along with a small piece of bread to represent the body of Jesus.
I don’t get fancy with the bread and pinch of pieces of sandwich bread or buns we have in the pantry. I do recommend adding the bread the day or so before the eggs begin to avoid it getting hard.
Chances are good your children will want to eat the bread, so be sure to have enough for all of them.
Day two
The second egg is about Jesus’ crucifixion. It uses verses from John 19:17-18.
Along with the Bible verses, put a cross into this egg. You can use any cross that will fit in the egg, including a printed picture of a cross or simply a cross shape you’ve drawn on a piece of paper.
Two years ago, my dad made us wooden crosses that we can use every year. I love that his work has become part of our Easter activity to focus on the story of Easter!

Day three
For the third egg, include the Scripture verse John 19:40 to focus on Jesus being buried. The best way to represent Jesus’ tomb is with a piece of cloth like what He would have been wrapped in.
If you are like me and don’t tend to have extra cloth lying around, a great idea is using a paper towel instead.
Day four
For day four, the corresponding Scripture comes from Matthew 27:59-60 and talks about the rock being placed in front of the tomb of Jesus Christ.
A great way to symbolize this is with an actual rock. I just get one from my yard.
If you have older children, you can even have them help you put together the eggs and find a rock that fits into the egg for day four.
Day five
In the fifth egg, we get into the story of the resurrection and the good news of the Easter story! This egg will only have the paper with Luke 24:1-3.
You don’t use anything else in this egg to emphasize the empty tomb of Jesus found on the third day!
Day six
The last egg celebrates the good news that Jesus is alive using Matthew 28:5-6. For kids, one of the most fun activities is always anything that involves sweet treats.
Use some small candy, such as fruit snacks or whatever your kids enjoy, to celebrate the sweet news of Jesus being alive.
Other ideas for celebrating the resurrection of Jesus
This 6-day DIY resurrection eggs are ideal for younger children, especially. They’re a great way to really help your children understand the meaning of Easter.
There are lots of great ways to teach kids about Easter no matter their ages. Along with the resurrection eggs, we love reading the Easter story together.
I’ve read it in many versions of the Bible, but my favorite is “The Jesus Storybook Bible.” It’s written for children, but I don’t think I’ve ever read it to my children without feeling God’s touch.
Check out this video of me reading the Easter story from “The Jesus Storybook Bible” below:
Looking for an even easier version?
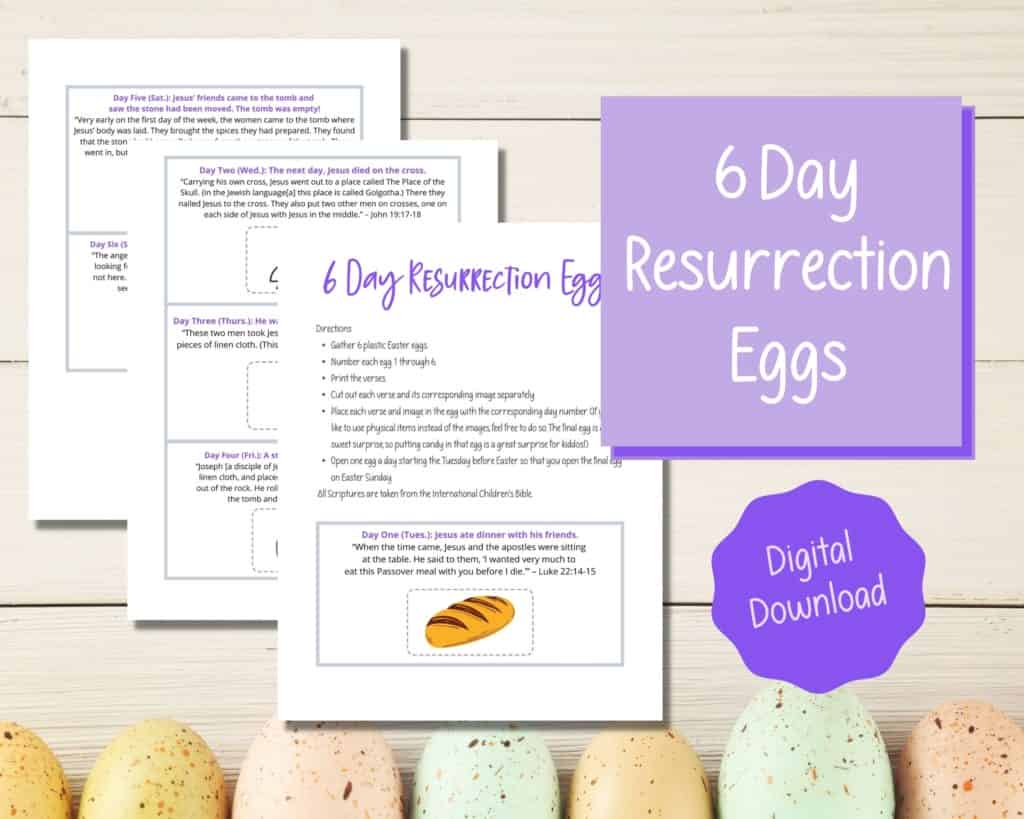
Check out my paid version on Etsy that comes with images to cut out and put in your eggs as well. All you need are eggs!
Find more Easter ideas
Ideas to teach kids about Easter
200 Easter basket ideas that aren’t candy


One thought on “Simple DIY resurrection eggs (FREE printable!)”
Comments are closed.