Funny and poignant life lessons
In a couple of days, I will leave my 30s behind and turn 40. I’ve been pondering this decade shift for the last couple of months. I’ve concluded that I don’t mind the new number. And I’ve also concluded that I’ve learned a lot in my four decades of life from the serious to the silly.
1. Age is just a number.
It really is just a number. Once you are fully into adulthood, that number doesn’t matter so much. In fact, sometimes I have had to stop and really think (or do dreaded math) to remember my actual age. This year of turning 40 will be one of my easiest years to remember it, I think!
2. Pimples don’t care how old you are.
One of the biggest lies I ever believed were that pimples were only for teenagers. How fair is it to be dealing with both white hair AND blemishes? Not very!
3. Birthdays get less fun as you get older.
This has nothing to do with actually aging and more to do with missing people who are no longer around. Add in that your real wish list is filled with items that can’t be bought and birthdays lose some fun.
4. Nobody cares what I’m doing.
That sounds depressing, but what I mean is I don’t need to worry about what other people think of what I’m doing. They don’t care. They aren’t paying attention. They are too worried about what other people think of what they’re doing to care what I’m doing. So if I want to bring a book and sit and read while I let my son play on the playground after school instead of making small talk with other moms, it is OK. They’re not standing across the playground talking about the audacity I have to be reading.
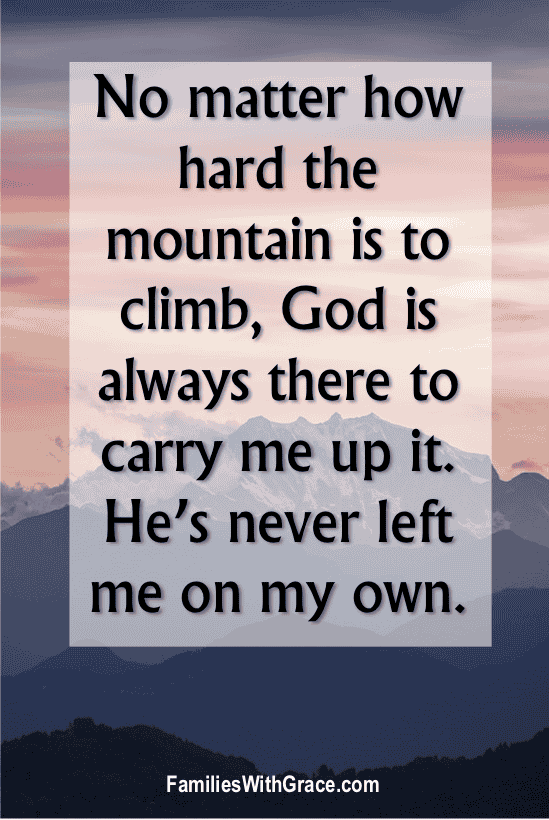
5. God is always there.
While that’s something I’ve always known, it’s something I’ve learned even more. I’ve been through stuff now. I’ve seen Him at work. I have learned that even when He seems quiet, He is still there and still working. I have so many stories I could tell you!
6. I’m an introvert and that doesn’t make me weird.
When I was growing up, nobody talked about being an introvert or extrovert like they do now. I felt happiest in my own space doing my own thing and had no desire to go to big parties or surround myself with loads of friends. I didn’t know that wasn’t weird then, but I do now. It’s how I’m wired. And I’m not the only one who feels that way!
7. Everybody you talk to isn’t your friend.
I’ve also learned that extroverts like to talk and they’ll talk with anyone who is around them. Oftentimes they’ll open up about personal topics even though we aren’t all that close. That doesn’t mean we are becoming friends. It just means I was conveniently located to them for a chat. (And I have to add that sometimes they do become your friend.)
8. You never get too old for sparkles.
My 9-year-old daughter and I joke that one of our favorite colors is sparkle. It’s OK. I’ve embraced it. I’m typing this while wearing a sparkly watch, having nails painted with purple sparkly polish and drinking from a bright purple cup covered in glitter. Sparkles are just as fun for some of us at 40 as they were at 4!
9. You can not see a true friend for a while and catch back up right where you left off.
Adulthood is busy, especially with kids in the mix. Nobody has time to constantly be talking or meeting up. But your true friends are easy to catch right back up with even if you only see them every three or four months — and that’s OK!
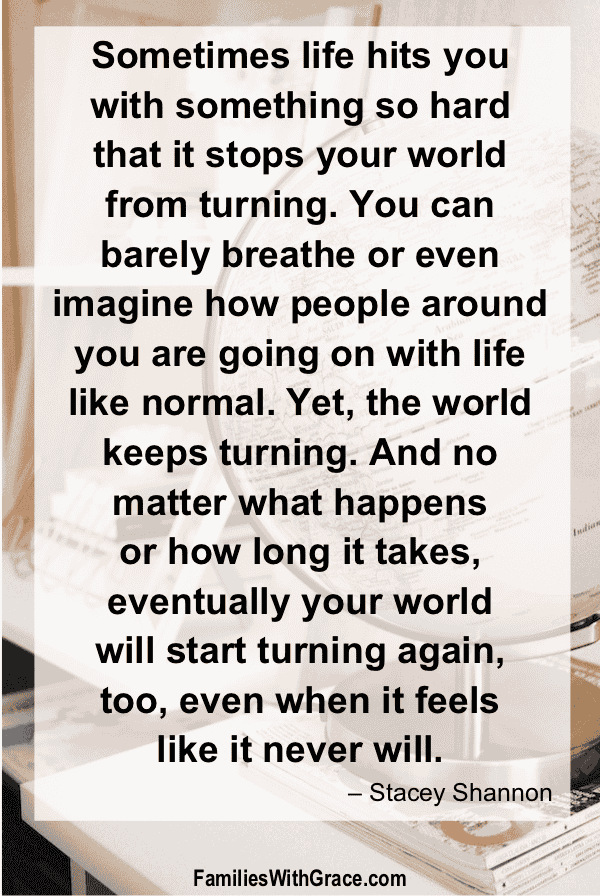
10. The world keeps turning even when yours stops, but yours will start again, too.
Sometimes life hits you with something so hard that it stops your world from turning. You can barely breathe or even imagine how people around you are going on with life like normal. Yet, the world keeps turning. And no matter what happens or how long it takes, eventually your world will start turning again, too, even when it feels like it never will.
11. Find the right people to trust.
Not everybody has your best interests at heart. Not everybody who acts like a friend really is a friend. Be cautious. But find the right balance of caution so that you aren’t always closed off. I take a while to open up to people. I have lost a chance at making friends because I held back too long until I was comfortable to share, but that’s OK, too. Not everybody in your life is meant to be trusted.
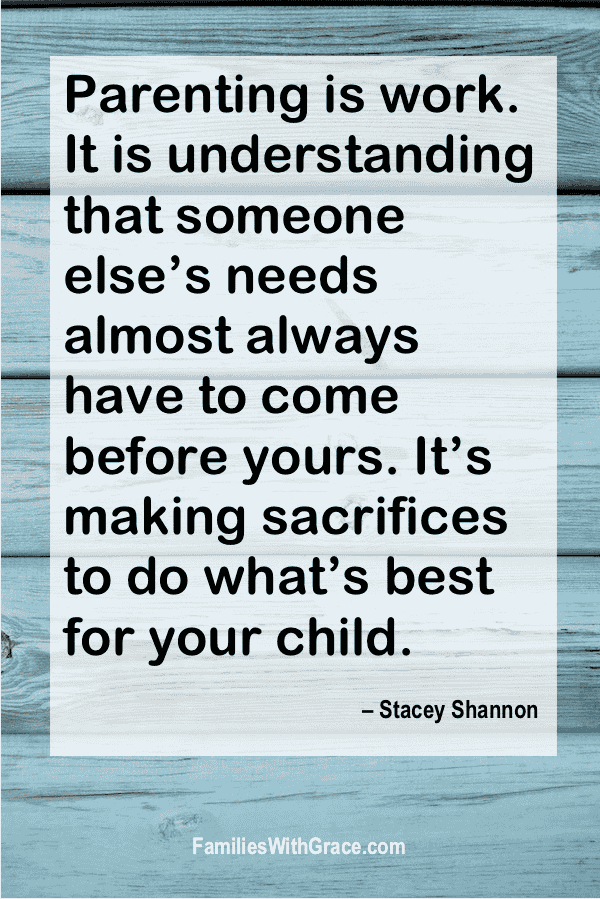
12. Give grace and second chances.
Nobody is perfect. Everybody messes up. And sometimes people need grace and second chances more than anything else. Choosing to give them those things doesn’t make you weak. It makes you more like Jesus, which is the goal. I am so glad He gives me unlimited grace and second chances!
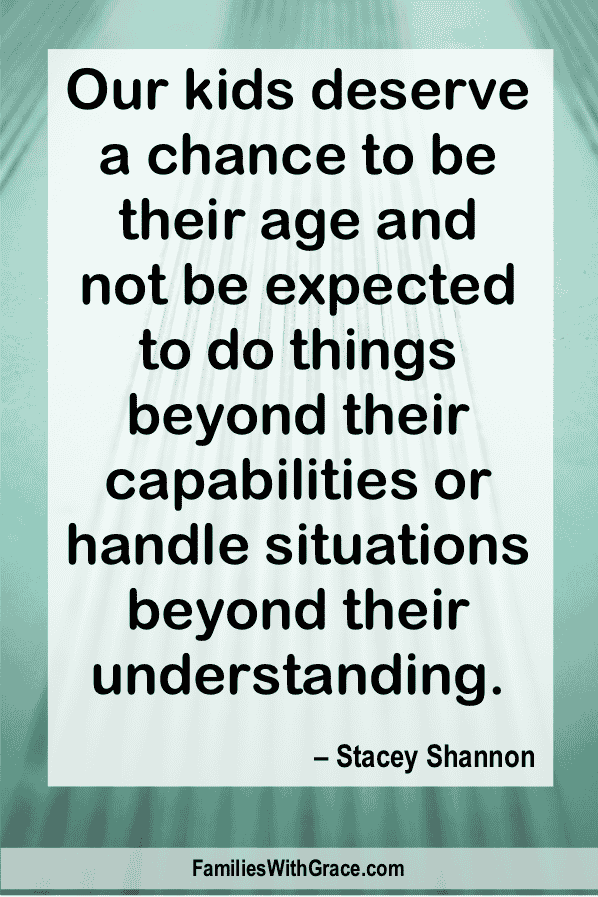
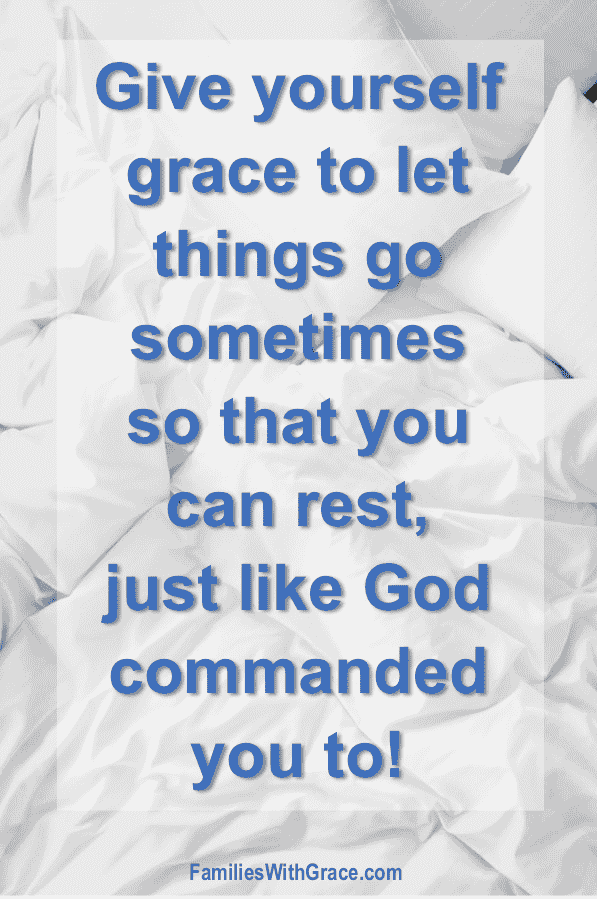
13. Give yourself grace.
I am still working on learning this lesson. I struggle with being a jerk to myself when I mess up. But I’ve made some progress on giving myself grace and recognizing when I’m doing the best I can versus when I need to get my act together!
14. Start getting ready to leave the house before you really need to in order to be on time.
If you have young kids, start five minutes before you think you need to start getting ready to go. If you have toddler or babies, start 15 minutes before you think you need to start getting ready to go. No matter what, something will happen to delay you almost every single time.
15. Sometimes you just need to eat the doughnut and shut up about it.
Maybe this is on my mind more right now because I’m working on eating healthier, but sometimes you just need a treat for yourself. Have your treat and shut up about it both out loud and in your head. Just enjoy it!
16. Never take your snow brush out of your car if you live in areas that get cold.
You’ll not remember to put it back in and find yourself
trying to clean snow off your windshield in a parking lot with your gloves. Trust
me.
17. Write it down or you’ll forget it.
If I have something I need to do, I write it down or set a
reminder in my phone. Otherwise, it often gets lost in the jumble of everything
else I am keeping track of in my head. I don’t believe the lie any longer that
I’ll remember something.
18. Don’t get so caught up in big moments that you miss the little ones.
Some of the best memories I’ve made in my entire life have
been in the small moments. The big moments are great, and I’m thankful for
them. I’ve also had big moments go horribly awry. But I can’t even begin to
count the small moments that have made my heart swell.
19. No matter how much time you get with a loved one, it’s never enough.
I haven’t lost a loved one, yet, who
I thought I had had enough time with. I don’t think it’s possible. And that
makes me want to spend time with my loved ones even more, because I have
learned how fleeting life can be.
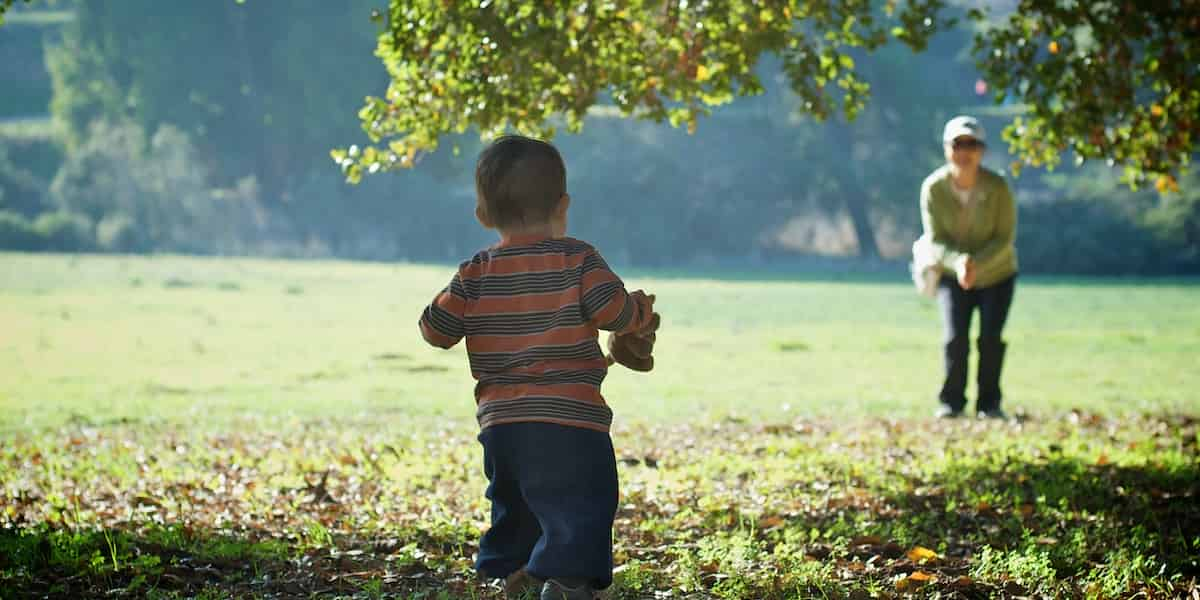
20. Dogs and children are good for your soul.
Some of my worst moments were made
better by the love and companionship of a furry friend and/or my children. They
have brought me joy and made me smile when I didn’t think it was possible.
21. Take photos and videos of everyday moments.
I love having a chance to go back
and watch my kids as babies or see photos of good times in the past. Sometimes
they are bittersweet with loved ones who have passed away, but that makes me
all the more thankful for the photo or video.
22. Music makes a difference in my attitude.
I kind of harp on this, but it’s so
true for me. I have loved music my whole life. I play three instruments and
competed with two of them throughout high school and a bit in college. I have
performed countless times, but the real story of music for me is the daily one.
If I’m listening to the right kind of music, I keep my focus where it needs to
be. The power of Christian music is strong.
23. Change can be hard, but you have to embrace it.
I don’t like change all that much, whether it’s positive, negative or neutral. But, it’s a normal part of life and I’ve found I’ll make myself miserable if I cling too hard to the way things used to be – even when that means embracing a new normal that I don’t want or ask for.
24. If you need to make small talk, ask people about themselves.
Early in my career as a journalist, I learned that people like to talk about themselves. And they like when someone really listens to them. I applied these lessons to making small talk and have made good connections with others that way. I’ve also just survived social situations that had me feeling awkward that way!
25. Everybody has a story – and a struggle.
In my youth, when I was going through something difficult, I’d think nobody understood or people around me weren’t struggling with anything. It didn’t take me long to realize how wrong that is. Everybody has a story and a struggle. And that goes back to number 12 about giving other people grace.
26. The best way to get through something hard is to get out of yourself.
During some of my most challenging days, I’ve been able to feel better (even momentarily) by doing something for someone else. Sometimes we need that reminder that other people have needs too, so we can stop wallowing in self-pity. But…
27. Sometimes you just have to feel all the feels.
I can be pretty good at denial.
Shove those emotions down. Ignore the ache. It will go away. That’s never how
it works. So sometimes I just have to feel the feels, so the speak. I’ve
learned that feeling those feelings are all a part of healing.
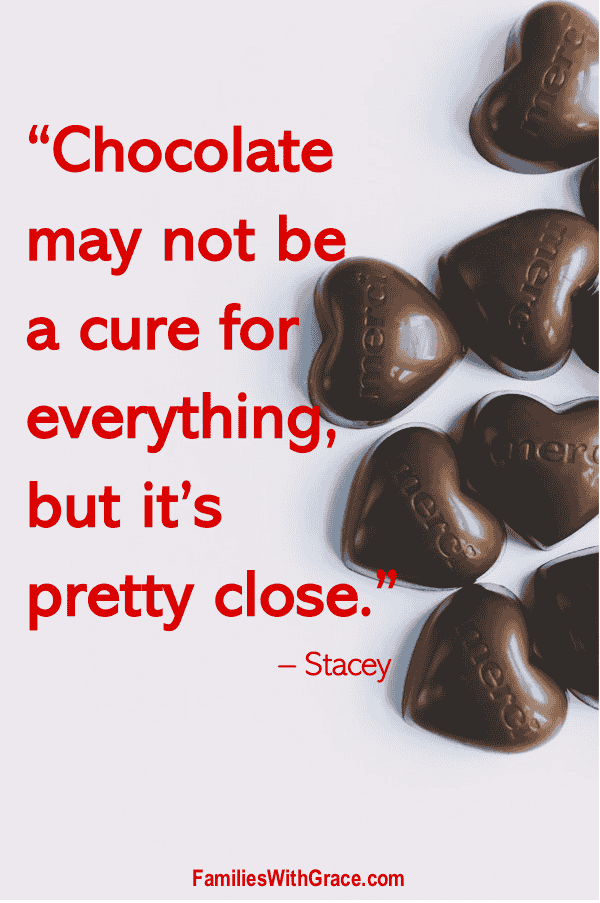
28. Chocolate may not be a cure for everything, but it’s pretty close.
I don’t think I can add anything to
that statement!
29. Life is filled with unexpected stuff.
We don’t expect some of the challenges we face. Yet, they happen. We get other surprises as well. I expected that both of my kids would have dark hair like my husband and me and dark eyes like me. Those are dominant features. My first child has red hair and blue eyes. I always say that her looks were unexpected, but we love them. And it’s true! Now if only I could always embrace unexpected stuff with that attitude.
30. Like what you like because you like it. Don’t worry about what other people think.
I totally geek out over certain things like new Drizzt novels, Marvel movies and anything related to “Beauty and the Beast” or “Wicked.” I have a canvas painting of Drizzt hanging in my living room. I don’t really care if it isn’t anyone else’s cup of tea. I love it and so does my husband. You do you when it comes to fandom!
31. Everybody is as clueless about adulthood as I am.
This year I have had moments of
telling myself, “You are almost 40 years old. Why are you still acting so
insecure?” Fair point. However, I’ve also learned that we are all just kind of
faking our way through adulthood. Nobody really knows what they’re doing or
feels confident about it.
32. Puns and corny jokes make me laugh.
I just saw a meme about white boards saying they are remarkable. That stuff gets me every time!
33. Having kids has taught me more about God’s love than I ever expected.
First, I can’t imagine how He could
love us more than I love my children. It seems quite impossible. And second, I
see how they mess up and make mistakes and know that doesn’t change how much I
love them one bit, just like God does with us. Third, I fully understand that discipline
is necessary to help them learn how to be better people, just like God disciplines
and teaches us.
34. Having kids has also taught me how much more I need to appreciate my parents.
I’ve always appreciated my parents and
had a good relationship with them. But, having kids has taught me how much they
handled behind the scenes or how much they did that I didn’t even think of from
making my food to doing my laundry to dealing with finances.
35. Carry a smaller purse. It’s OK.
Maybe this isn’t true for everyone, but I’ve learned that I don’t need to carry everything and the kitchen sink with me when I leave the house. Part of that is necessity because my shoulders and back protest a lot these days. But, I have pared down what I carry and diminished my purse size, and I’m not going back!
36. Contrary to popular belief, you can be a good mom without wine or coffee.
I’ve never had either and won’t. And I think I’m doing OK at this mom business. So far, I’ve kept my kids alive for 6 and 9-1/2 years. Neither one of these substances make you a good mom. That’s all you — and God!
37. When you’ve figured a budget for vacation, add an extra $100 or so onto what you think you need.
It just disappears. And if you come
home with extra money, save it for the next trip!
38. Nobody is better than anybody else.
This has two sides to it. First, don’t
ever think you’re better than someone else, because you’re not. I look at the
world around me and see people messing up. And all I can think is there but for
the grace of God go I. Second, don’t ever think someone is better than you.
Like my dad always says, everybody puts on their pants one leg at a time. At the
end of the day, we’re all human and that’s what matters most. Don’t judge people
based solely on their worst moment – or their best!
39. Put down your phone and/or social media and just be.
Electronic distractions are everywhere.
My favorite gas station has screens on each pump blaring information at me. I
am not against electronics at all. I’m married to a technophile. But I also
know I need to set limits so that I’m not always on a screen. I don’t want to
miss moments because I’m busy being “connected.”
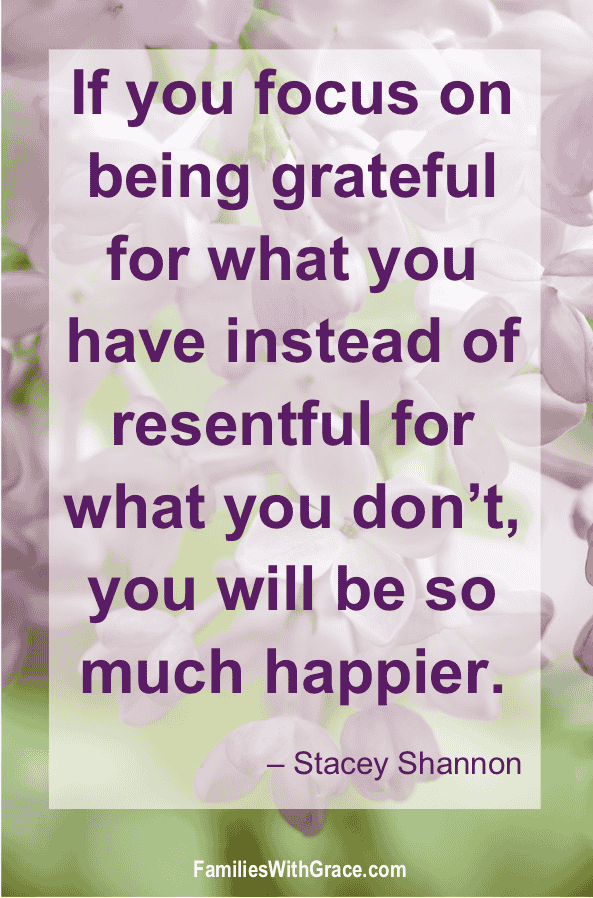
40. Practice gratitude.
This is perhaps the biggest lesson of all. Gratitude. If you focus on being grateful for what you have instead of resentful for what you don’t, you will be so much happier. It really does take practice! The times I get in the biggest funks are usually when I’m thinking more about what I can’t do or don’t have. Being grateful leads to being content which leads to being happier.