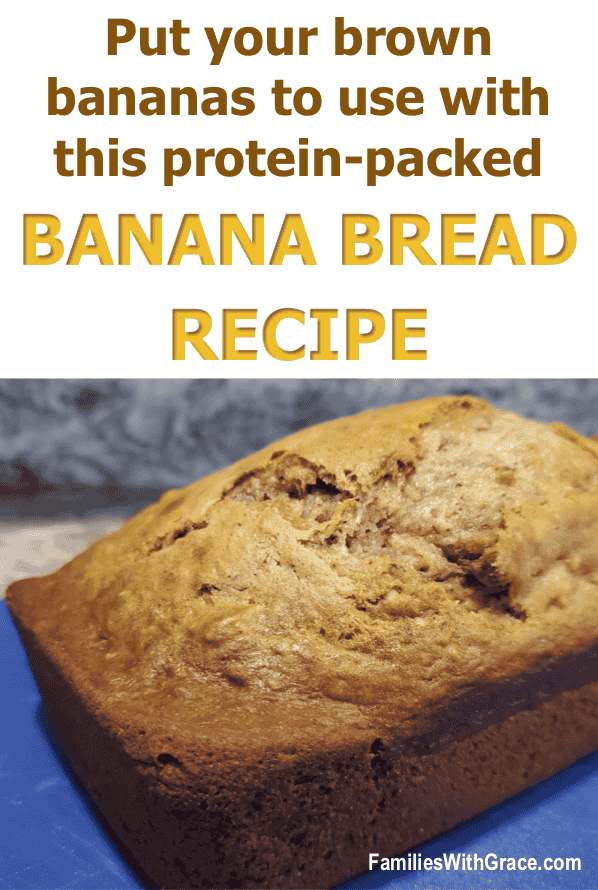
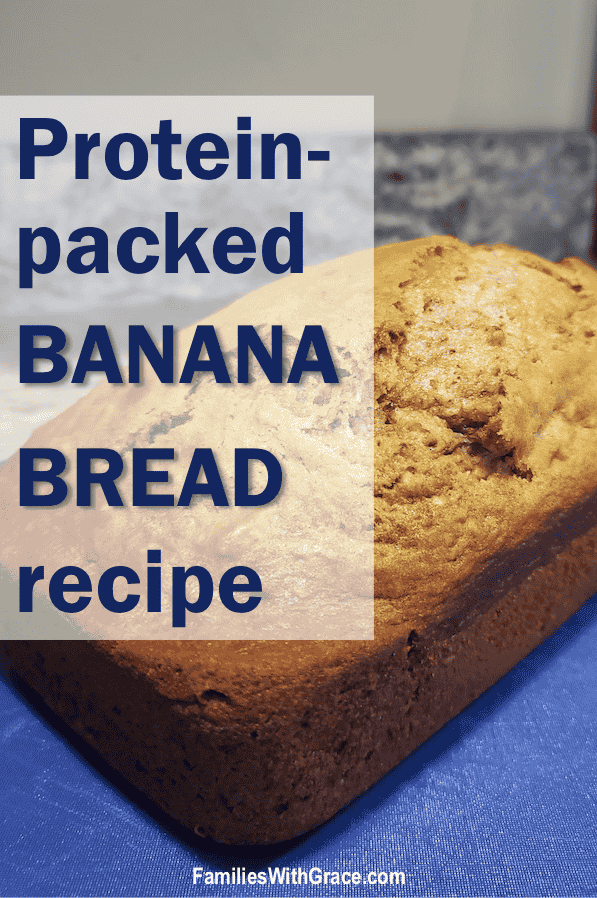
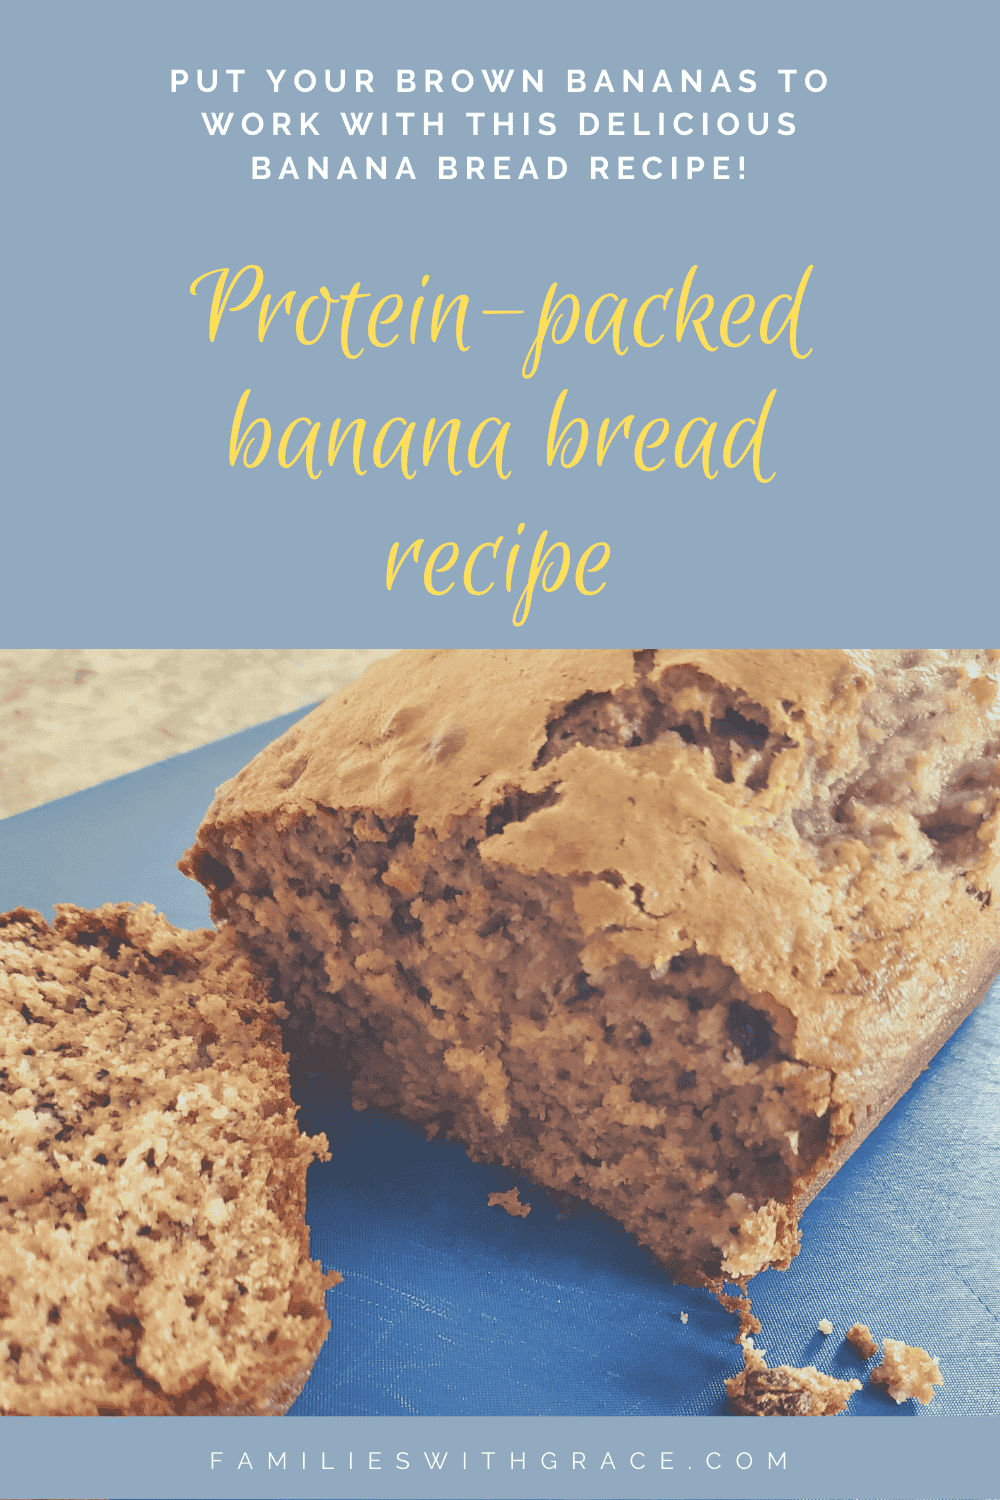
Put your brown bananas to work with this delicious banana bread recipe!
Affiliate links are used in this post, if you make a qualifying purchase via my link, I receive a small percentage of the sale at no additional cost to you. I only recommend products and services I use and love. It helps support my blog, so thank you for your support! Read my full disclosure here.
When my husband and I got married a couple of decades ago, one of our gifts was a loaf pan with a recipe for banana bread. The recipe said to mix it in the loaf pan, but that never worked well for me.

Then a couple of years later, I was baking the bread again and it bubbled over. My oven literally caught fire with a small flame. I steered clear of banana bread baking for a while.
Fast forward to a decade later when we had kiddos. I decided to track down a new banana bread recipe and see what I could do with it since my baking abilities had improved and I was successfully baking pumpkin bread.
I found a banana bread recipe online and decided to give it a try. It quickly became my go-to banana bread recipe that bakes well and never catches my oven on fire! It’s the right amount of moist and crumbly.
I love that it’s full of protein between walnuts and the addition of Greek yogurt.
With just a few ingredients, this banana bread recipe makes good use of brown bananas. It’s delicious any time of day!

Before I start mixing the bread dough, I utilize my food processor to help me with the walnuts and bananas. You definitely don’t have to do this. The food processor is great for getting the walnuts into small pieces quickly. I also like my 2-3 bananas well pureed so there are no weird banana chunks in any slice.
I measure out 2/3 to 3/4 cup of walnuts needed for this recipe before chopping them in the food processor. The recipe needs 1/2 cup of walnuts and this seems to be what I end up with after they’re chopped. (It’s also pretty easy to add more, less or no walnuts depending on your preferences.)

(If you go the food processor route, do the walnuts first and then the bananas so you don’t have to wash the bowl in between!)

And that’s the most complicated part of this banana bread recipe, which you don’t even have to do! Next you literally just put all of the ingredients except the nuts into a bowl and mix them on low speed for 30 seconds then medium speed for 45 seconds. I use my beloved Kitchenaid stand mixer.
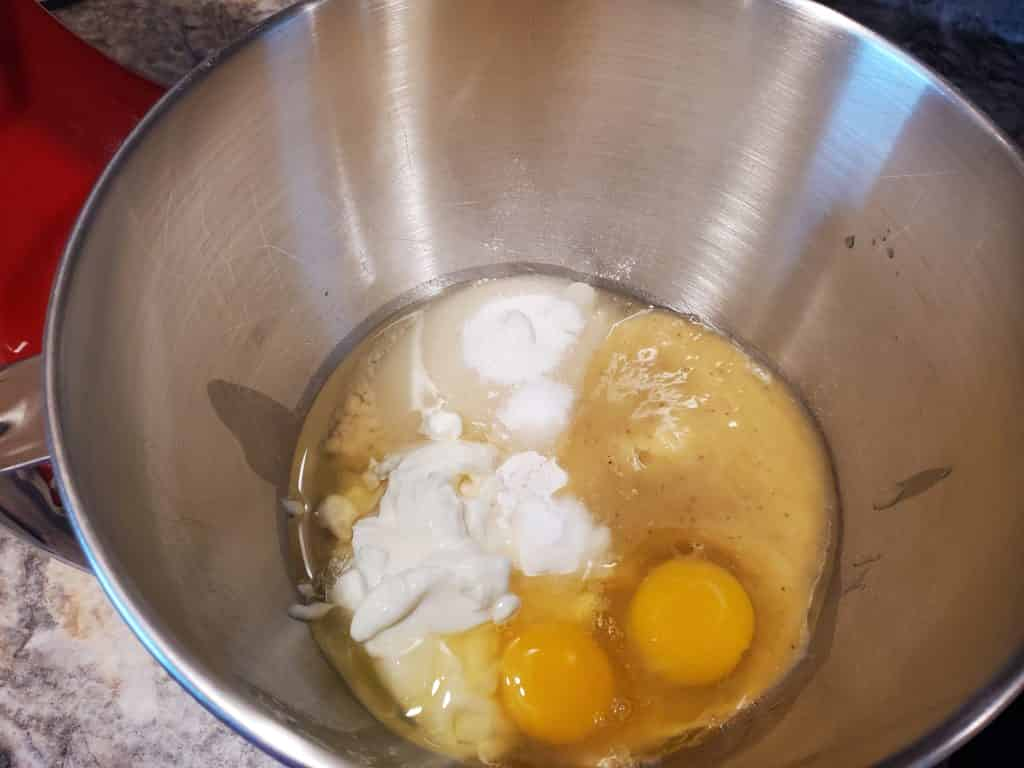

Next, it’s time to gently stir in the walnuts. You can do this by hand, but I use the “stir” setting on my Kitchenaid stand mixer and keep an eye on it.
Once everything is mixed together, put the bread batter into a greased loaf pan. (I’m a HUGE fan of all my Rachael Ray bakeware. In fact, I love it so much I bought an additional loaf pan besides the one that came with my set.)

Bake the bread at 350-degrees for 45 to 55 minutes until a toothpick inserted in the middle comes out clean.

Let the bread cool in the pan for about 10 minutes. Loosen the sides and turn it out onto a cooling rack or cutting board if you are serving it warm. Enjoy!

Banana bread
Ingredients
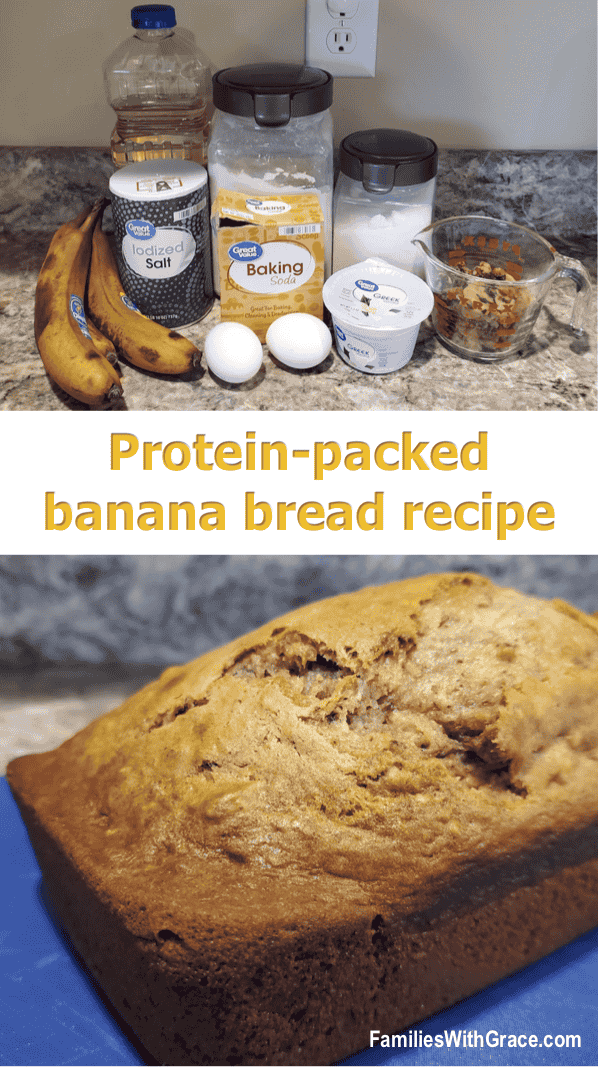
- 1-1/2 cups all-purpose flour
- 1/2 cup sugar
- 3/4 cup mashed or pureed very ripe bananas about 2 medium
- 1 5.3- oz. container of vanilla Greek yogurt
- 1/3 cup vegetable oil
- 1 teaspoon baking soda
- 1/2 teaspoon salt
- 2 eggs
- 1/2 cup coarsely chopped walnuts can substitute pecans or completely omit the nuts
Instructions
- Heat the oven to 350-degrees.
- Spray the bottom only of a loaf pan (8x4 or 9x5) with non-stick cooking spray (or cover with shortening).
- If desired, use a food processor to chop the nuts and puree the bananas.
- Add all the prepared ingredients except the nuts to your mixing bowl.
- Mix on low speed for 30 seconds then on medium speed for 45 seconds. Scrape the bowl as needed.
- Stir in the nuts by hand or with the "stir" setting on your mixer.
- Pour the batter into the pan and bake for 45 to 55 minutes until the outside is golden brown and a toothpick inserted into the middle of the loaf comes out clean.
- Cool 10 minutes then loosen the sides of the bread and transfer to a cooling rack (or cutting board if you want to serve it soon!).
