Families With Grace

Helping Christian moms create homes filled with grace, love & faith

Just you wait and see

Encouragement for moms who are struggling

We all have different pet peeves in general. One of the biggest pet peeves I have as a mom is the moms who are quick to jump into a conversation with a mom in a stage behind them who is struggling and say, “Just you wait and see…” She then proceeds to assure the struggling mom how much more difficult parenthood gets. She regales her with tales of phases yet to come and how difficult they are.

Having been a mom myself for almost 11 years, I get it. All phases of parenting have their struggles. The things I stress or worry about now with a 7-year-old and 10-year-old are different than when I had a 7-month-old and 3-year-old. Some stuff is easier and some stuff is harder. Certainly their problems get more complex as they get older, and I know that will continue as they grow.

However, the last thing a mom needs when she is struggling is to basically be told whatever she is struggling with isn’t that big of a deal and will only get harder. Whether it’s true or not, it’s far from helpful.

Instead, I do my best to do a different version of “Just you wait and see” to offer encouragement for the moms who are behind me in phases. Because while each stage of motherhood has its challenges and difficulties, each stage also has some really awesome blessings and good parts, too.

To the baby mamas

If your baby isn’t sleeping well, hang in there. Eventually he or she will get better at sleeping and you’ll start to feel less like a Mombie. No matter what you’re doing to survive this phase, it’s OK. Maybe your preschooler is watching more shows right now so you can rest when the baby does. Or maybe you have dishes piled in your sink and no energy to do them. It’s OK. Give yourself grace and know that it will get better. One day, you will actually be able to look back with fondness on the middle of the night snuggles and feedings. But it’s OK if right now all they make you want to do is cry in exhaustion and desperation. Just you wait and see. It will get better.

If your baby is struggling to eat well, hang in there. He or she will figure it out. My first baby couldn’t figure out how to suck to get milk and had some big struggles for her first few weeks. But, she’s now a healthy 10-year-old who can not only eat and drink on her own but even prepares her own food. Just you wait and see. It will get better.

If your baby has started crawling and getting into everything, hang in there. While it’s fun for babies to be on the move, it is also stressful to keep them safe! I’d guess when they learned your baby can now crawl, some people smirked and told you how your real fun of parenthood is about to start. While they meant it sarcastically, having a baby who can explore and start really learning about the world is pretty cool. You get to see their personalities start emerging even more and that’s fun! Just you wait and see. It will get better. They will learn to avoid hazards.

To the toddler mamas

If your kiddo has started walking and is into everything everywhere, hang in there. My oldest took her time to walk and did so cautiously. I’m trying to remember if my youngest walked very long. He seemed to go from walking to running quick quickly! It is difficult to keep them out of the trash or corralled when you want to go places. You’ll have battles of will when you want or need to carry them, but they’ll eventually get more steady on their feet. And they’ll eventually start to understand their boundaries and what they can and can’t do. He won’t always try to pull things out of the trash and will instead walk to you with a big grin and his favorite book so you can snuggle and read. Just you wait and see. It will get better.

If your toddler is all about wanting to do things for herself to the point of your frustration, hold tight. One day she will legitimately be able to pick out her own clothes and tie her own shoes with ease. These days are frustrating and it’s OK to want to just take over so you aren’t always late thanks to this stage of independence. Just you wait and see. It will get better.

If your toddler is in the midst of potty training and you’re in the midst of frustration, I understand. Potty training has been one of my least favorite parenting tasks. I even once said in frustration, “This child can go to college in diapers. I am done!” Of course, that wasn’t true. Now both of my children are able to manage their own bathroom needs solo and we haven’t had anyone in diapers in years. Just you wait and see. It will get better.

To the preschool moms

If your preschooler is learning how to count or say the ABCs and is counting over and over and over, hang in there. One day that same kid will stop counting and maybe even help her younger siblings learn to count. Maybe you’ve got a mathematician in the making. Just you wait and see. It will get better.

If you feel frustrated with your preschooler seeming not to play with other kids his or her age, don’t fret. Of course you worry and want only the best for your kids. It’s understandable. However, learning to play well with others really does take time and isn’t all that easy for little ones to do. Later on they’ll have a grand time playing with friends and, hopefully, siblings. Just you wait and see. It will get better.

If your preschooler loves playing pretend and you think you might scream if you have to eat one more bite of pretend food, voice one more action figure or burp one more doll, take a deep breath. Remind yourself that kids with good imaginations are smart. Breathe in and out and know that pretend play is how they figure out this week. Eventually you’ll get to have real conversations with them or play games and have lots of laughs. Just you wait and see. It will get better.

To the moms of early elementary kiddos

If you are sending your kiddo off for his or her first day of kindergarten and cry for an hour afterward, hang in there. You’re normal. Letting them go and grow is so difficult and so bittersweet. There are so many feelings involved and you’ve got so many worries. And even if that kiddo is not sure he wants you to leave him at school without you, take a deep breathe and eat some chocolate. By the second week of school (at most) he’ll be so in love with his teachers and friends and new schedule. Before you know it, she’ll be a full-fledged school-aged child and you’ll actually enjoy the time without her. Just you wait and see. It will get better.

If you are not sure whether you will survive the days of learning to spell and read, hang in there. It can take forever for early readers to get through books. Hold tight to patience and know that one day your kiddo will be reading like a champ and you’ll burst with pride at seeing how far he or she has come. Just you wait and see. It will get better.

If your kiddo is working through learning his or her limits at school or home or both, hang in there. This happens in many stages, but it really won’t last forever. They will learn what is OK and what isn’t. They will learn their boundaries and how to make good decisions. Just you wait and see. It will get better.

To all the moms

No matter what phase or challenge are having right now, know that it won’t last forever. Children learn and grow. They change. We get a sideline view to see them growing into young men and young women. As parents, we get to be there to cheer them on and celebrate with them. We also can wrap them in our arms and comfort them on difficult days.

Motherhood is challenging to the very core of your being. You’ll have days that you’ll look back and not even be able to explain how you survived them. But you WILL survive. This challenge WILL pass. And it WILL get better. Just you wait and see!

Do you have any additional encouragement for moms to add? My oldest is in 5th grade, so I can’t go much farther, yet, than I have. Please share your comments, so we can encourage each other on this journey!

Tips and tricks you need to know to manage your thick hair

5 Must-try products and tips for thick hair care

Affiliate links are used in this post, if you make a qualifying purchase via my link, I receive a small percentage of the sale at no additional cost to you. I only recommend products and services I use and love. It helps support my blog, so thank you for your support! Read my full disclosure here.

I always thought I had thick hair. I do. My hair is naturally curly and sort of has its own plan for how it should go when I let it roam free. I’ve learned how to manage it throughout the years.

And then, about 11 years ago my daughter was born. She spent the first two years of her life without a lot of hair, but it was worth the wait. It came in a beautiful red that was first a crown of spiral curls. By the time she was 7, her curl loosened as her hair got heavier and heavier.

Her hair is thick beyond what I knew thick hair could be. I have often teased her that she — like our Lhasa Apso pooch — has a double fur coat. We have to make sure we get through the top, middle and bottom layers when managing her hair.

I once said every mother of a daughter with curly hair deserves an extra jewel in her crown. I still concur with that statement. Even though her hair isn’t as curly as it once was, it’s now its own beast thanks to its thickness. She prefers her hair long, so we have a lot of hair to manage!

Along the way, we’ve learned a few tips and tricks to make managing thick hair easier.

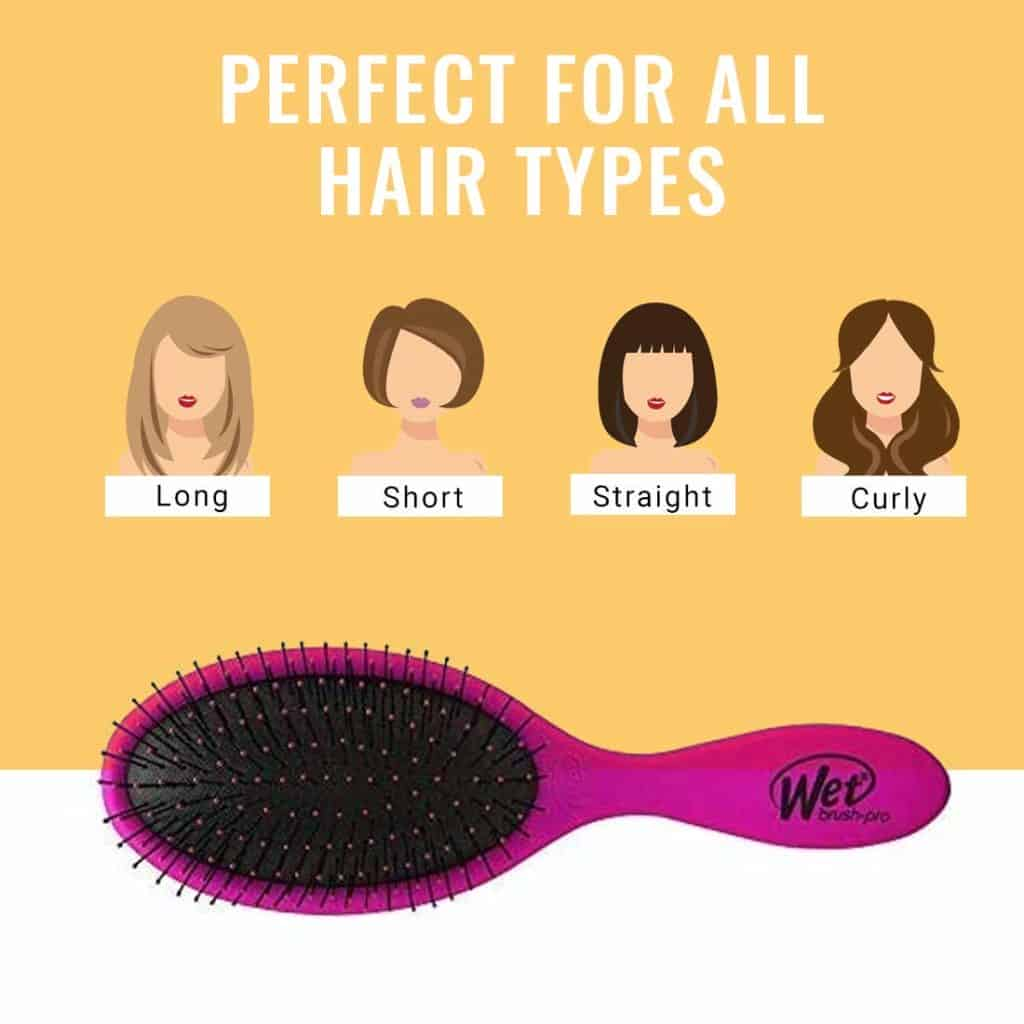
1. Use a Wet Brush.

A few years ago, I was chatting about my daughter’s hair with the hair stylist trimming my hair. She asked if we’d tried a Wet Brush. She told me it works well on both dry and wet hair. I was dubious, but I decided to buy one and give it a try.

In spite of having extra thick hair, my daughter also has a sensitive scalp. Getting out her tangles was rough in so many ways. It was to the point that I was going to make her get her hair cut so there was less to manage. She didn’t like that idea, but I was at a loss.

The Wet Brush made a huge difference. It was dramatic beyond what I expected. Hands-down, the Wet Brush is the best purchase I’ve made for managing my daughter’s extra thick hair.

Suddenly, it wasn’t a fight as I brushed her hair. She could brush her hair and get tangles out, too! It made our lives so much easier. We’ve used it with her hair wet and dry and it works great both ways.

As someone with curly hair, I don’t use hair brushes and had no idea that some are better than others. I use a hair pick, which I had used on my daughter as well when her hair was so curly, but it was so small compared to all the luscious locks on my daughter’s head.

The Wet Brush made a huge difference. She now owns two and my mom even bought one to keep at her house for my daughter. It was a game changer!

2. Don’t wash your hair every day.

Though my hair isn’t as thick as my daughter’s, it is still thick and curly to boot. So that means we’re dealing with hair that doesn’t get greasy easily or quickly. In order to keep your thick hair from drying out, washing every other day just does better.

Though I use products on my hair to counteract frizz and such, my hair can easily get into cotton candy texture if I wash it too often. It sounds weird, but it’s true!

My daughter doesn’t have the cotton candy texture problem, but her scalp can get really dry if she washes her hair daily because she doesn’t have as much oil right by her scalp. Since thick hair tends to be dryer, washing it too often only makes it more dry and harder to manage.

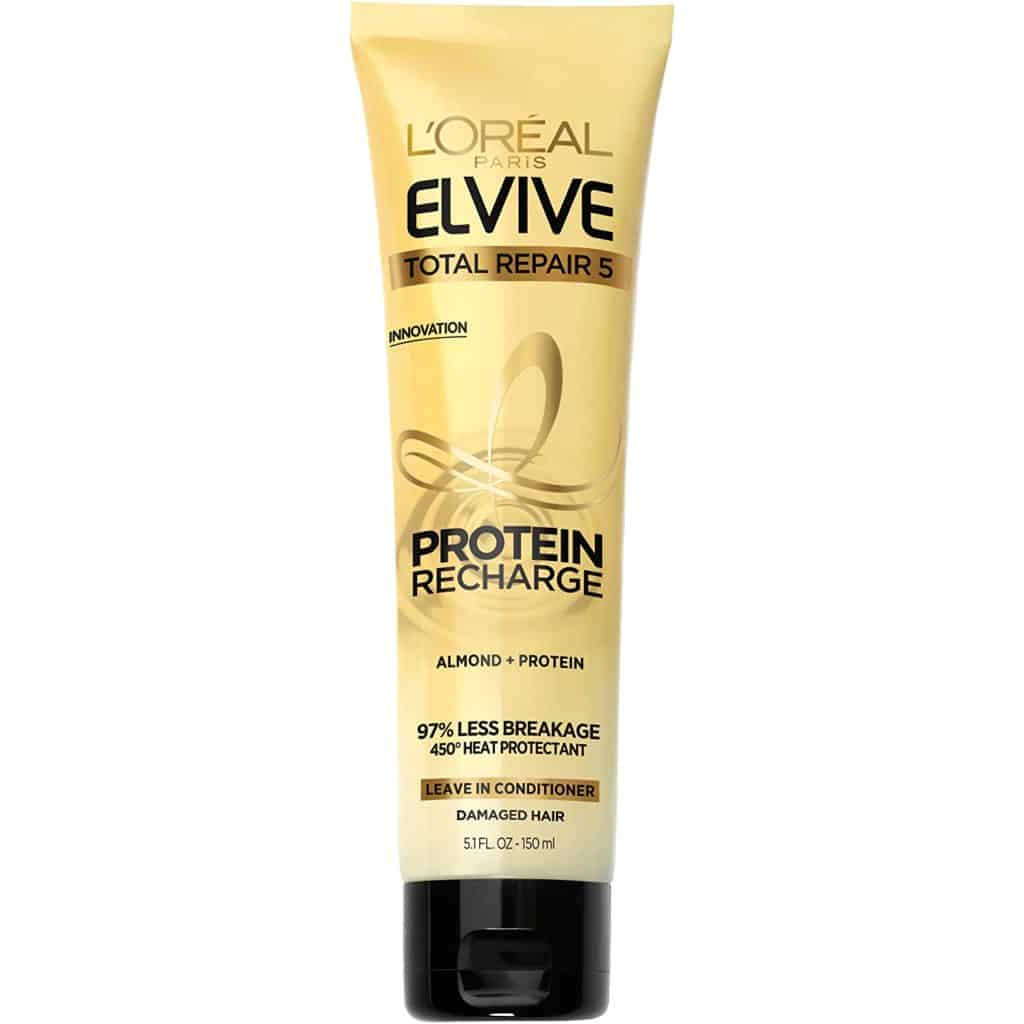
3. Try a leave-in conditioner.

While I use a wash-out conditioner in the shower and then a leave-in conditioner thanks to my curls and hair texture, my daughter’s thick hair doesn’t need as much conditioning. L’Oreal Paris Elvive Leave In Conditioning Treatment and Heat Protectant works super well of all the leave-in conditioners we’ve tried.

Because thick hair isn’t as oily, we use a dollop about the size of a quarter and work it through her hair while it’s wet and brushed after a shower. We pay particular attention to the underside of her hair and make sure it gets covered with the leave-in conditioner. I use it the same way, but a little less since my hair isn’t as long or quite as thick as hers.

The leave-in conditioner helps my thick hair combat frizz. It helps my daughter’s extra thick hair combat tangles, frizz and fly-aways.

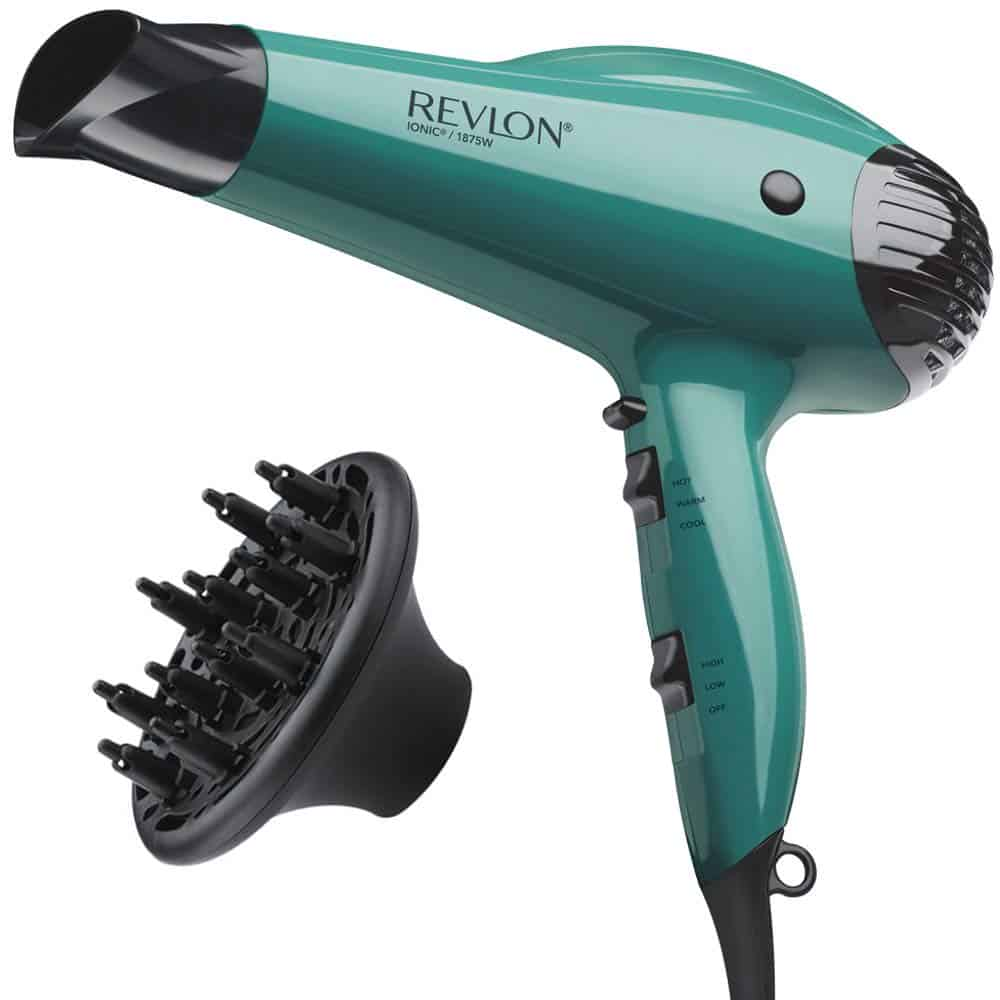
4. Dry with a diffuser.

I first got a diffuser attachment for my hair dryer to help combat frizz and manage my curls. I then used it for my daughter with her curls. Now that her hair is more wavy, we continue to use the diffuser when we need to dry her hair.

Curly and wavy hair do well to air dry, but it’s not feasible much of the time to let it air dry. First, if you washed your hair in the evening then go to bed with wet or damp hair that’s curly, you won’t know what you’ll wake up to!

Second, since we live in a climate that is frigid part of the year, having wet hair for a while is chilly, even if you don’t have to go outside! So, using a hair dryer is sometimes necessary.

Adding the diffuser was another one of those game changers. It makes such a difference that any time I travel, I bring along my own hair dryer and diffuser! You can buy hair dryers that come with diffusers, but you can also just buy the diffuser attachment alone.

Use the diffuser by gently pushing the hair up toward your scalp and then hold it for 20 to 30 seconds at a time before moving on. Move around until you’ve gotten your hair dry enough all over.

5. Buy the right hair accessories.

My daughter and I recently cleaned out her hair accessories. Being nearly 11, she’s tried all sorts of things in her hair. We got rid of many things that no longer work and determined what she needed: ponytail holders. She has plenty of scrunchies but needed something heftier for ponytails.

We’ve struggled with ponytails. I thought we had tried every style of ponytail holder available. Some are way too lose. Others are so small they can only go around her thick ponytail only once or twice. None of them would keep her ponytail in place for long at all — and definitely not all day.

I’ve had many ponytail holders snap in my hands as I tried to get them around her hair.

Then I came across these Revlon maximum hold ponytail holders. They work so well. I can wrap them around her ponytail three times and the ponytail stays in place for the entire day until she is ready to take it down. She doesn’t have to keep redoing it — and it survives her being active as well.

I’ve only found them in black right now, but it’s easy enough to use them to hold the ponytail and then put a more decorative scrunchie or other accessory over top of it.

Protein-packed banana bread recipe

Put your brown bananas to work with this delicious banana bread recipe!

Affiliate links are used in this post, if you make a qualifying purchase via my link, I receive a small percentage of the sale at no additional cost to you. I only recommend products and services I use and love. It helps support my blog, so thank you for your support! Read my full disclosure here.

When my husband and I got married a couple of decades ago, one of our gifts was a loaf pan with a recipe for banana bread. The recipe said to mix it in the loaf pan, but that never worked well for me.

Then a couple of years later, I was baking the bread again and it bubbled over. My oven literally caught fire with a small flame. I steered clear of banana bread baking for a while.

Fast forward to a decade later when we had kiddos. I decided to track down a new banana bread recipe and see what I could do with it since my baking abilities had improved and I was successfully baking pumpkin bread.

I found a banana bread recipe online and decided to give it a try. It quickly became my go-to banana bread recipe that bakes well and never catches my oven on fire! It’s the right amount of moist and crumbly.

I love that it’s full of protein between walnuts and the addition of Greek yogurt.

With just a few ingredients, this banana bread recipe makes good use of brown bananas. It’s delicious any time of day!

Before I start mixing the bread dough, I utilize my food processor to help me with the walnuts and bananas. You definitely don’t have to do this. The food processor is great for getting the walnuts into small pieces quickly. I also like my 2-3 bananas well pureed so there are no weird banana chunks in any slice.

I measure out 2/3 to 3/4 cup of walnuts needed for this recipe before chopping them in the food processor. The recipe needs 1/2 cup of walnuts and this seems to be what I end up with after they’re chopped. (It’s also pretty easy to add more, less or no walnuts depending on your preferences.)

I like the walnuts pretty well chopped so they disperse throughout the bread more and are easier to eat. My husband prefers this bread with no nuts.

(If you go the food processor route, do the walnuts first and then the bananas so you don’t have to wash the bowl in between!)

Look at those smoothly pureed bananas!

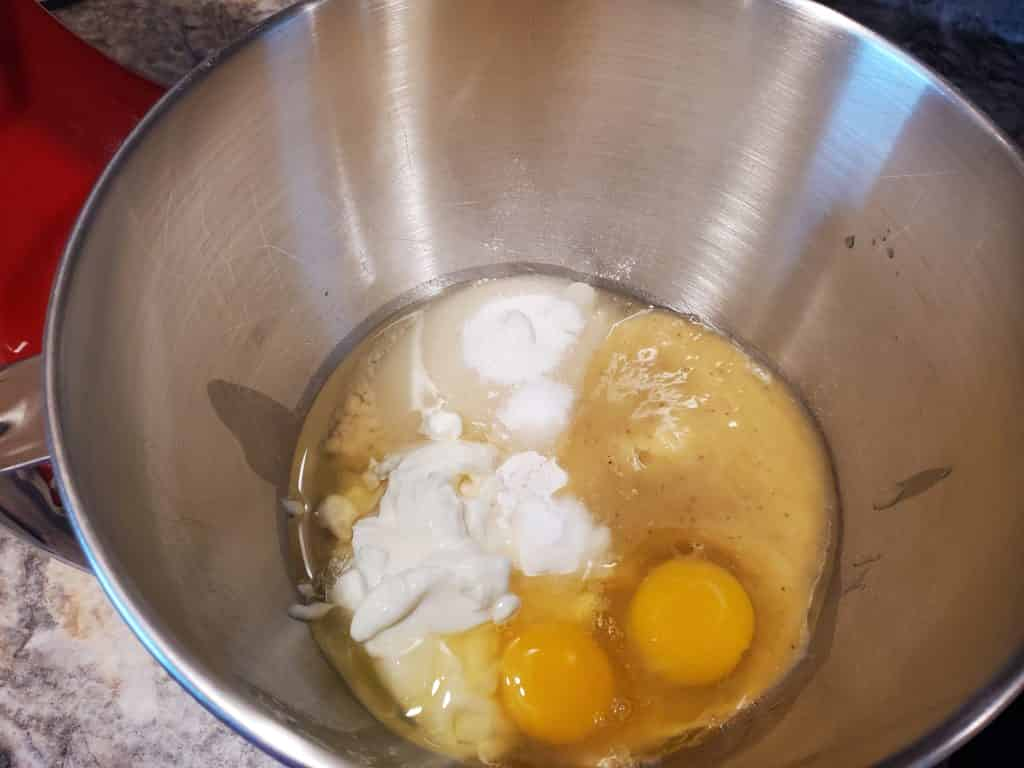
And that’s the most complicated part of this banana bread recipe, which you don’t even have to do! Next you literally just put all of the ingredients except the nuts into a bowl and mix them on low speed for 30 seconds then medium speed for 45 seconds. I use my beloved Kitchenaid stand mixer.

Everything in the bowl and ready to mix.
The batter should be a bit thicker than cake batter but still runny.

Next, it’s time to gently stir in the walnuts. You can do this by hand, but I use the “stir” setting on my Kitchenaid stand mixer and keep an eye on it.

Once everything is mixed together, put the bread batter into a greased loaf pan. (I’m a HUGE fan of all my Rachael Ray bakeware. In fact, I love it so much I bought an additional loaf pan besides the one that came with my set.)

All ready for the oven!

Bake the bread at 350-degrees for 45 to 55 minutes until a toothpick inserted in the middle comes out clean.

Let the bread cool in the pan for about 10 minutes. Loosen the sides and turn it out onto a cooling rack or cutting board if you are serving it warm. Enjoy!

Banana bread

Ingredients
  

  • 1-1/2 cups all-purpose flour
  • 1/2 cup sugar
  • 3/4 cup mashed or pureed very ripe bananas about 2 medium
  • 1 5.3- oz. container of vanilla Greek yogurt
  • 1/3 cup vegetable oil
  • 1 teaspoon baking soda
  • 1/2 teaspoon salt
  • 2 eggs
  • 1/2 cup coarsely chopped walnuts can substitute pecans or completely omit the nuts

Instructions
 

  • Heat the oven to 350-degrees.
  • Spray the bottom only of a loaf pan (8x4 or 9x5) with non-stick cooking spray (or cover with shortening).
  • If desired, use a food processor to chop the nuts and puree the bananas.
  • Add all the prepared ingredients except the nuts to your mixing bowl.
  • Mix on low speed for 30 seconds then on medium speed for 45 seconds. Scrape the bowl as needed.
  • Stir in the nuts by hand or with the "stir" setting on your mixer.
  • Pour the batter into the pan and bake for 45 to 55 minutes until the outside is golden brown and a toothpick inserted into the middle of the loaf comes out clean.
  • Cool 10 minutes then loosen the sides of the bread and transfer to a cooling rack (or cutting board if you want to serve it soon!).