19 Fun family activities for autumn with a free fall bucket list printable
As the saying goes, it’s fall, ya’ll! Autumn is my favorite season. I love the colors, weather and flavors. I’m on board with figuring out fun family activities to do throughout the fall season. After a hot Midwestern summer, we’re usually ready to head outside and start enjoying the cooler weather that accompanies fall.
This year, I decided to be more intentional about fall family activities. While my family has made a list of summer activities for a few years, we haven’t done so for fall. So I decided I’d put together a fall bucket list of family family activities this year. Some we have done regularly and some are new to us, which I think makes a perfect fall bucket list list!
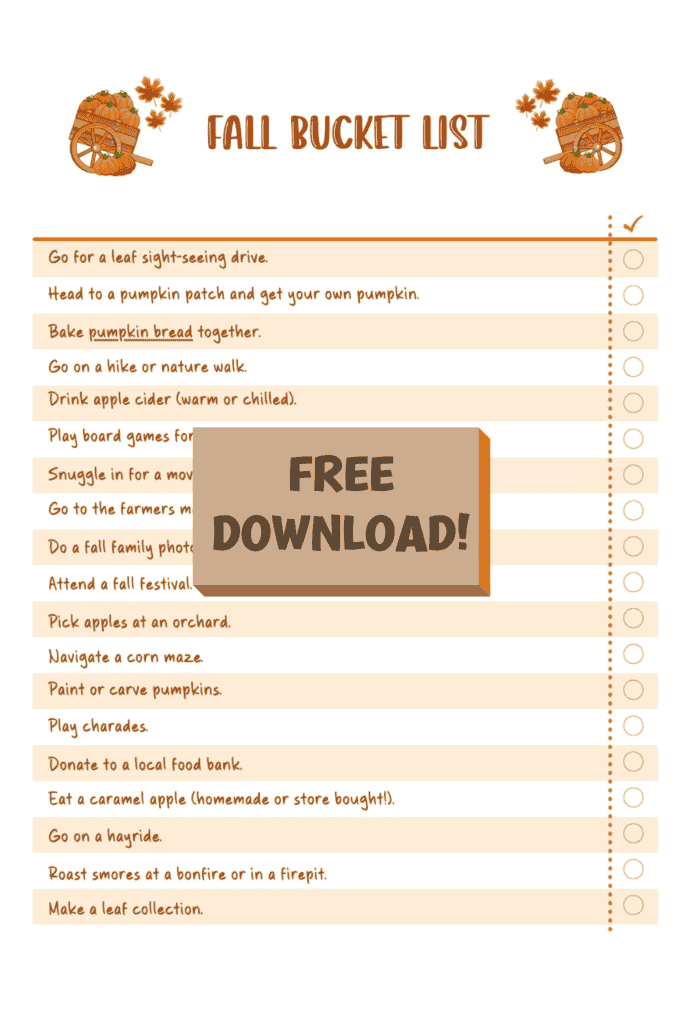
Download a FREE Fall Bucket List Printable or visit the Families with Grace Etsy store for an editable PDF version that includes a blank list for you to add your own Fall Bucket List ideas! Use the code FWGFAN to receive an extra 10% off everything in the store!
Go for a leaf sight-seeing drive.
One of the best aspects of fall is the colors and the leaves. Taking time to drive around and enjoy them is a great fall activity for families, no matter the age of your kiddos. Play some favorite music and just take in the beauty of God’s creation.
Head to a pumpkin patch and get your own pumpkin.
Fall and pumpkins go hand-in-hand. Head to a nearby pumpkin patch and get your own pumpkin(s). Even though I’m far from being a plant person, I still like the pumpkin patch visits. It just feels autumnal. And you get a bonus of supporting a local farmer, which is always a good thing!
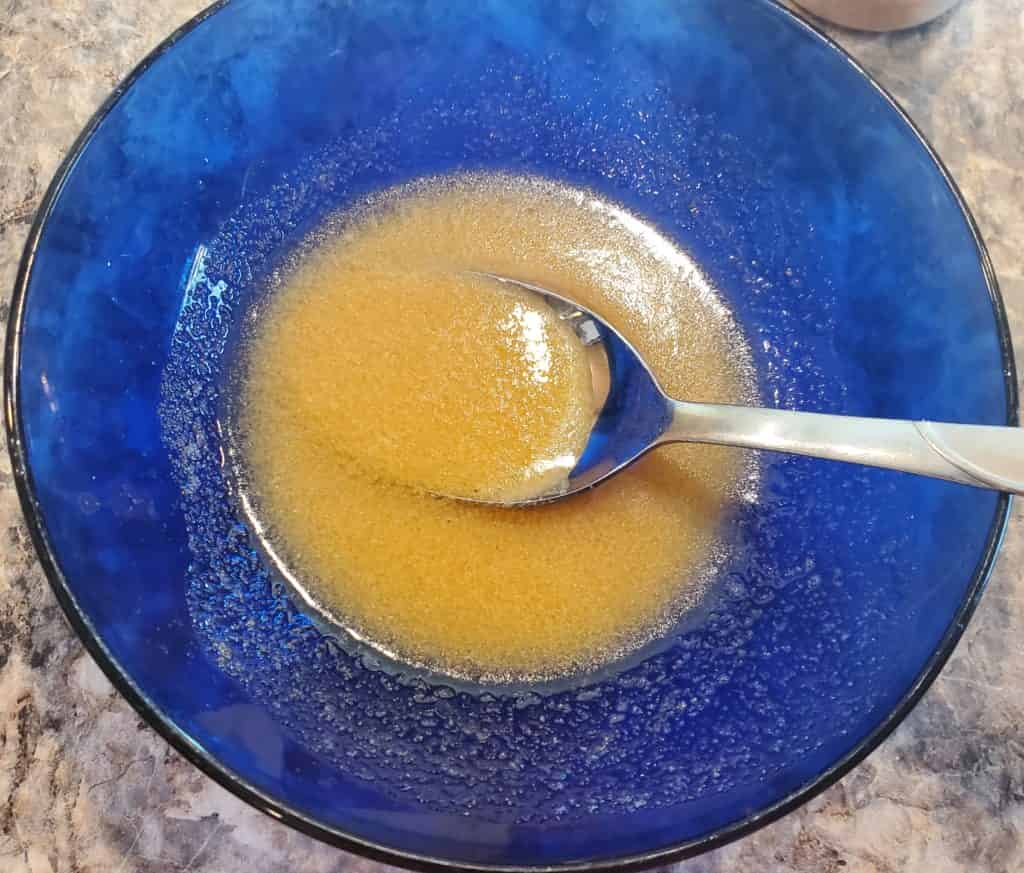
Bake pumpkin bread together.
Pumpkin spice is one of the most popular flavors of fall. I enjoy my pumpkin spice most baked into a loaf of pumpkin bread. For me, pair a slice of pumpkin bread with a mug of hot chocolate, and I’m in heaven! While my favorite pumpkin bread recipe is easy enough I’ve made it with 40 kindergarteners at once, if you just don’t want to bake, pick up some pumpkin bread at the grocery store or bakery.
Go on a hike or nature walk.
Fall weather may not cool down everywhere, but for many of us, fall means temperatures start going down. And that’s why hikes or nature walks make for great fall family activities. You get to be outside, enjoying the crisp air and colorful leaves. Find somewhere nearby and make some memories!
Drink apple cider (warm or chilled).
Apple harvest happens in the fall, so it’s a great time to enjoy some apple cider either warm or chilled. My daughter and husband especially love apple cider. They both prefer it cold. Find it at the grocery store or a nearby orchard.
Play board games for at least an hour.
There’s never a bad time for board games when it comes to family activities. My family loves games, but making the time to play them can get tricky. Adding this to your fall bucket list will help remind you to have a game night or afternoon. If your kiddos are young, be sure to check out this list of games for non- and early readers!
Snuggle for a movie night with popcorn and snacks.
Honestly, fall weather can be downright unpleasant. On a chilly, wet evening, snuggle in as a family and enjoy movie night with popcorn and snacks. Our family tends to love this most on Friday nights when everyone is tired from a week of school and work. Do whatever works for you!
Go to the farmers’ market.
Autumn is a great time to visit the farmers’ market. The weather is cooler, which encourages you to stroll through for longer. Lots of produce is still fresh and vendors often have other items like home-baked goodies that would pair well with things like game or movie nights! You may be able to find some apple cider at your local farmers’ market as well.
Do a fall family photo shoot.
The colors in fall are perfect backdrops for family photos. I have paid for family photos in the fall, but these days I usually just take my kids outside and take a bunch of photos with my phone. They’re easy to edit and pick my favorites. My kiddos enjoy getting to come up with poses and usually I end up with more natural photos.
Attend a fall festival.
Fall is a great time for festivals. Find one (or two or three!) near you, and attend. Here in the Midwest we have things like covered bridge festivals and historic area festivals. Then there are harvest festivals. Find something and go just for the fun of it. We recently went to a Native American festival and had a great time.
Pick apples at an orchard.
Apples are fresh and delicious in the fall. If you have an orchard near you that lets you pick your own apples, then go for it! You can try different varieties and see what you and your family like best or stick with one trusty variety. Either way, it can be lots of fun as a family.
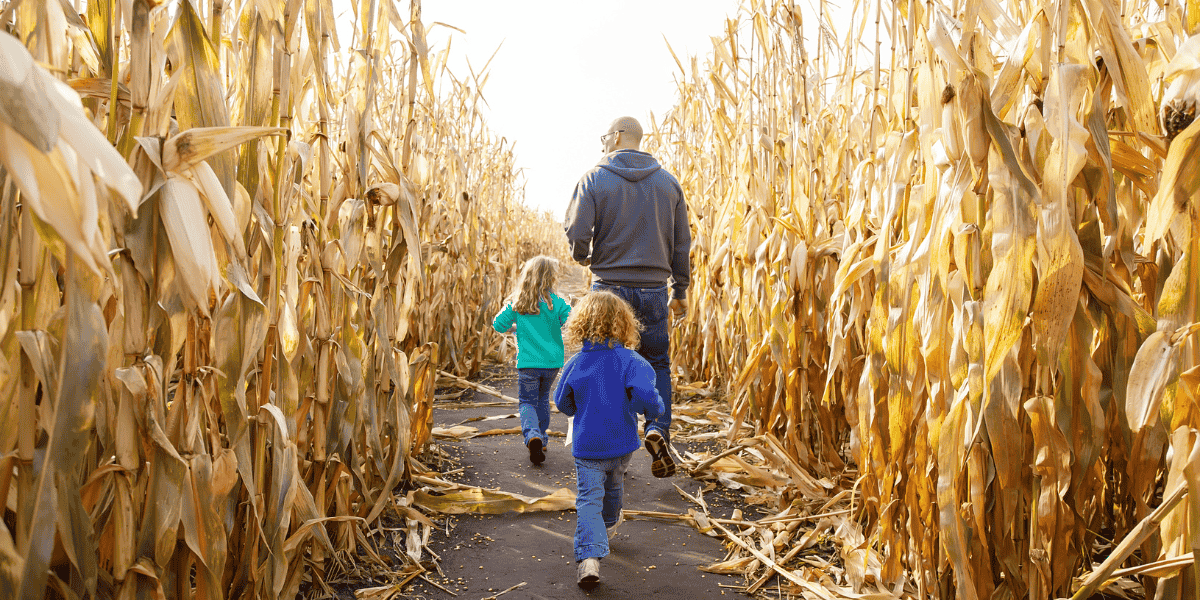
Navigate a corn maze.
This is sort of an essential part of the fall season for those of us who live where the corn pops up in rows (Tim McGraw songs, anyone?). If you’ve got a corn maze near you, hit it up and navigate your way to through it. Usually one of our kids leads us. Especially when they were younger, we would then end up suggesting turns they might want to take.
Paint or carve pumpkins.
Pumpkins are everywhere in the fall, and it’s a great time to get creative with them. We carve and paint pumpkins in our family based on each persons’ preferences. My daughter likes to paint pumpkins; my son likes to carve them. I’m the only member in our family who loves cleaning out pumpkins. All in all, it works out and is one of the great fall family activities during autumn.
Play charades.
Charades is one of my kids’ favorite games and has been for years. You can use themed charades games, like Halloween charades, general charades games or just let everyone come up with their own ideas. In my family, we play charades by having one person act out the clue and the rest of us guess. We don’t keep score and just have fun.
Donate to a local food bank.
Autumn is a great time to donate to local food banks who are preparing for the upcoming holiday season. We often contact the food bank and ask what sort of items they’re most in need of before buying things. Our kids usually use their “giving” money from their allowance to contribute to food banks. They take on the challenge of finding groceries or toiletries for cheaper prices to get the most for their money.
Eat a caramel apple.
Whether you make them yourself or buy them at the store, caramel apples are the quintessential fall treat. I like mine covered with chopped peanuts, while my husband prefers them plain. And if you just can’t get on board with caramel apples, buy some or make some caramel dip for apple slices or other favorite fruit.
Go on a hayride.
Hay rides can be a great family activity. We usually work in a hayride on a visit to the pumpkin patch. Beware that some hayrides have a scare factor with people “surprising” you. Definitely know what you’re getting into with younger children along.
Roast smores
Bonfires and firepits are great for chilly autumn evenings. And they’re a great excuse to roast some marshmallows as well. Add some chocolate and graham crackers. Smores aren’t just a summertime campfire treat!
Make a leaf collection
This is a great activity especially for younger kids who delight in all the various types of leaves they can find. But when it comes to autumn family activities, collecting leaves can also be fun. See who can find the biggest leaf, the most colorful leaf and so on.
Download a FREE Fall Bucket List Printable or visit the Families with Grace Etsy store for an editable PDF version that includes a blank list for you to add your own Fall Bucket List ideas! Use the code FWGFAN to receive an extra 10% off everything in the store!